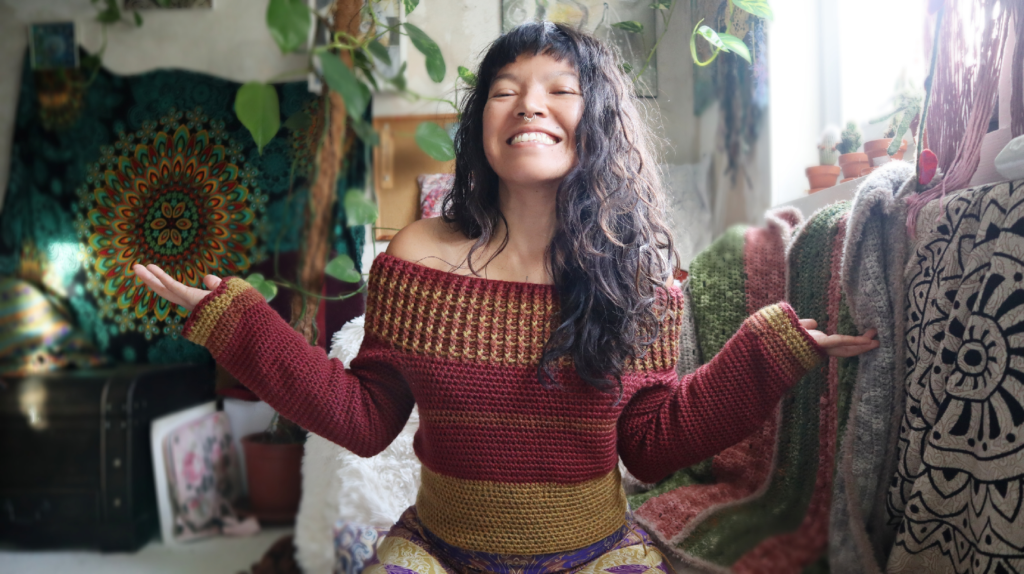
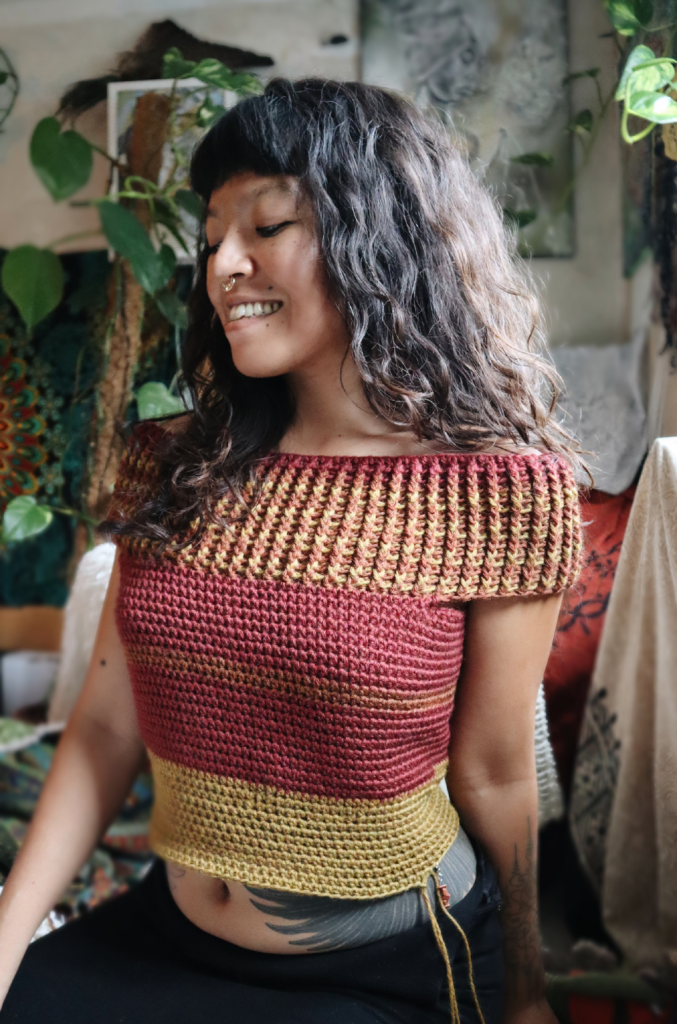
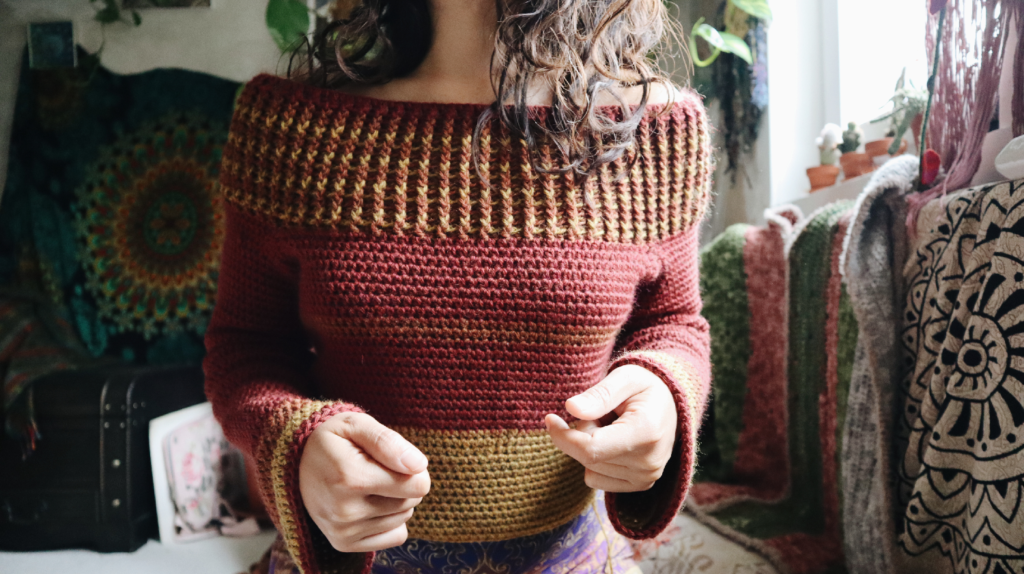
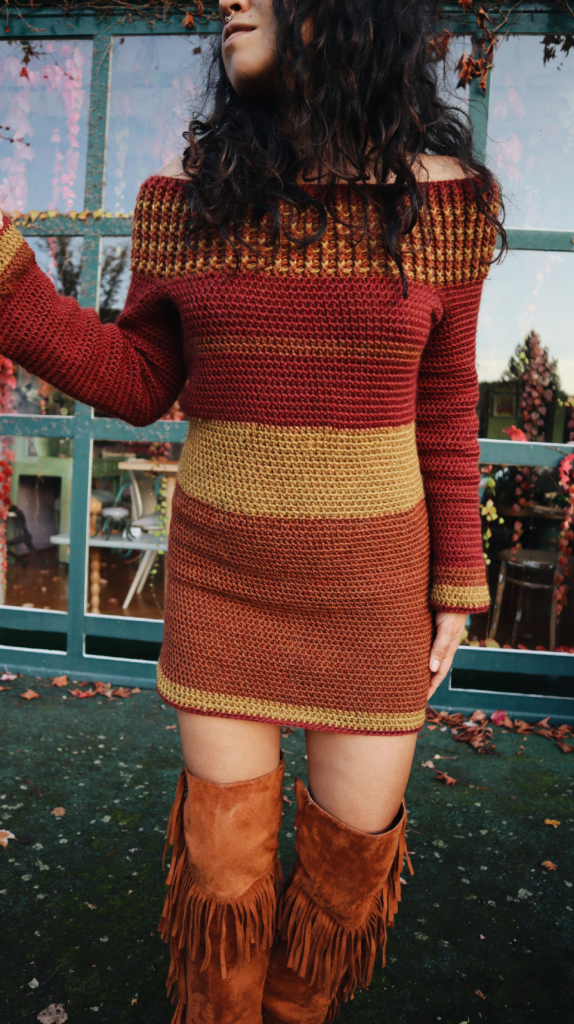
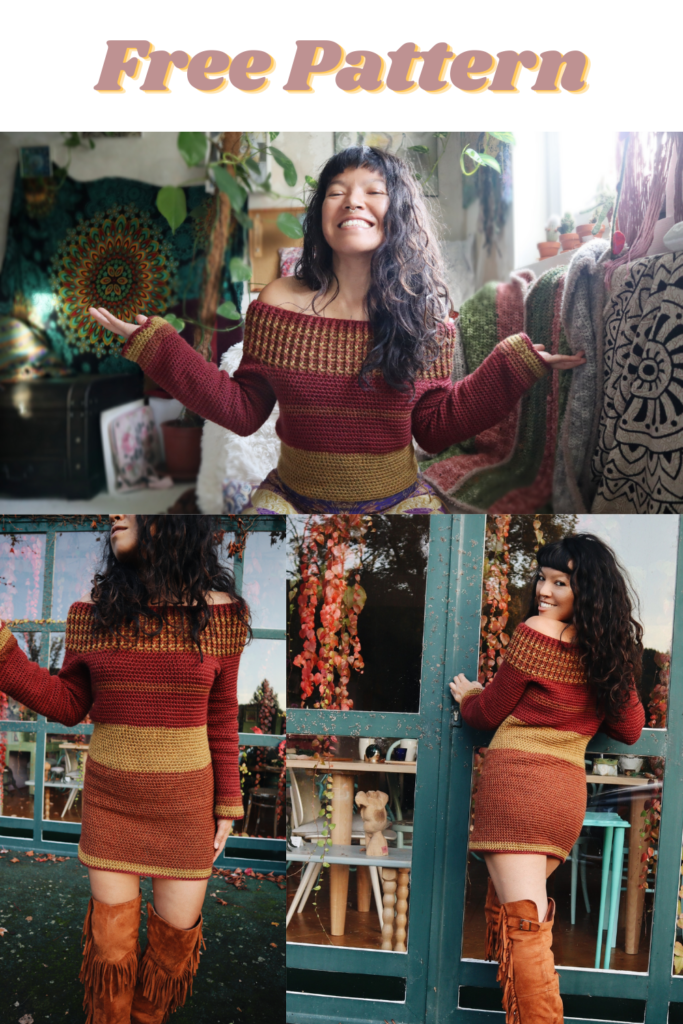
Oh, I love this Sophia off-shoulder tunic sweater so much. This design offers 3 versions.
This is a free pattern, but if you want to support me, you can purchase an ad-free printable version of this pattern on Ravelry or Etsy.
Watch the video tutorial for better understanding.
Version1 – Off-shoulder sweater
Version2 -Long sleeves off-shoulder sweater
Version3 – Complete Sophia off-shoulder tunic sweater
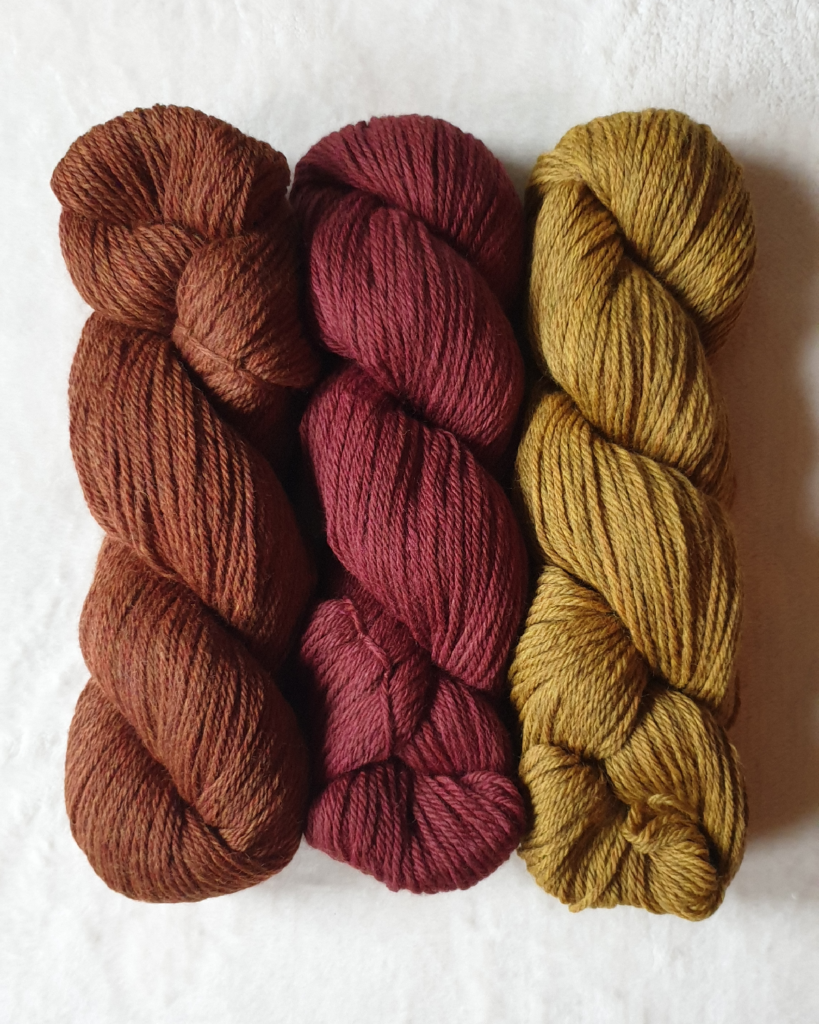
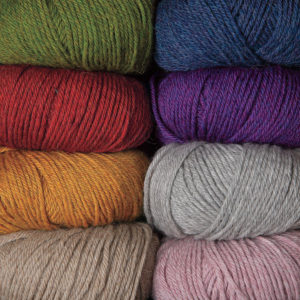
Look at these amazing yarn from Cascade!
Skill level: Advanced Beginner
Crochet terminology: US
Material:
- Aran weight yarn, My choice of this design is Cascade 220 I used almost 3 skeins of Auburn heaters, 2 and 1/4 skeins of Pumpkin spice, 1 and 1/2 of Straw. Total of 1,500 – 1,540 yards you can purchase the same yarn here
Here is an approximate calculation of the same yarn as mine.
XS yarn used between 1,500 – 1,540 yards
S yarn used between 1,540 – 1,550 yards
M yarn used between 1,550 – 1,630 yards
L yarn used between 1,630 – 1,750 yards
XL yarn used between 1,750 – 1,830 yards
Note: The beginning ch if not stated as stitch it’s simply meant to build up the yarn.

Abbreviation US term
- ch = chain
- st = stitch
- sl kn = slip knot
- sl st = slip stitch
- sc = single crochet
- hdc = half double crochet
- dc = double crochet
- Fpdc = Front post double crochet
- Bpdc = Back post double crochet
- hdc2tog = half double crochet 2 stitches together
- 2hdc = 2 half double crochet in one stitch
- DEC = Decreasing
- INC = Increasing
- rep = repeat
Size (bra)
- XS – 34A,32B,34B,30C
- S – 36A,38A,36B,32C,34C,30D,32D,30DD
- M – 40A,38B,40B,36C,34D,32DD,34DD,30DDD,32DDD
- L – 38C,40C,36D,38D,40D,36DD,34DDD
- XL – 38DD,40DD,36DDD,38DDD,40DDD
Hips size
XS – 33″ – 34.5″ inches
S – 34.6″ – 36″ inches
M – 36.2″ – 37.5″ inches
L – 37.7″ – 39.5″ inches
XL – 39.7″ – 41.5″ inches
XXL – 42” – 45” inches
THIS DESIGN CAN BE MADE IN ANY SIZES by following the tips in the instruction.
Gauge swatch
17hdc x 14rows = 4” x 4”
In this instruction, all images are demonstrated size 32B bra cup + 35” hips.
Off-shoulder band:
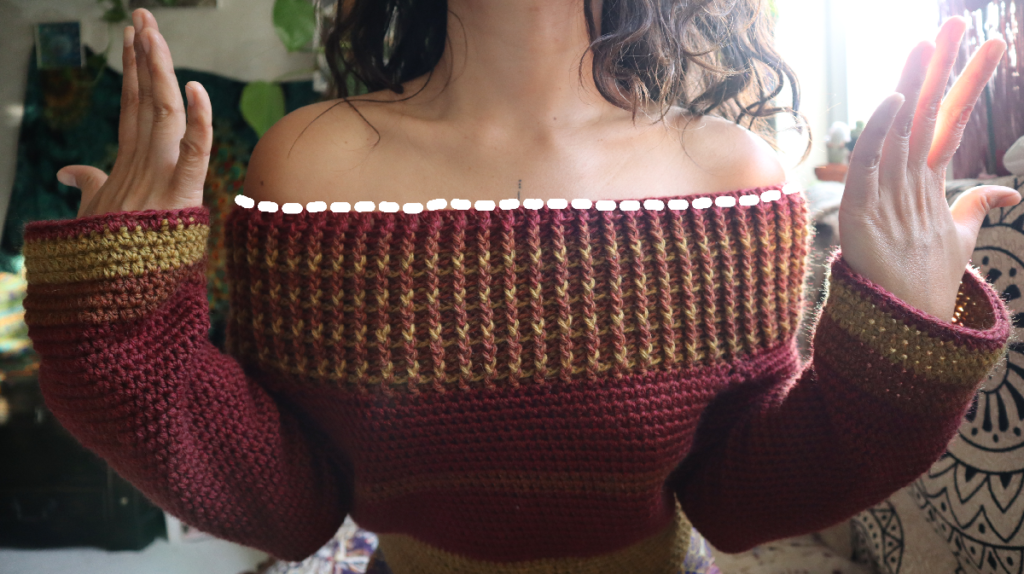
Start off with long ch that goes around your shoulder.
VERY IMPORTANT:
- Suggest making ch of even number.
- When making ch on this part, keep in mind you need to pull the yarn as its fullest stretchability.
- When making for customers, do the same with the measurement number you got.
My measurement of the white line (see image above) is 38” when pulling tight.
On a printable pattern, you will see all info from all testers.
I have made 130ch, sl st at the beginning ch (make sure your ch not twisted)
R.1 – 1dc in each st across a total of 130dc, sl st at the first dc from the beginning,
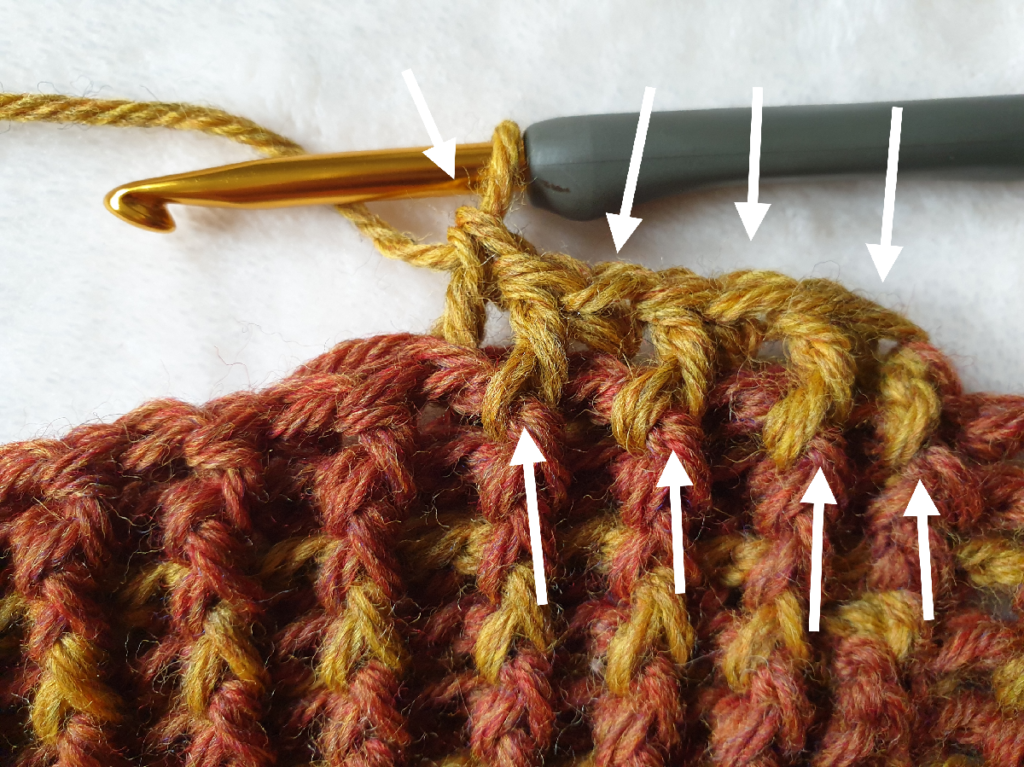
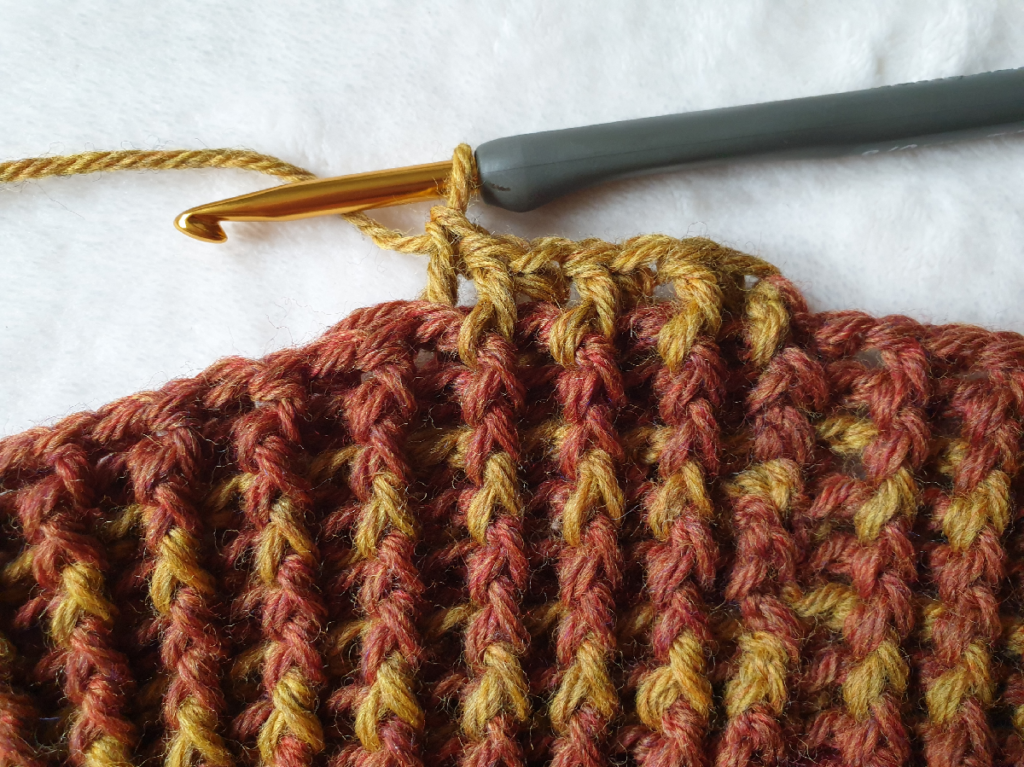
R.2 – Fpdc in the first dc from R.1 (where you have sl st before), *Bpdc in the next, Fpdc in the next, rep from* across, ending with sl st at the first Fpdc from the beginning,
R.3 – Fpdc in the first Fpdc from R.2 (where you have sl st before), *Bpdc in the next, Fpdc in the next, rep from* across, ending with sl st at the first Fpdc from the beginning,
R.4 – R.15 rep R.3
Colors I used
R.1 & R.2 – Auburn heaters
R.3 & R.4 – Pumpkin spice
R.5 – Straw
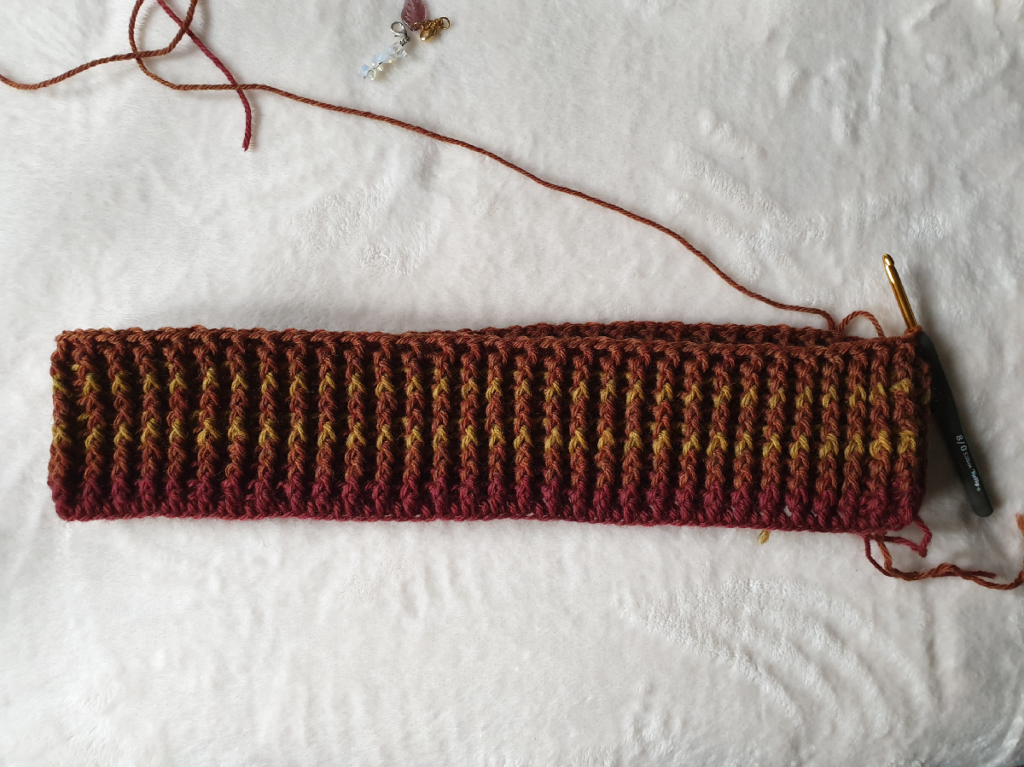
And I rep them over again.
I have made a total of 15 rounds = 4.8”
Finding armhole & Body part:
Body part = 38sts x 2 (front & back) = 76sts
Armhole 27sts x 2 (front & back) = 54sts
76 + 54 = 130 and this is the matching of a total number of my Fpdc & Bpdc rows.
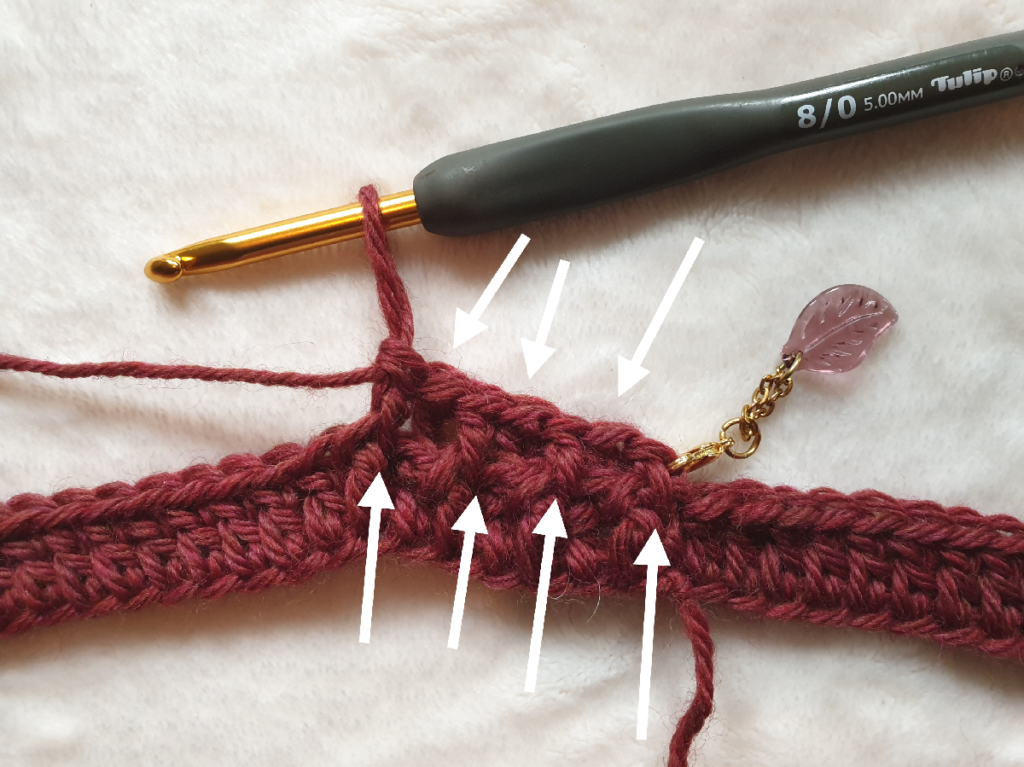
Add 4 stitch markers like in the images below.
Suggestion for calculation of armholes, the rest of the sts are the body part.
XS,S – 27sts X 2
M,L,XL – 30sts X 2
Split for sleeves: Make 25ch, (25ch, 28ch, 30ch, 30ch) from the white arrow and sl st at the purple arrow, both sides
The second one of 25 ch do not cut the yarn,
White dots = Body = 38sts x 2 (front & back) = 76sts
Pink dots = Armhole 27sts x 2 (front & back) = 54sts
76 + 54 = 130 and this is the matching of a total number of my Fpdc & Bpdc rows.
Body part:
Right after you’ve made the second one of 25ch, continue…
R.1 – 1hdc in the same st where you have sl st, 1hdc in each st across, 1hdc in where the stitch marker is, 1hdc in each of 25ch of a split for sleeve ch, 1hdc in where the stitch marker is, 1hdc in each st across at the other side of the body part, 1hdc in where the stitch marker is, 1hdc in each of 25ch of a split for sleeve ch,
So naturally, this round will add up 4hdc sts (4 corners) because you are crocheting on the st that belongs to the armhole part which is the area of the pink dots (see image above).
You’ve completed R.1 like this.
Do not sl st, we are working the spiral from now on.
Make sure to add a stitch marker on the first hdc st of the row you are working on and keep moving upward as you work along the row.
R.1 I have made in a total of 130hdc
Body = 38sts + 2sts (which explained above) x 2 = 80sts + 25sts of split sleeve x 2 = 50sts and that made 130hdc in total
IMPORTANT: Please write down the number by following the calculation above for easy tracking of upcoming of INC & DEC rounds.
R.2 – 1hdc in each st across a total of 130hdc
R.3 – R.19 rep R.2
Optional: R.9 & R.10 I changed the color to Pumpkin spice, then I go back to use Auburn heaters again from R.11 – R.19
Suggestion on how to end the round:
1st before finishing the round, sc, sl st in the next st which usually is the first st of the next round.
Suggestion on how to begin the round:
I like to begin the round on one of the side body.
R.20 (DEC) – This round I have DEC 12sts and I chose to simply DEC in every 10 or 11sts. There is no rule on where to DEC, you can just spread it around the round but a total of DEC on this round is 12sts, 10sts, 10sts, 10sts, 10sts. In the end, I have a total of 118hdc this round.
R.21 (DEC) rep R.20 but with a total of 9sts, (9sts, 9sts, 9sts, 9sts) of DEC. In the end, I have a total of 109hdc this round.
R.22 (DEC) rep R.20 but with a total of 9sts, (9sts, 9sts, 9sts, 9sts) of DEC. In the end, I have a total of 100hdc this round.
R.23 – 1hdc in each st across a total of 100hdc
R.24 – R.33 rep R.23 a total of 100hdc
At this point, you can wear your sweater top like so.
Note: If you wish to continue the body part to become tunic and do the sleeves later, simply scroll down the pages to the “Making it to the tunic style” page. As I demonstrate now the sleeves part.
Sleeve:
Note: I aim to have 45hdc for the sleeve part, however, if you want to make your sleeve wider, stop to DEC at any time.
Suggestion hdc for last round of DEC: 45hdc, (45hdc, 50hdc, 50hdc, 55hdc)
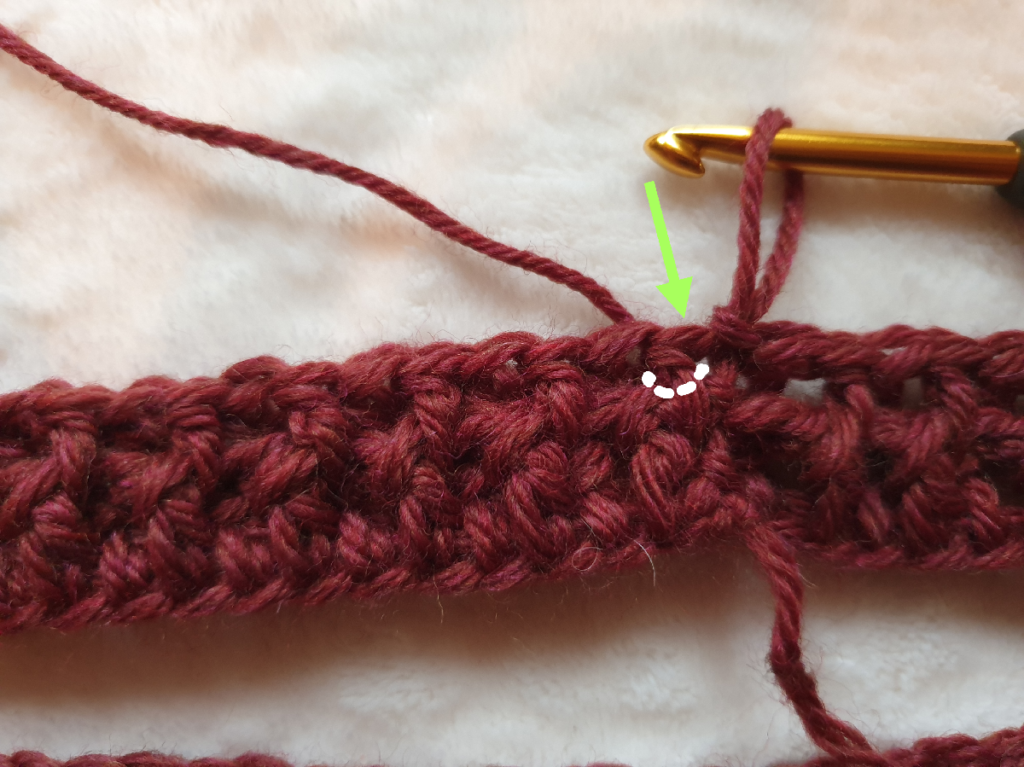
R.1 (DEC) – sl st in the 2nd st below the between sections, *2hdctog (1 stitch from the band and 1 stitch from body part), 1hdc in each st across**, when arriving at the other corner (where the arrow is pointing, see image above), rep from *-**, finish it with 1hdc in last st before where you did the sl st at the beginning, in a total of 53hdc
Note: Working in a spiral, no sl st at the end of the round, no ch at the beginning. The first hdc st of each round make inside of the first hdc from the previous round. Make sure to add the stitch marker for a reminder.
R.2 (DEC) – *2hdctog, 1hdc in each st across**, when arrive at the other corner rep from *-**, finish it with 1hdc in last st before where you did the sl st at the beginning, in a total of 51hdc
R.3 – R.5 rep R.2, each round DEC 2sts, R.5 you will have 45hdc
Suggestion hdc for last round of DEC: 45hdc, (45hdc, 50hdc, 50hdc, 55hdc)
R.6 – 1hdc in each st across in a total of 45hdc
R.7 – R.54 rep R.6
If you want to see stitch count from each tester, get an inexpensive printable pattern.
I changed the colors at the last 7 rounds
R.48 – R.50 – Pumpkin spice
R.51 – R.53 – Straw
R.54 – Auburn heaters
Rep everything of the sleeve part to create another identical sleeve.
Now you got something like this 🙂
Making it to the tunic style
This is the continuing from the body part.
If you did not change the color or either stop the round to create the sleeves, you will simply continue with hdc and do the INC without sl st, without ch2 to start the round.
R.34 (INC) – sl st somewhere on the side body, ch2, 1hdc in the same st, 1hdc in each st across you will INC by adding 2hdc in one st, and I chose to simply INC in every 11 or 12sts. There is no rule on where to INC, you can just spread it around the round.
This round I have INC 9sts, (9sts, 10sts, 10sts, 11sts). In the end, I have a total of 109hdc this round.
I choose to sl st at the end to prevent a big hole, I then start the first hdc of R.35 at the same place where I sl st.
R.35 (INC) – 1hdc in each st across you will INC by adding 2hdc in one st, and I chose to simply INC in every 11sts. There is no rule on where to INC, you can just spread it around the round.
This round I have INC 10sts, 10sts, 10sts, 11sts, 11sts. In the end, I have a total of 119hdc this round.
I did not sl st at the end of the round anymore from now on.
I simply start the first hdc on the next round like usual spiral style.
R.36 (INC) rep R.35 but with a total of 11sts, 11sts, 11sts, 12sts, 12sts of INC. In the end, I have a total of 130hdc this round.
R.37 – 1hdc in each st across a total of 130hdc
R.38 – R.73 rep R.37 a total of 130hdc
This design creates to fit each individual. Please follow all steps to find the right fit for you.
Pin this project on your board for later!
I love this design so much and I hope you do too.
Show off your project on our Crochet Tribe FB group!
Are you using Instagram? If so find me!
Maya xoxo







Leave a Reply
You must be logged in to post a comment.