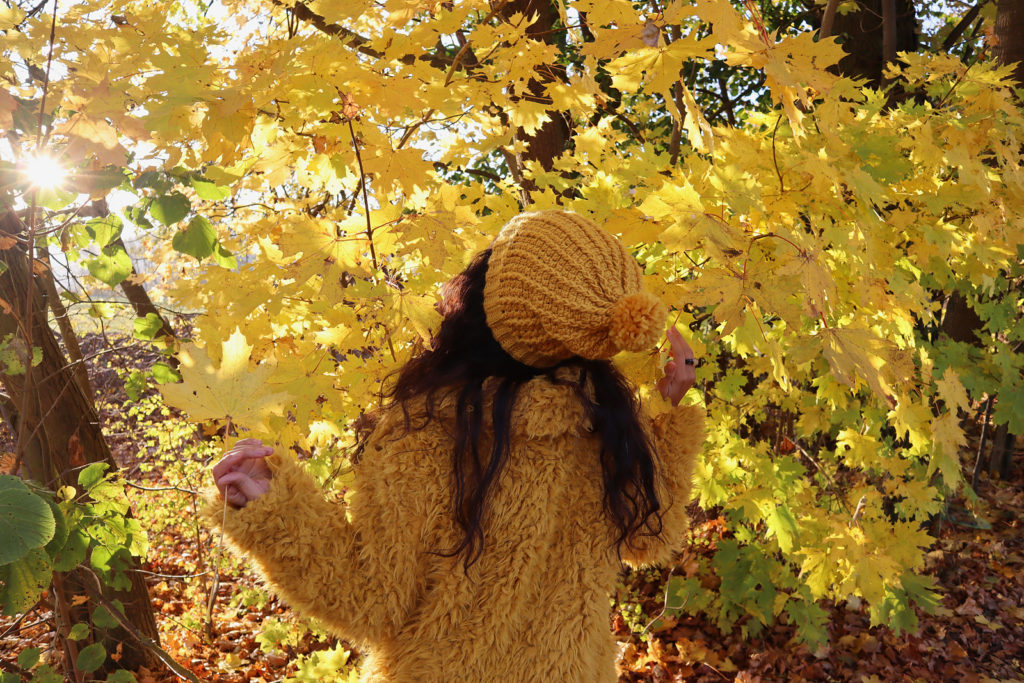
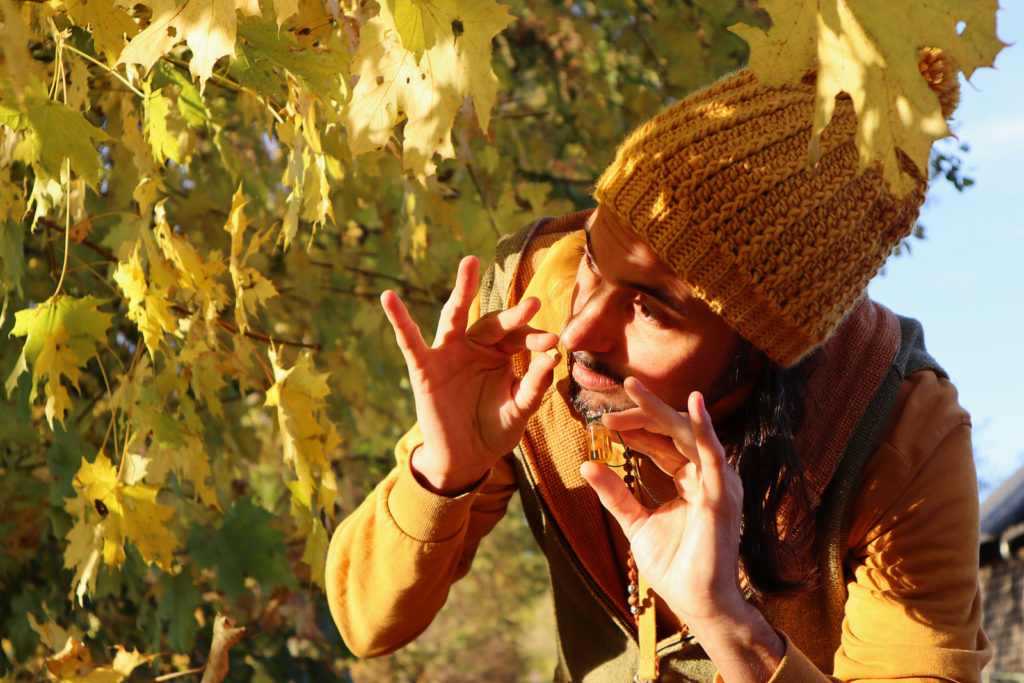
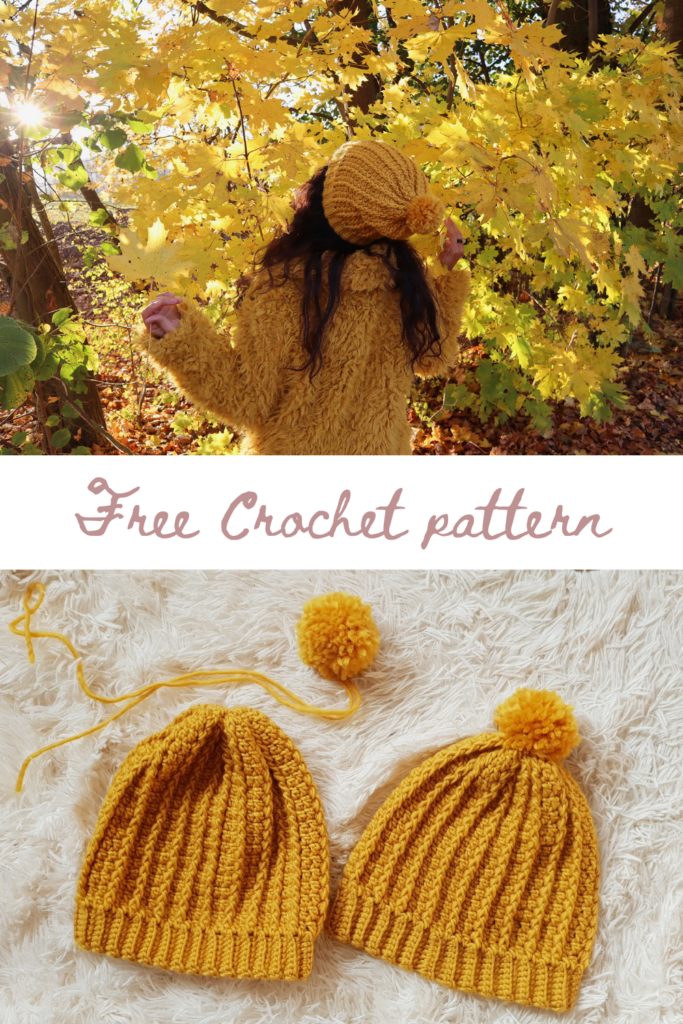
I remember the feeling of that day! The warmth from the Sunray touched my face. It was like, the kiss from the Sky!
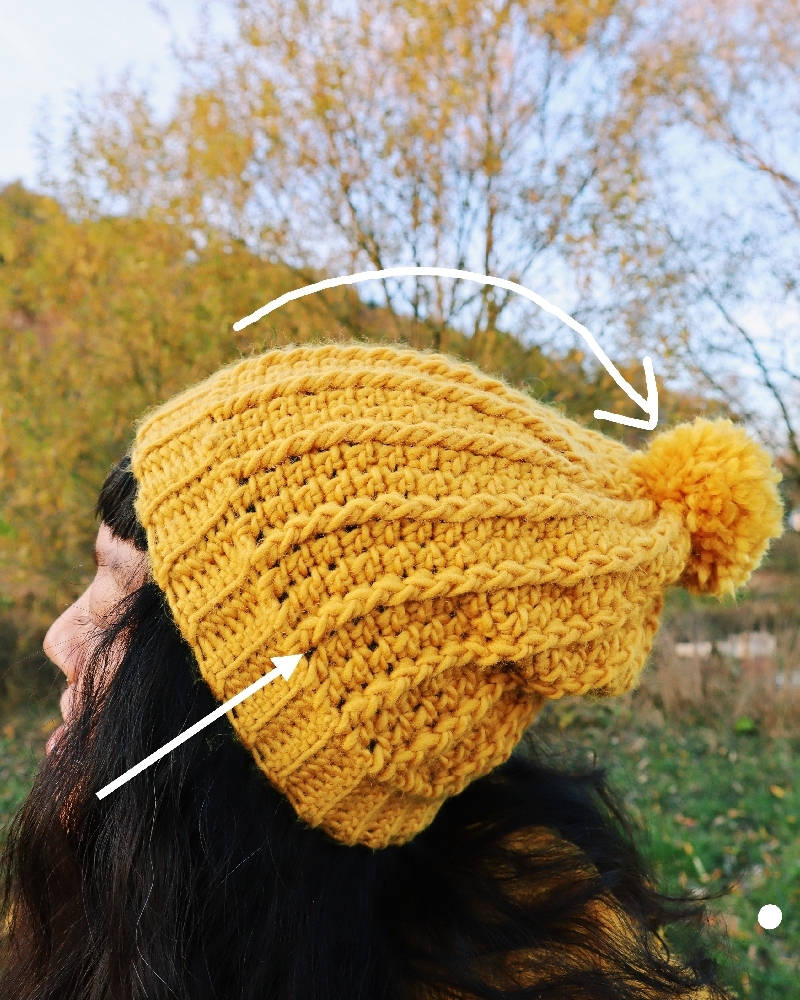
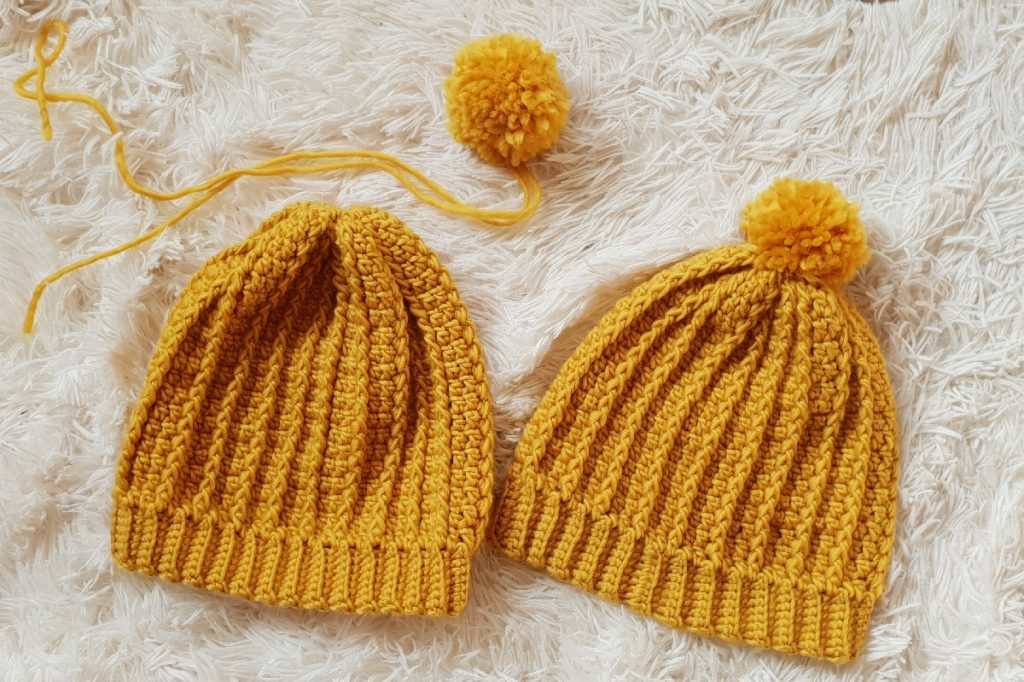
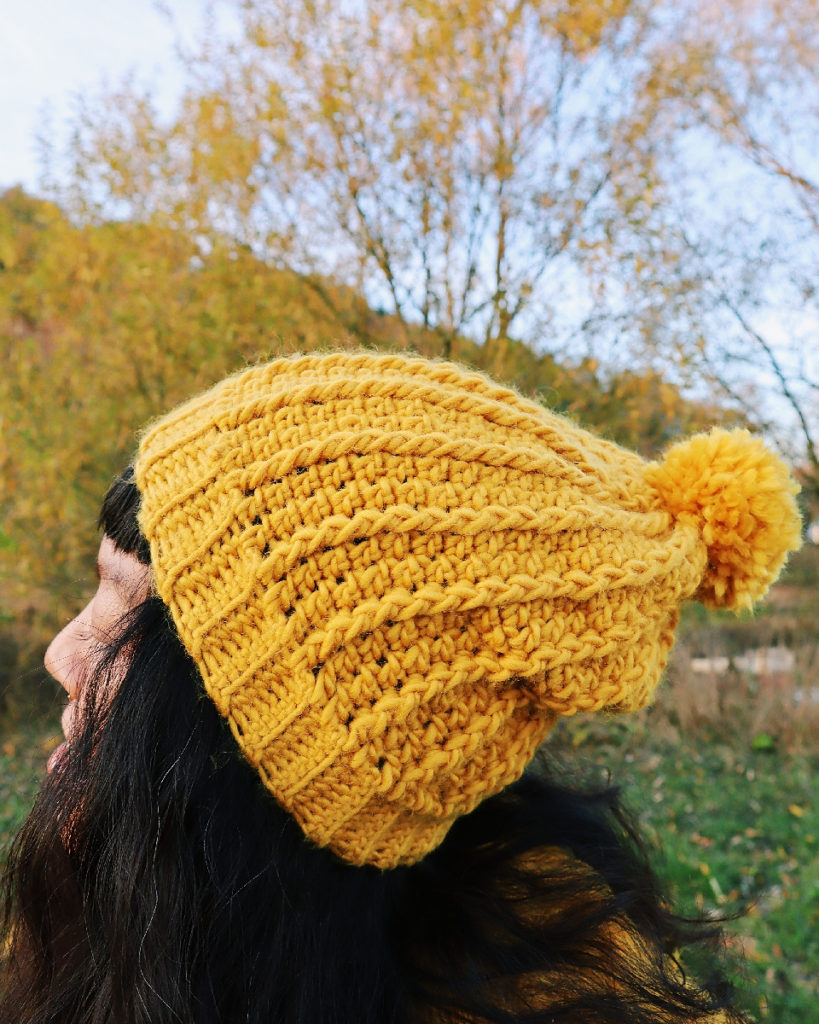
Path of Love beanie was created in 2018 and I actually made a partner beanie for my husband and I. Now you can make it too, yeah!
This is a free pattern but if you want to support me, you can purchase an ad-free printable version of this pattern on Ravelry or Etsy.
Watch the video tutorial along side for better understanding.
Skill level: Beginners
Crochet terminology: US
MaterialBulky weight yarn I used yarn from We Are Knitters, The Meri Wool, Colour Mustard almost 2 skeins = 200 – 250yds. Browse for more Bulky yarn choice from here
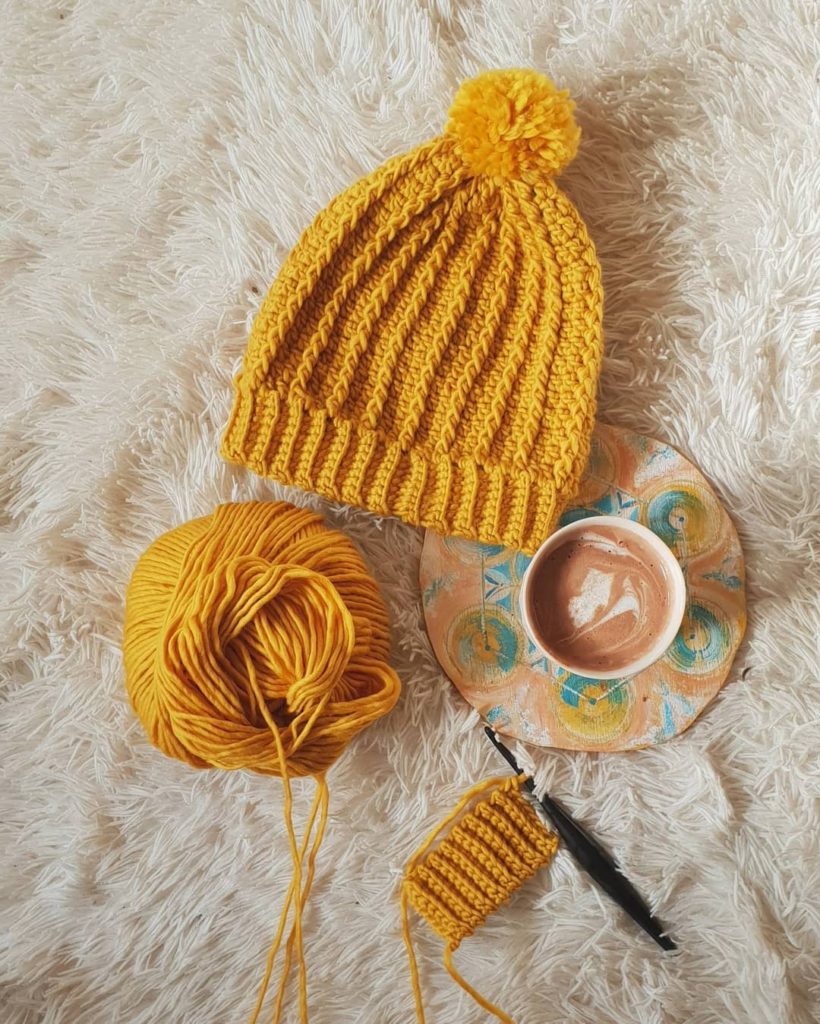
Love this crochet hook!
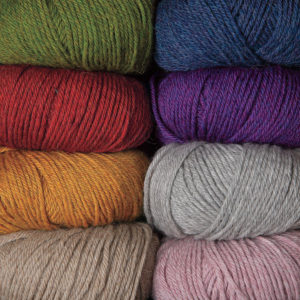
Suggestion yarn use besides what I have used in this project.
James C. Brett Chunky with Merino
Below are the suggestions yarns that the testers used.
Yarn used about 200 – 250 yards depending on the tension.
Note: The beginning ch if not stated as stitch it’s simply meant to build up the yarn.
Abbreviation US term
- Ch = chain
- St = stitch
- Sl st/ sl kn = Slip stitch/ Slip knot
- Sc = single crochet
- Scblo = single crochet back loop only
- Dc = double crochet
- Fpdc = Front post double crochet (learn here)
- Rep = repeat
- dc2tog = double crochet 2 together
Gauge swatch: 8 scblo x 3 rows = 1” x 1”
In this written pattern/video tutorial, I am demonstrating beanie in adult size of 22” and 23” inches measurement around the head.
The pattern can modify to fit all sizes. For a small child can follow the pattern by using yarn weight 4 and smaller hook such as 4mm or 4.5mm
Band
All sizes start with ch8 +1 (if made for children can modify to ch5+1)
R.1 – sc in 2nd ch from hook, sc in each st across, a total of 8sc sts, turn
R.2 – ch1, scblo in 2nd ch from hook, scblo in each sc st from previous row across, a total of 8sc sts, turn
Rep R.2 for the pattern and make as long as You wish Your headband to be.
I’ve made 55 rows for 22” inches and 61 rows for 23” inches head measurement.

Important:
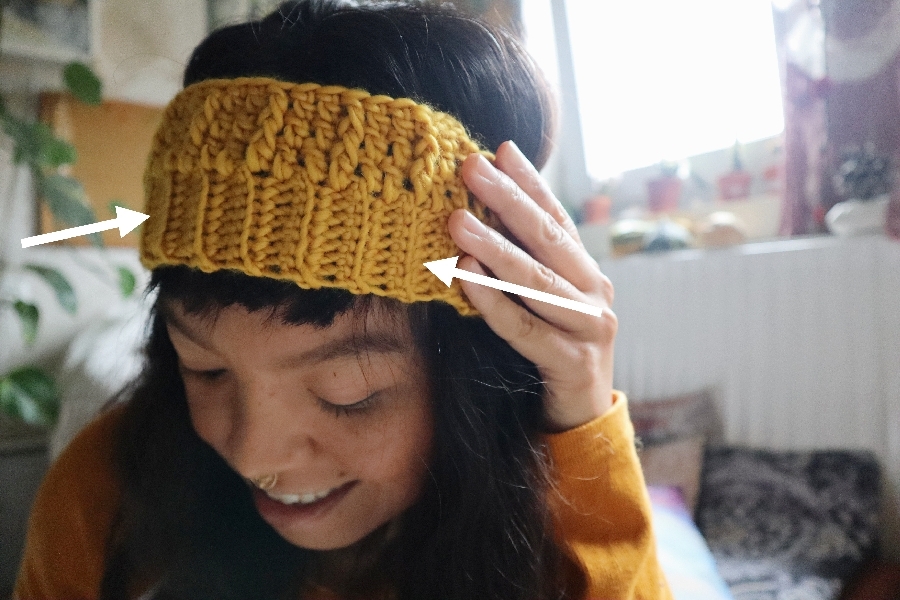
- If made for Yourself use the band to wrap around Your head and make sure that both ends meet perfectly and not overlap. If want the beanie to snug on the head pull the band slightly to fit You but not over pull. Do the same for children.
- If make for a customer and have the head measurement number. Make the band 2” inches shorter than the number head measurement. This means while laying the band flat on the ground without stretching it.
Connect both ends of the band using sl st. Please watch the video if not sure how to do it.
The body of the beanie
Round 1– after connecting both ends, ch3 (to build up the yarn), 1dc at the end of the row across the band. This is a foundation row and its the multiple of 3. I have made a total of 54dc sts for 22” inches and 60dc sts for 23” inches, sl st at the 1st dc, watch the video if not sure how to do.
Round 2 – ch3 (to build up the yarn), Fpdc in the same 1st dc as sl st from previous round, *1dc in each of the next 2dc sts, Fpdc in the next, rep* across, sl st at the 1st Fpdc, watch the video if not sure how to do.
Round 3 – Round 18 rep Round 2
Decreasing
Round 19 – ch3 (to build up the yarn), Fpdc at the same 1st dc st You’ve sl st to finish round 1, *dc2tog watch the video if don’t know how to do, Fpdc in the next, rep* across, sl st at the 1st Fpdc, watch the video if not sure how to do, ch1 and leave the yarn about 20” inches to sew the top part together. Please watch the video for a better understanding.
Note: The total of rows is flexible. You can make less if wish.
Add Pom Pom at the top if want to. Learn how to make pom-pom without pom-pom maker, and how to do it with pom-pom maker.
Weave in all excess yarn and You are done 🙂
Pin this project on your board for later!
What do you think about this beanie? Would you make it? You can share your work on our Crochet Tribe FB group!
Are you using Instagram? If so find me!
Maya xoxo




Leave a Reply
You must be logged in to post a comment.