
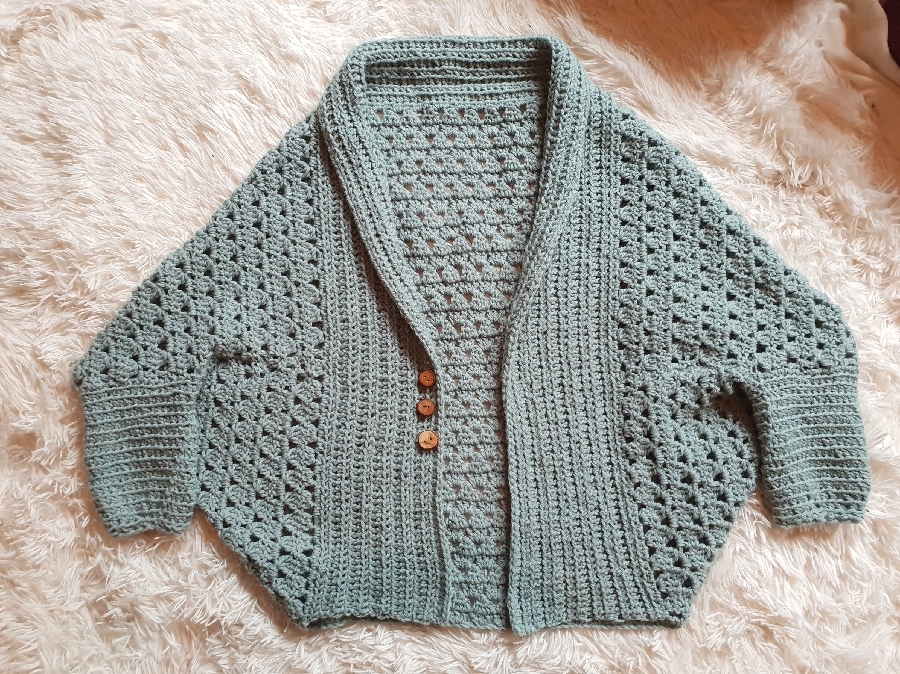
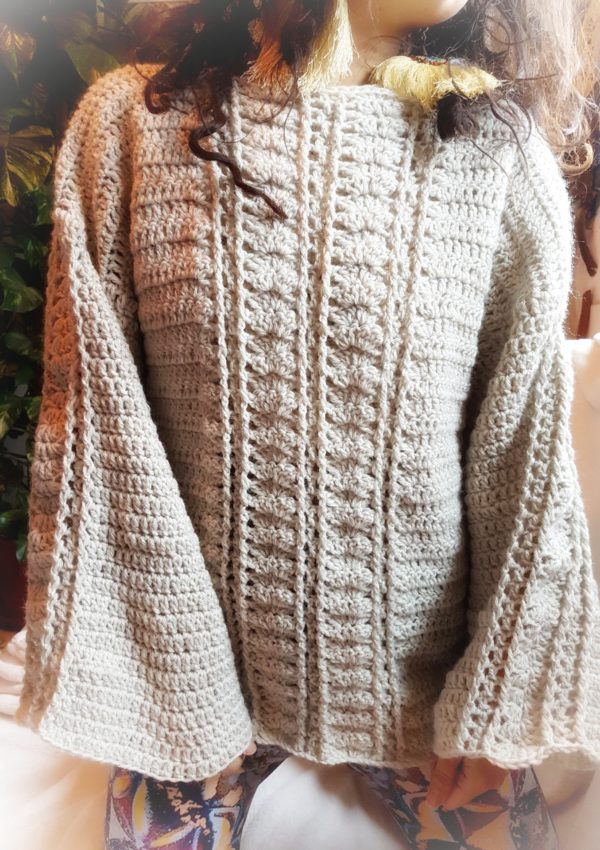
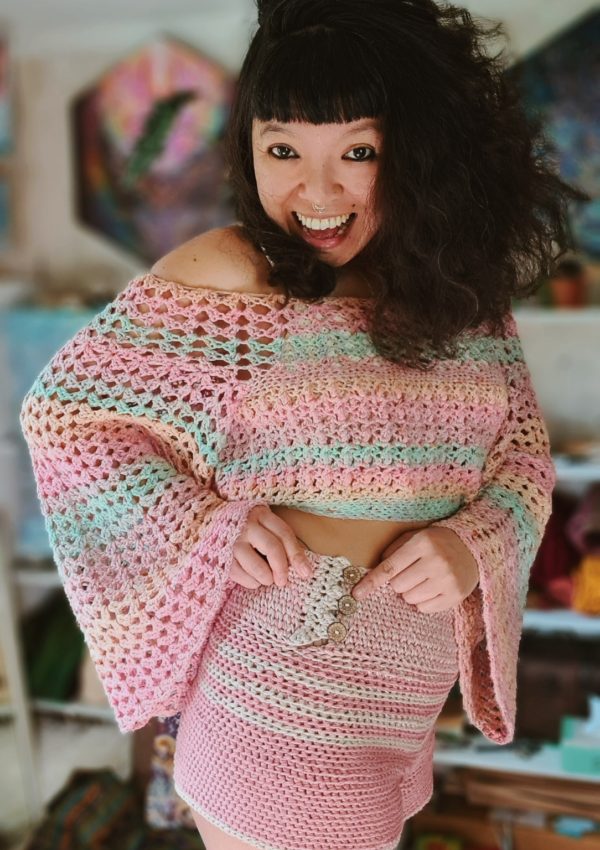
This JudyLove Cardigan. Super easy to make and so cozy to wear. I designed this one back in 2018. It was the first and the only Cocoon style Cardigan I’ve created. You can purchase an ad-free printable version of this pattern on Ravelry or Etsy.
Watch video tutorial along side for better understanding.
Skill level: Advanced Beginners
Crochet terminology: US
Material
- Yarn size medium weight 4, I used Wool-Ease from Lion brands five skeins of 197yds/180m for S = 985yds, (1,050, 1,200, 1,400)
- Hook 6.5 mm & 6mm
- Stitch markers
- Yarn needle & scissors
- Measurement tape
- Buttons (optional)
Note: The beginning ch if not stated as stitch it’s simply meant to build up the yarn.
Abbreviation US term
- Ch = chain
- St/sts = stitch/ stitches
- Sl st/ sl kn = Slip stitch/ Slip knot
- Sc = single crochet
- Dc = double crochet
- Dc cluster = double crochet cluster
Learn how to Dc cluster
- Hdc = half double crochet
- Hdcflo = half double crochet front loop only
- Hdcblo = half double crochet back loop only
- WS = wrong side
- RS = right side
- Rep = repeat
Before starting the project, measure from one shoulder to another. If the measurement end with an odd number plus 1 and that will be Your size for my pattern.
***All measurement in this pattern is in inches”***
S: 16”, (M: 18”, L/XL: 20″ – 22”, 2X/3X: 24″ – 26”)
Gauge swatch: 5 rows of 12 + 1ch of the pattern = 3.1” x 3.1” inches

The pattern is the multiple of ch 3 + 1ch
Start with hook size 6.5mm
S: ch 126 + 1, (M: 138 + 1, L: 138 + 1, XL: 162 + 1, 2X: 168 + 1, /3X: 174 + 1)
Note: The pattern is multiple of ch 3 + 1. If You want to make it bigger, add more chains.
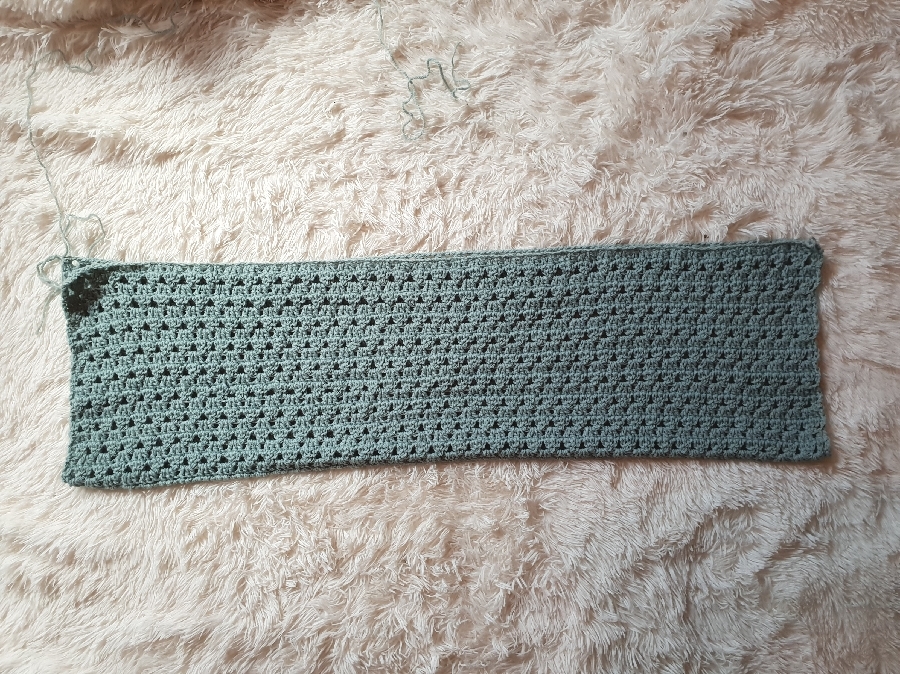
R.1 – dc in 4th ch from hook, skip next 2ch. *3dc in next ch, skip next 2ch; rep from* across, ending with 2dc in last ch, turn
R.2 – ch3 (count as dc), skip first dc, dc in next dc, ch2, *3-dc cluster worked across next 3dc, ch2; rep from* across, ending with 2-dc cluster worked across last 2sts, turn
R.3 – ch3 (count as dc), 3dc in each ch-2 space across, dc in 3rd ch of turning ch, turn
R.4 – ch4 (count as dc, ch1), 3-dc cluster worked across next 3dc, *ch2, 3-dc cluster worked across next 3dc; rep from* across, ending with ch1, dc in 3rd ch of turning ch, turn
R.5 – ch3 (count as dc), dc in first dc, skip next ch-1 space, 3dc in each ch2- space across, 2dc in 3rd ch of turning ch, turn
Rep R.2 – R.5 for the pattern.
My last row is the rep of R.2 (suggestion, try to finish Your last row with R.2 or R.4. It’s better for the collar part that is coming.)
Suggestion rows:
S 38 – 40 rows (M 40 – 46, L 44 – 46, XL 46, 2X/3X 46)
Note: Suggest to end Your last row with even number rows.
Armhole:
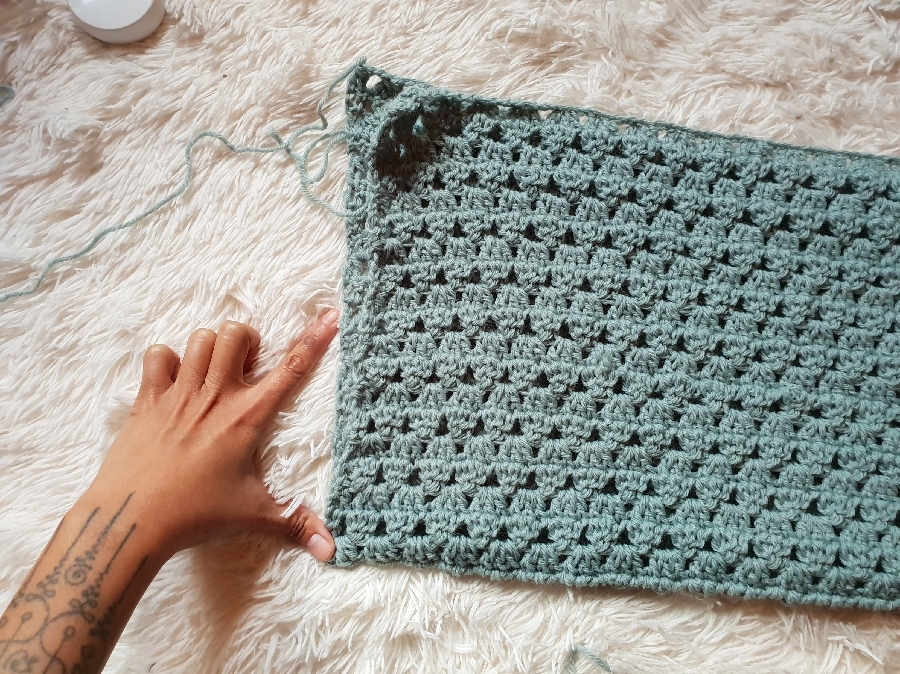
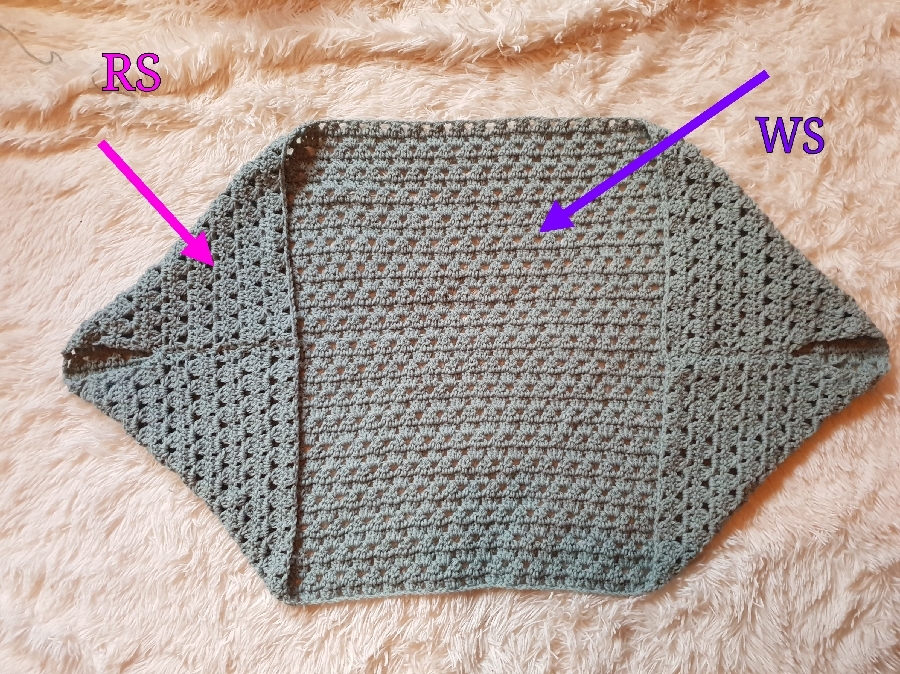
RS (right side) facing You, fold it in half. Measure from the inner fold part 5.5″, add stitch marker, and use a yarn needle to sew up both ends until You meet the stitch marker, stop there and fasten off.
Rep the same on the other side.
Armhole measurement suggestion:
S – 5.5” inches (M -5.5”, L -6”, XL -6”, 2X/3X -7”)
Turn the workaround and prepare to make a collar.
Collar:(RS)
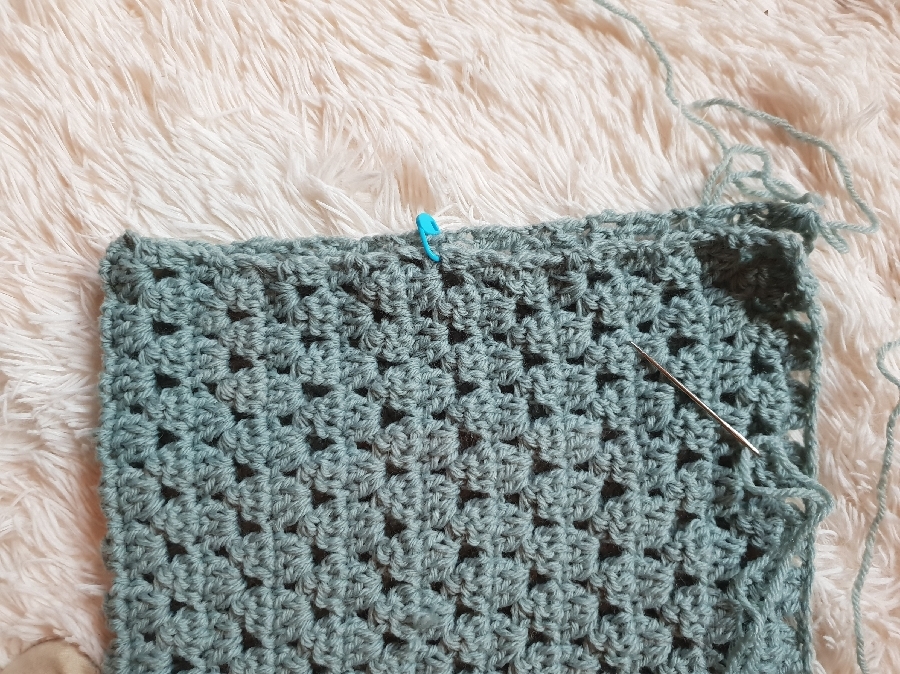
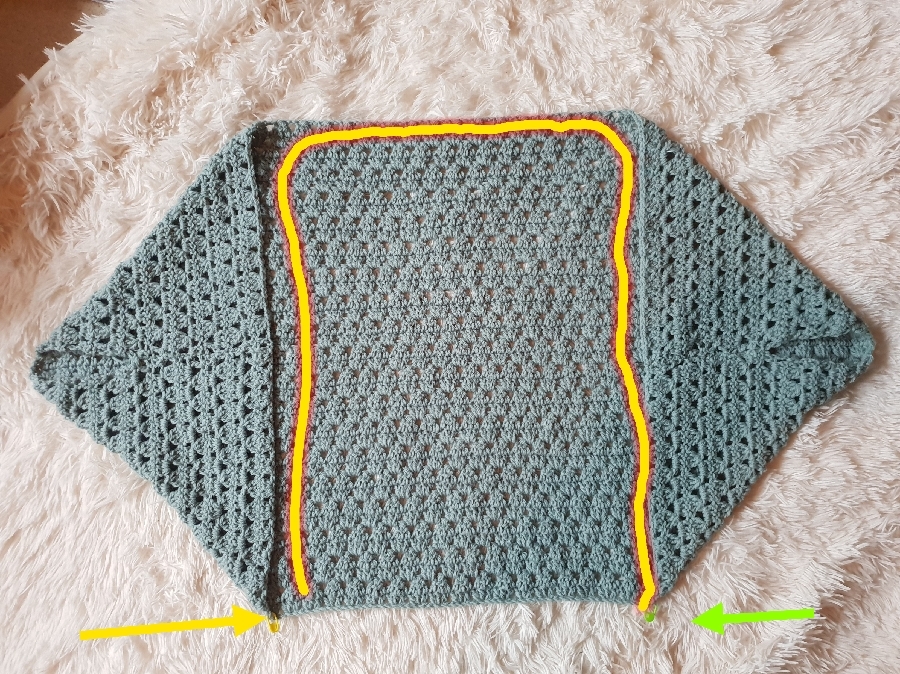
Add 2 stitch markers both ends (see image below). We will be working from the yellow stitch marker (RS is facing You) to the green one.
R.1 – sl kn at the yellow stitch marker, ch2 to build up the yarn, always add *2hdc in ch-2 space and 1hdc at the bottom of dc cluster, rep* across to the green stitch marker, turn
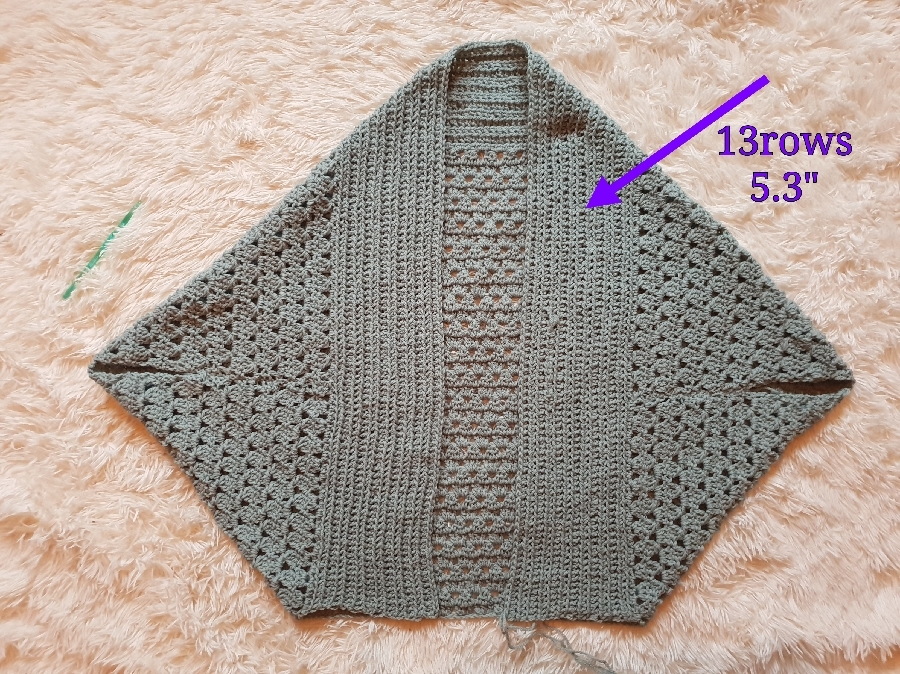
R.2 – ch2 to build up the yarn, hdcflo in each hdc from previous row across, turn
Rep R.2 for the pattern
Suggestion rows:
S 13 rows, (M/L 15, XL/2X/3X 17)
Sleeves: (RS) change the hook to size 6mm
Round 1 – sl kn at the corner of the armhole, ch2 to build up the yarn, 1hdc at each end of the row, make sure You are not adding too many and not too less, a total of 34hdc (shouldn’t be more than that if You have 5.5” inches armhole), sl st at the beginning ch,
Round 2 – ch2, hdcblo in each of hdc from previous round, ending with sl st at the beginning ch,
Rep Round 2 for the pattern.
I have made for size S 12 rounds. You can do as many rounds as You wish. Suggestion round is between 12 – 14 rounds and 16 rounds when You do not want to add the extra decreasing rounds below.
Extra decreasing rounds:
This is optional, You can skip this one and simply add more rounds of rep round 2. But if You want to make exactly the same with my pattern, follow the instruction below.
Round 13 – ch2, *1hdcblo in each of the next 3 hdc from previous round, skip 1, rep from* across, sl st at the beginning ch,
Round 14 & 15 rep round 13
Fasten off and rep all steps on the other side.
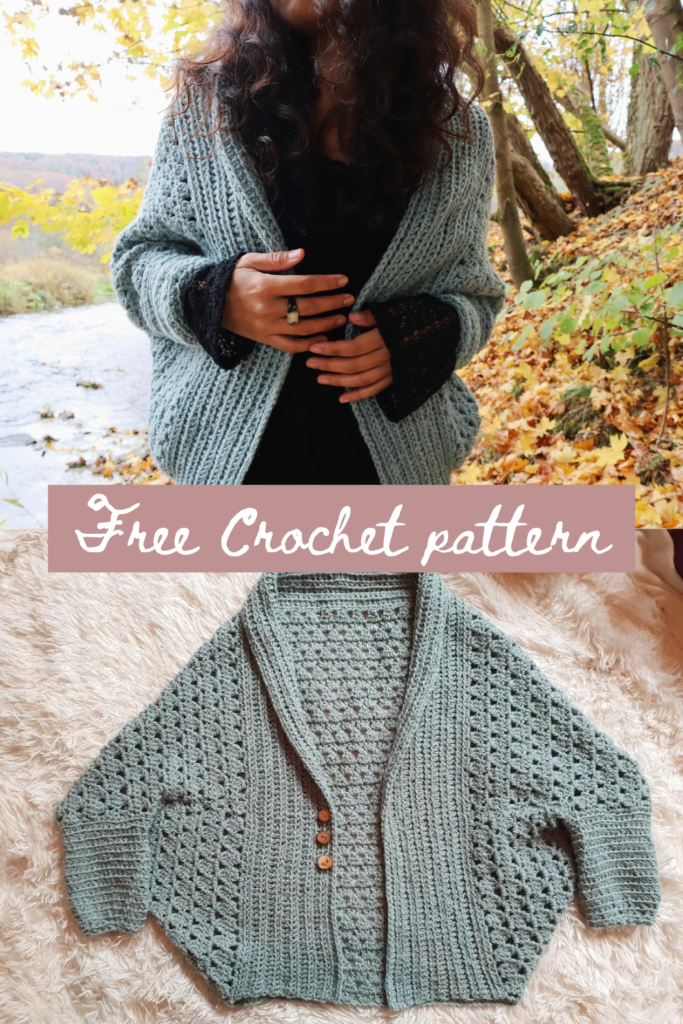
You will have something like this. You can add some buttons if wish.
Pin this project on your board for later!
Let me know if you enjoy this pattern? Show off your work on our Crochet Tribe FB group!
Are you using Instagram? If so find me!
Maya xoxo







Leave a Reply
You must be logged in to post a comment.