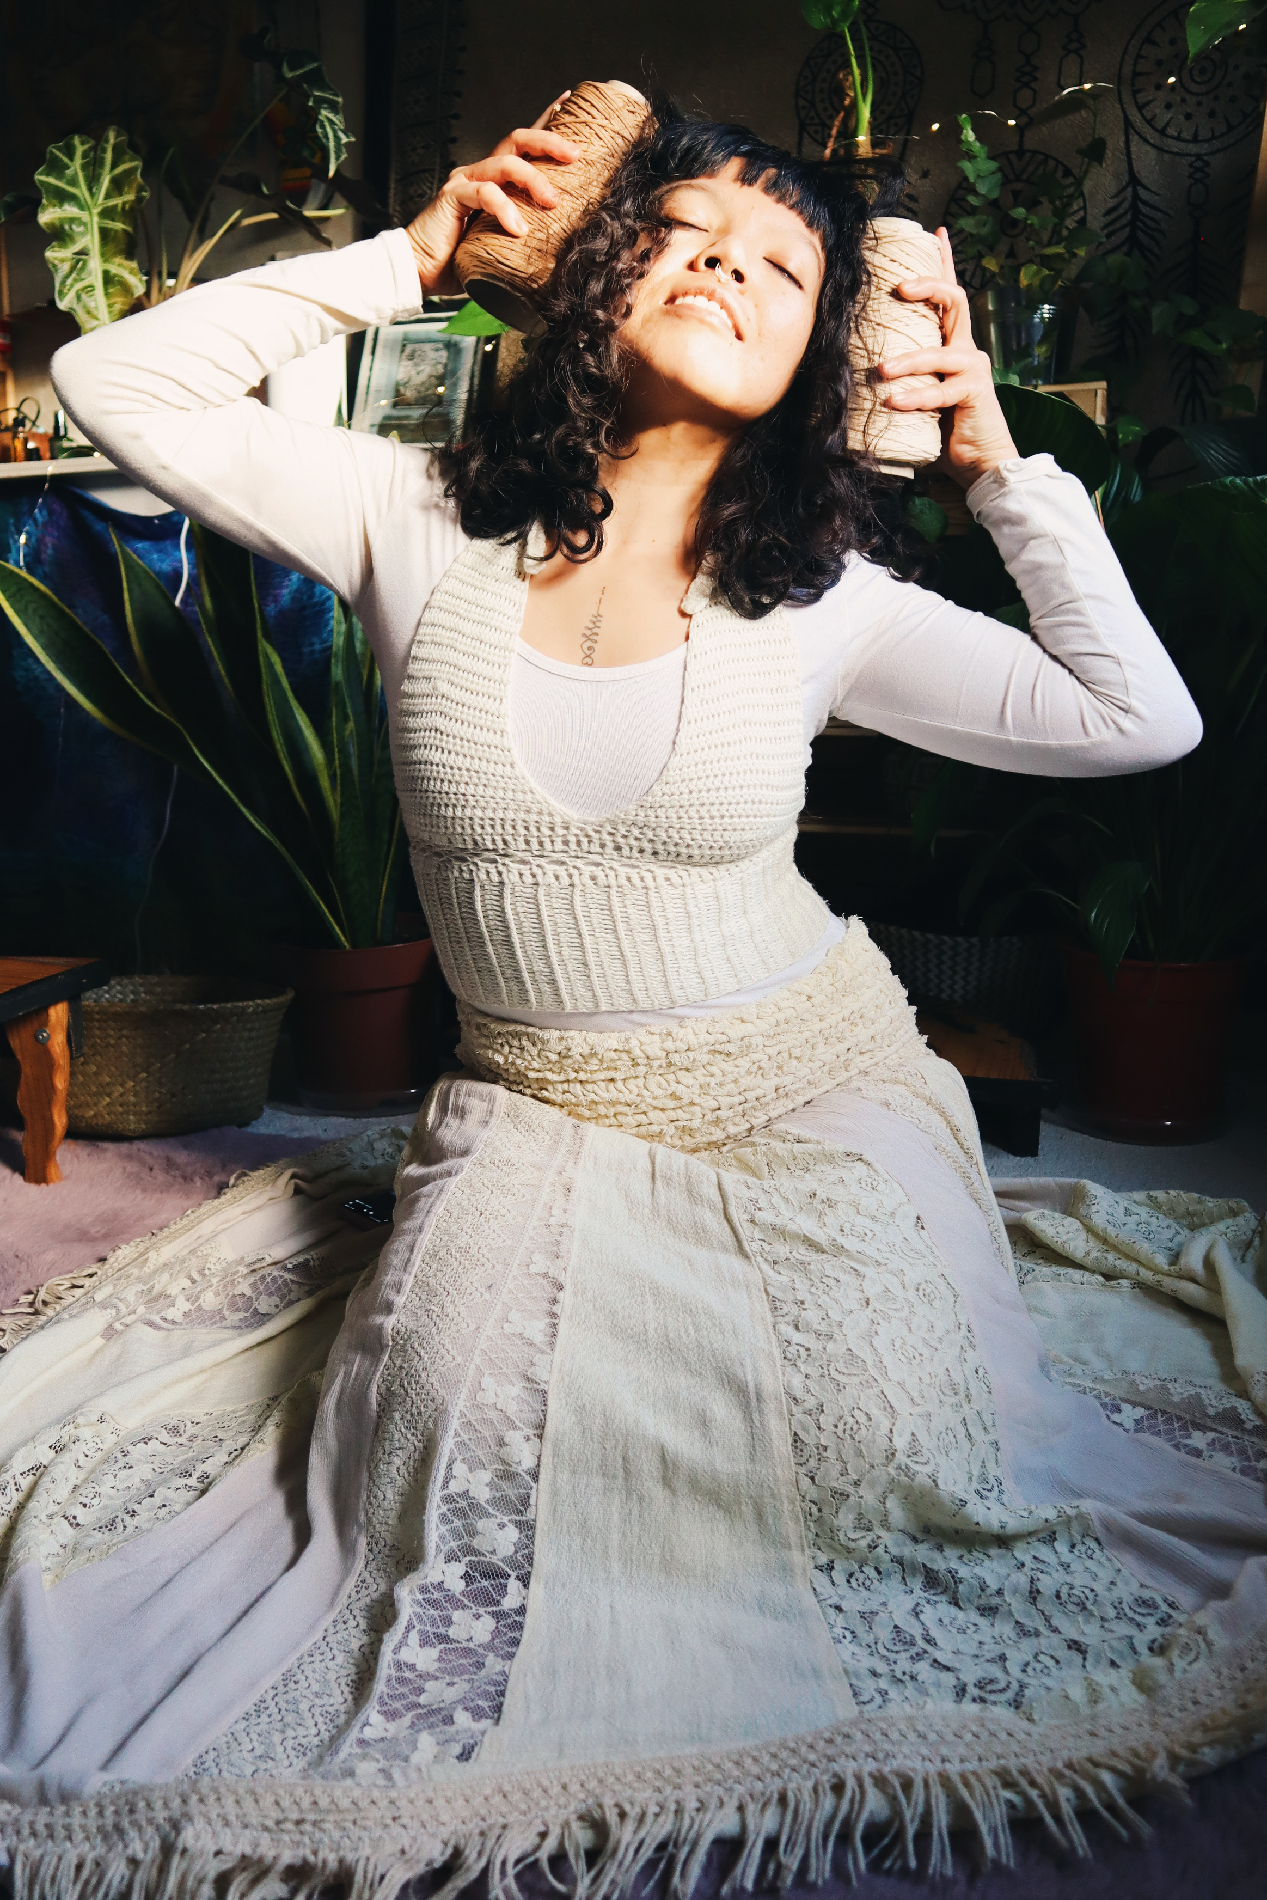
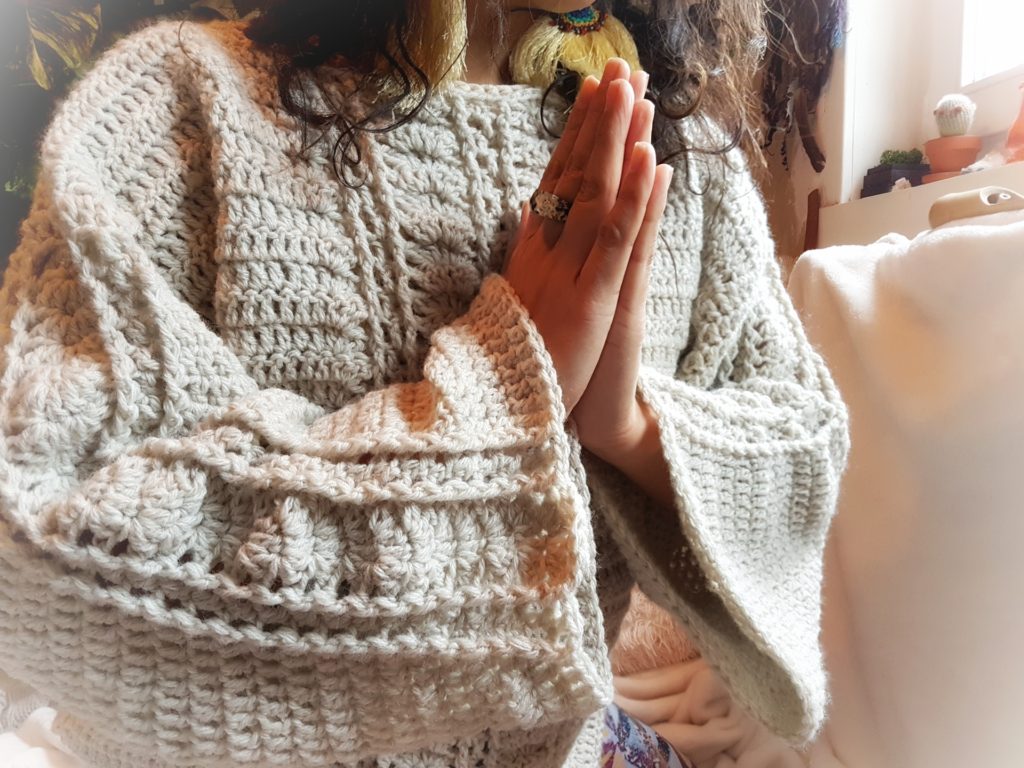
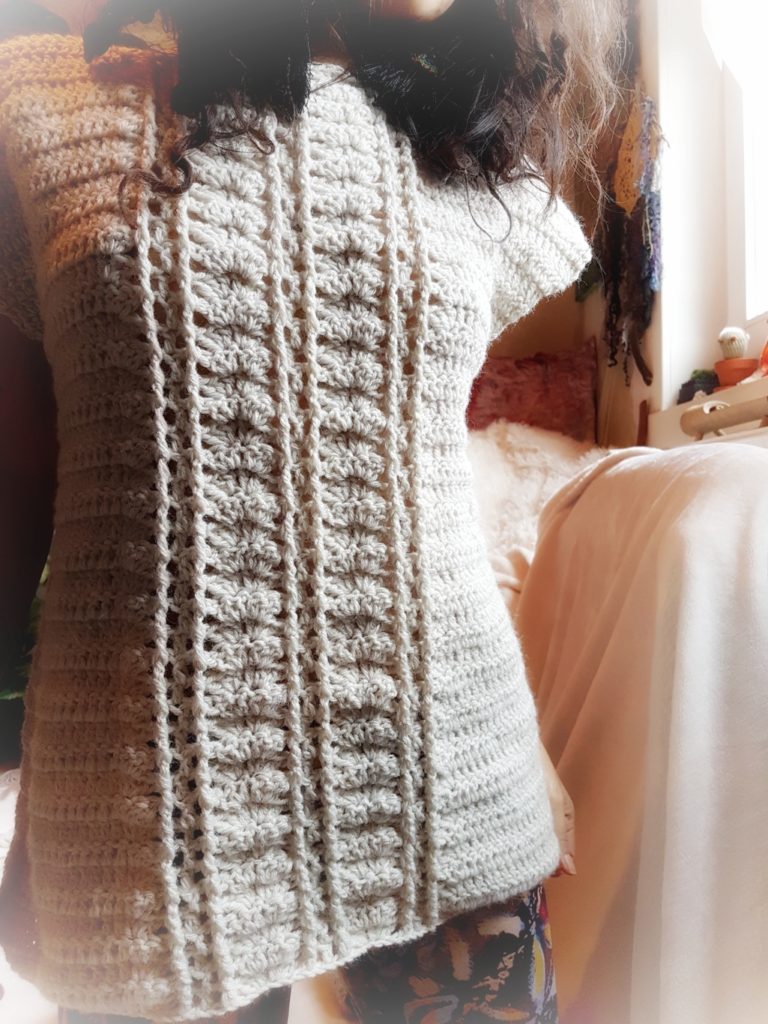
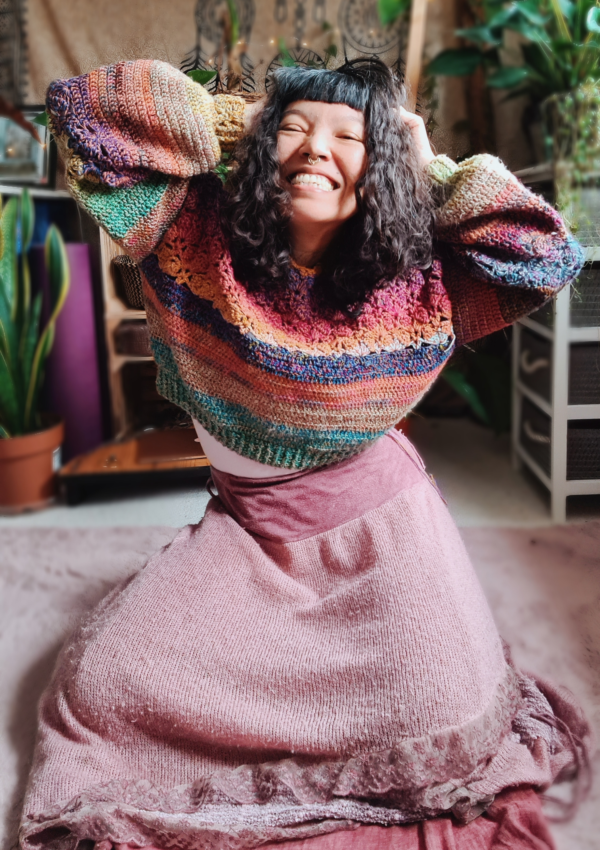
GrandmotherMoon pullover was the first big piece I’ve ever made. When I finished this one, I couldn’t believe how beautiful and comfy it was. I never thought I could accomplish such a big project! Little did I know that it was just the beginning of many more significant pieces I created years after.

This was the Winter collection that I started in December 2017 and published in January 2018
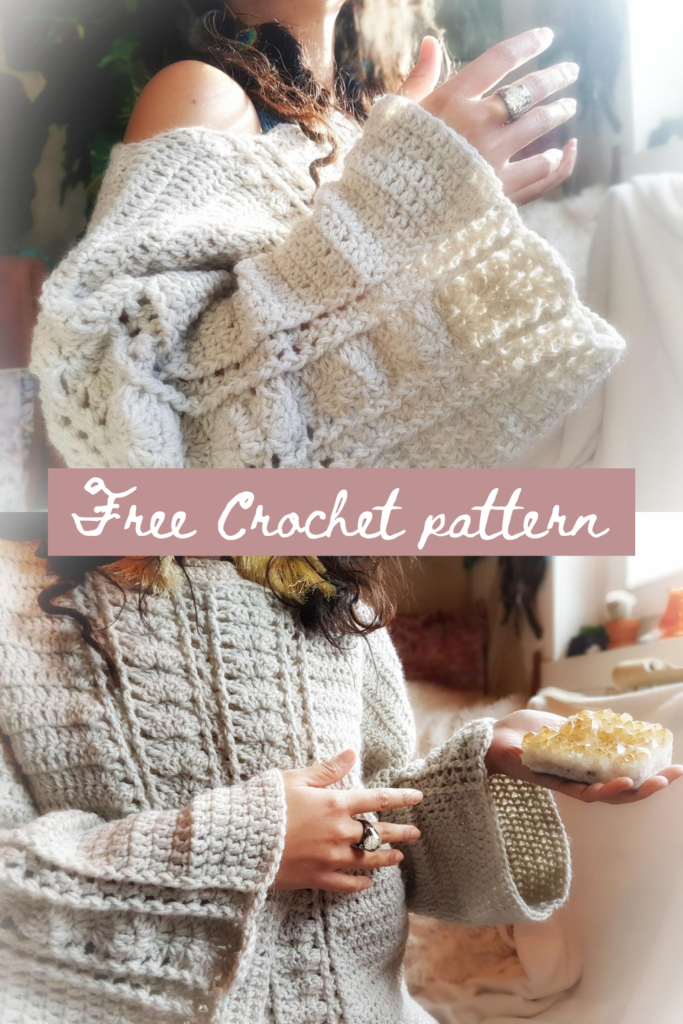
I hope you will enjoy this free pattern I share here. You can also purchase an ad-free printable version of this pattern on Ravelry or Etsy.
Watch the video tutorial along side for better understanding.
Skill level: Intermediate
Crochet terminology: US
Materials
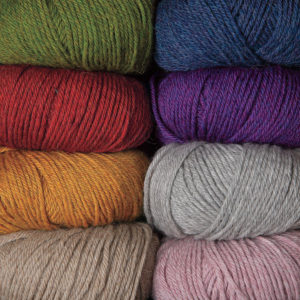
- Lion Brand yarn Wool-Ease/Medium weight. I have used about 6 ½ skeins for size S/M 1,280 yards, (XS 1,100 L/XL 1,500)
- Hook 6mm
- Stitch markers
- Yarn needle & scissors
Gauge Swatch
13dc x 8 rows = 4” x 4”
This is an oversized cardigan
In this pattern, I demonstrated size S/M
Note: The beginning ch if not stated as stitch it’s simply meant to build up the yarn.
Abbreviation US term
- Ch = chain
- St = stitch/ Sts = stitches
- Sk = skip
- Sl st = Slip stitch
- Sc = single crochet
- Hdc = Half double crochet
- Dc = double crochet
- BPdc = Back post double crochet: Yo, insert hook from back to front to back again around the post of designated st, yo, draw yarn through, (yo, draw yarn through 2 loops on hook) twice.
- FPdc = Front post double crochet: Yo, insert hook from front to back to front again around the post of designated st, yo, draw yarn through, (yo, draw yarn through 2 loops on hook) twice.
- Sk = Skip
- Rep = repeat
Size: XS, S/M, L/XL
Size chart for this pattern: (Shoulder to shoulder)
XS 14”-14 ½ , (14 ½ – 16”, 16 ½ – 17 ½ )
***As it’s an oversized sweater, model (me) is size xs, demonstrated size S/M in this pattern, however, if You are the same size with me and want this sweater to be more fitting, then follow size XS instructions***
Start with ch67 + 3, (77 + 3, 88 + 3)
R.1 – 1dc in 4th ch from hook, 1dc in each of next 16ch, (21ch, 21ch) *3dc in next ch, sk 2ch, 1dc in next ch, ch1, sk 1ch, 1dc in next ch, ch1, sk 1ch, 1dc in next ch, sk 2ch, 3dc in next ch**, rep from *-**
2 more times, (2 more times, 3 more times), 1dc in next 17ch, (22ch, 22ch), turn
R.2 – ch3, 1dc in each of next 17dc, (22dc, 22dc) sts *3dc in next dc, sk next 2dc, BPdc around the post of next dc, ch1, sk next ch-1space, dc in next dc, ch1, sk next ch-1space, BPdc around the post of next dc, sk next 2dc, 3dc in next dc**, rep from *-** 2 more times, (2 more times, 3 more times), 1dc in next 17ch, (22ch, 22ch), turn
R.3 – ch3, 1dc in each of next 17dc, (22dc, 22dc) sts, *3dc in next dc, sk next 2dc, FPdc around the post of next dc, ch1, sk next ch-1space, dc in next dc, ch1, sk next ch-1space, FPdc around the post of next dc, sk next 2dc, 3dc in next dc**, rep from *-** 2 more times, (2 more times, 3 more times), 1dc in next 17ch, (22ch, 22ch), turn
Rep Row2-3 for the pattern
I have made 45 rows in total
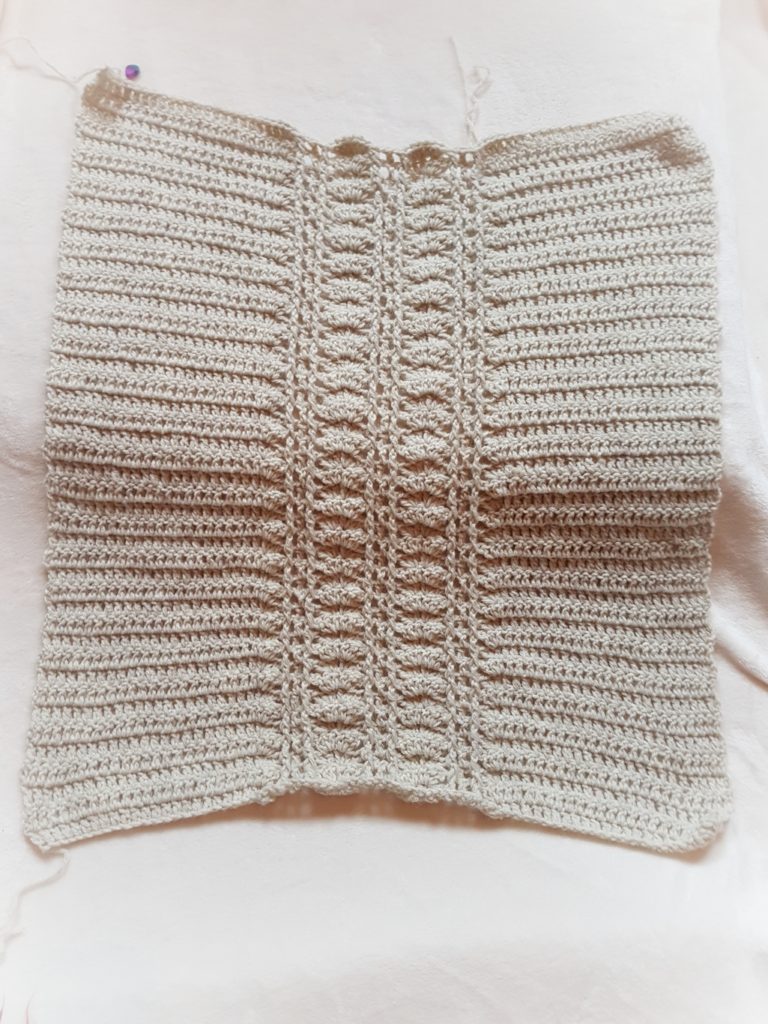
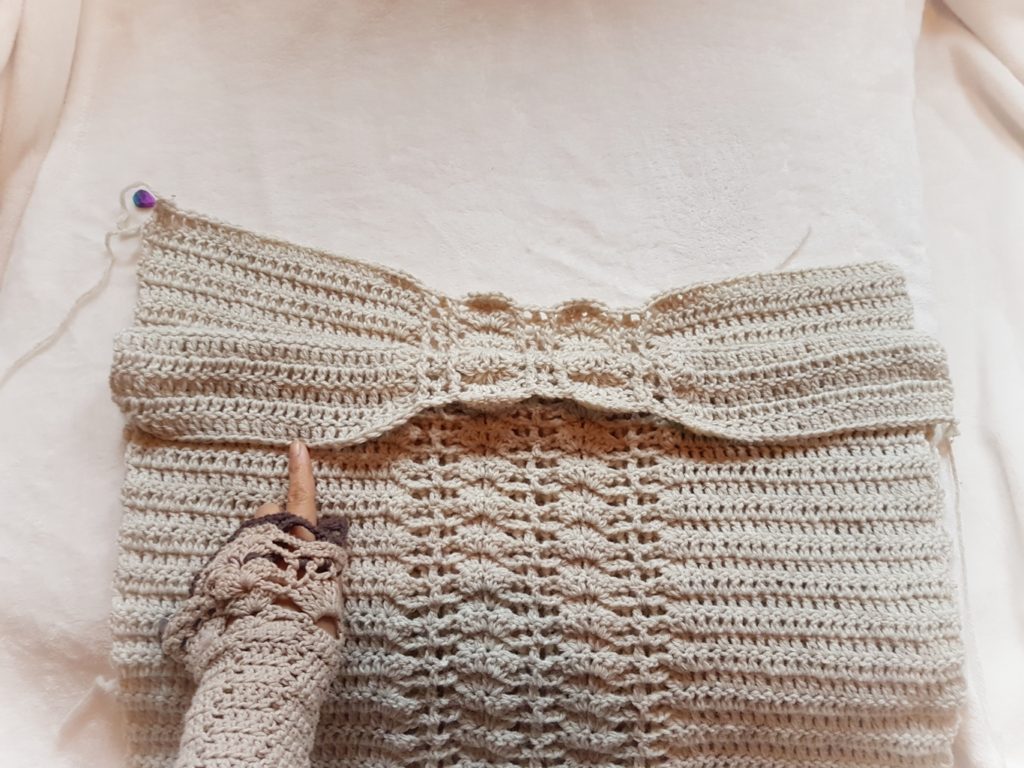
When You got the length of Your desire, make another identical piece like this one.
2 pieces of front and back part 🙂
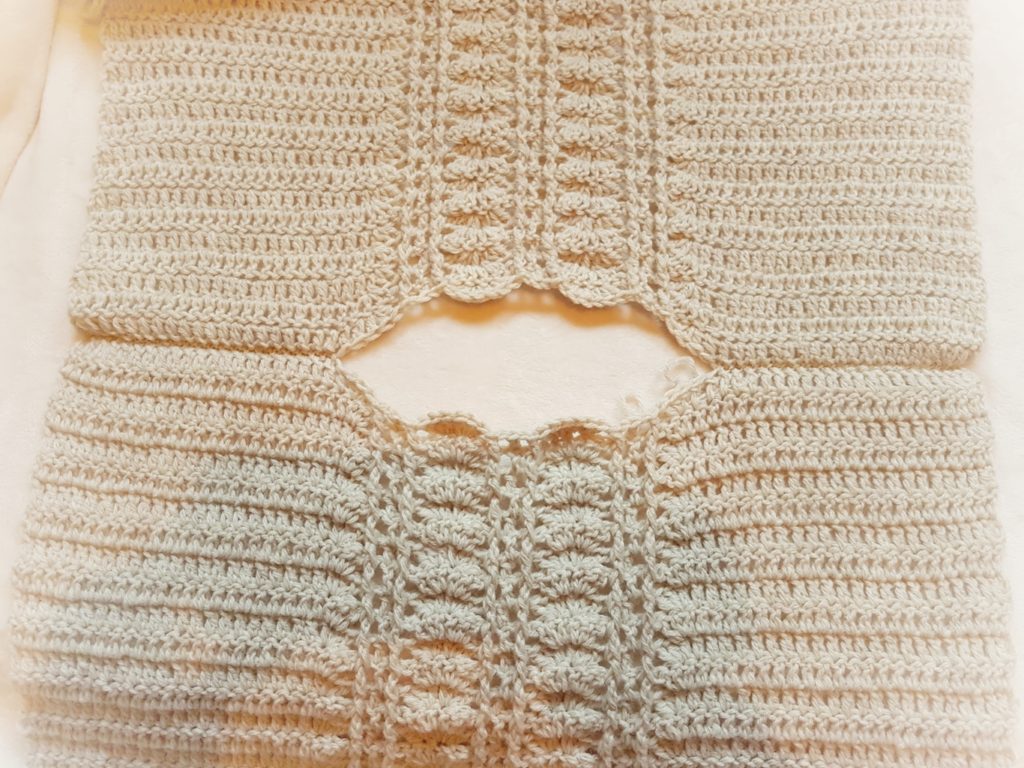
Facing the RS (right side) together. We will crochet both parts together from the inside.
Shoulders
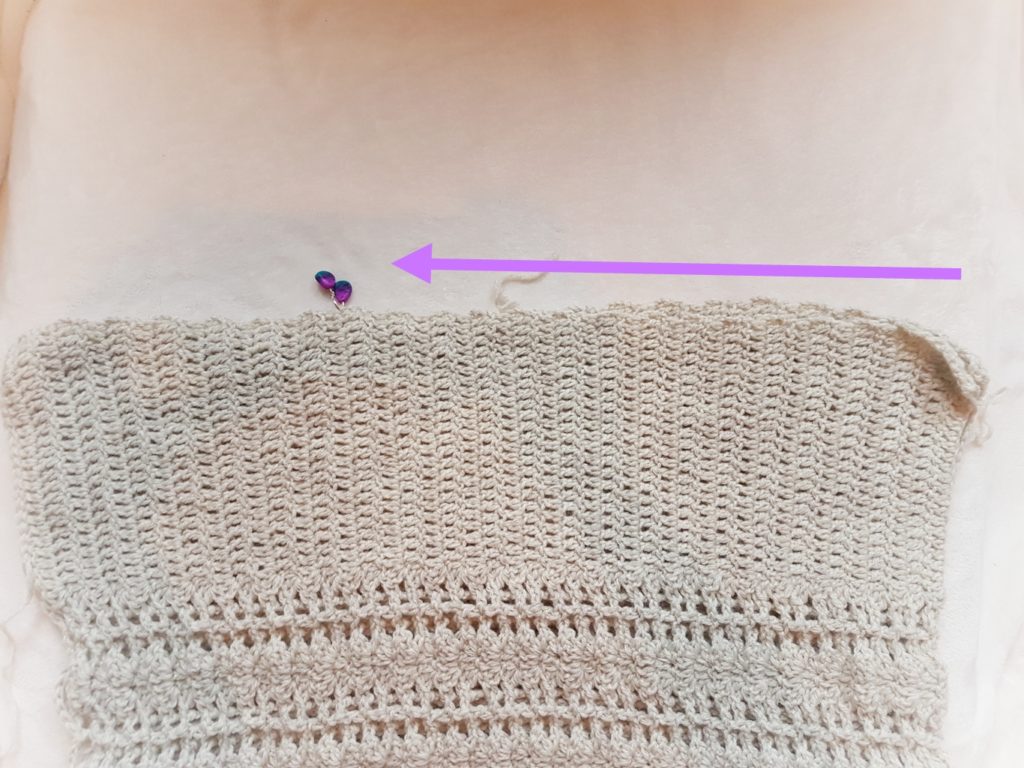
You can use a yarn needle to connect both parts. As I want my neckline to be wide open, I crocheted 21sts from the outside toward the middle part, using sl st, rep the same method the other side.
And when I flipped over, this is how it looks from the outside.
Side body/armhole
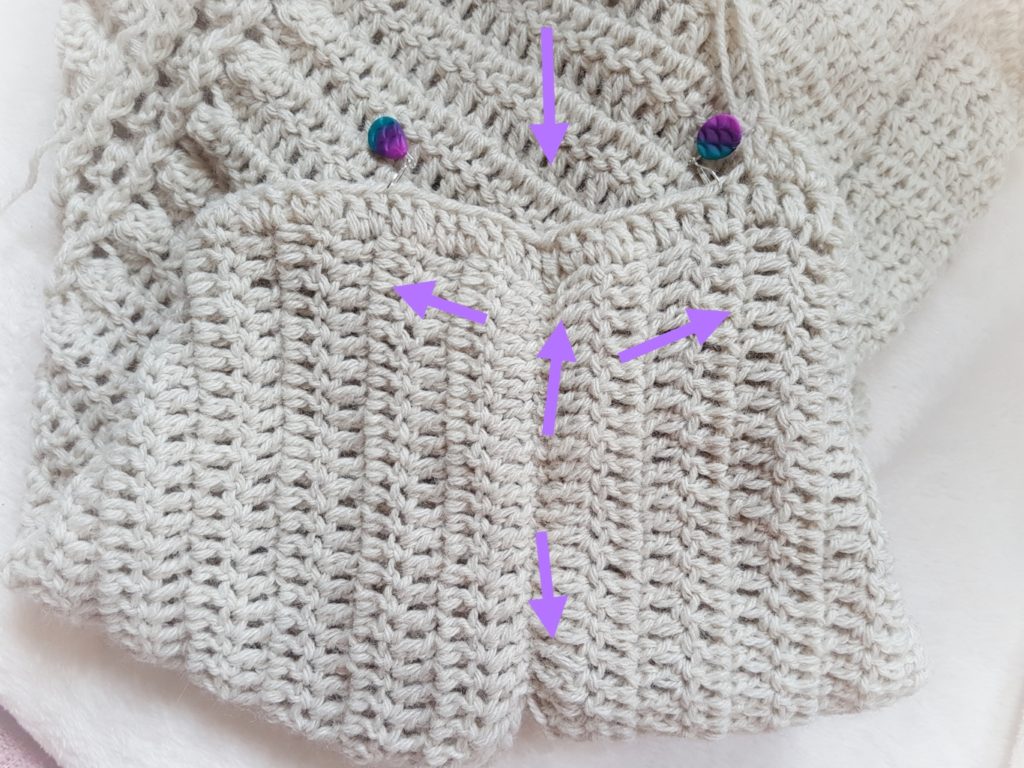
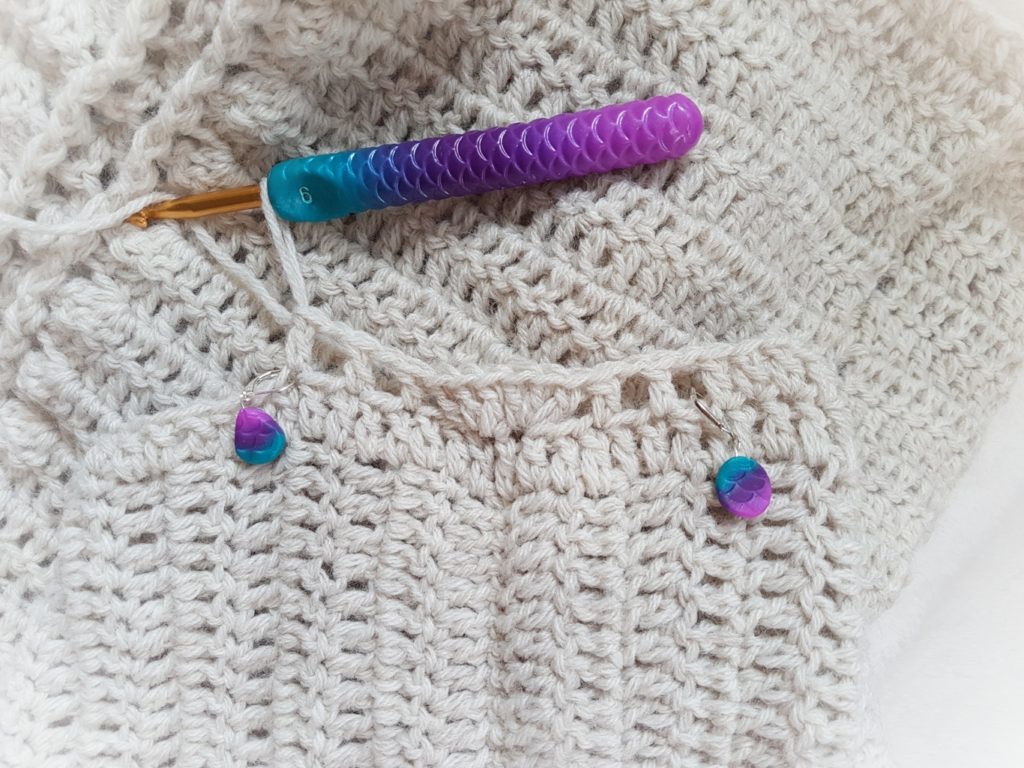
I skipped 15 rows from the shoulder part and this will be the armhole. Add stitch markers here.
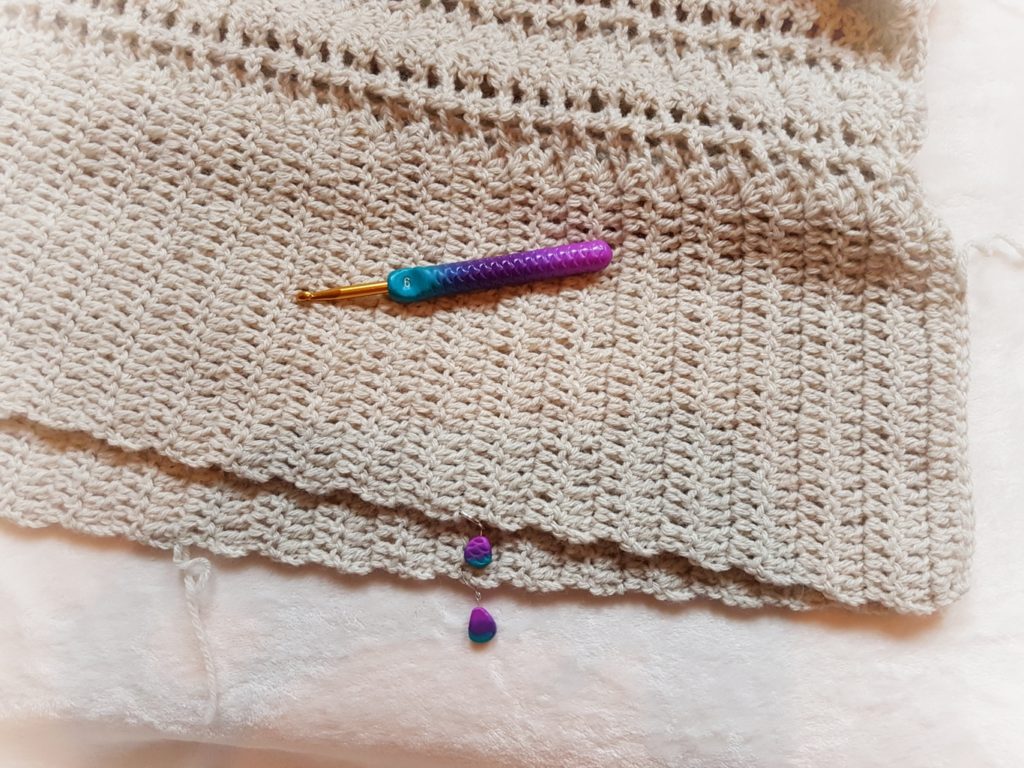
I got this cute hook here!
To close the side body, You can either sew up from the bottom edge to where the stitch markers are, with the yarn needle or crochet both part together.
I crocheted together, using 2sc at the end of each row, 1sl st between the rows.
Rep both sides to connect the body part the same way.
This is what You should have so far.
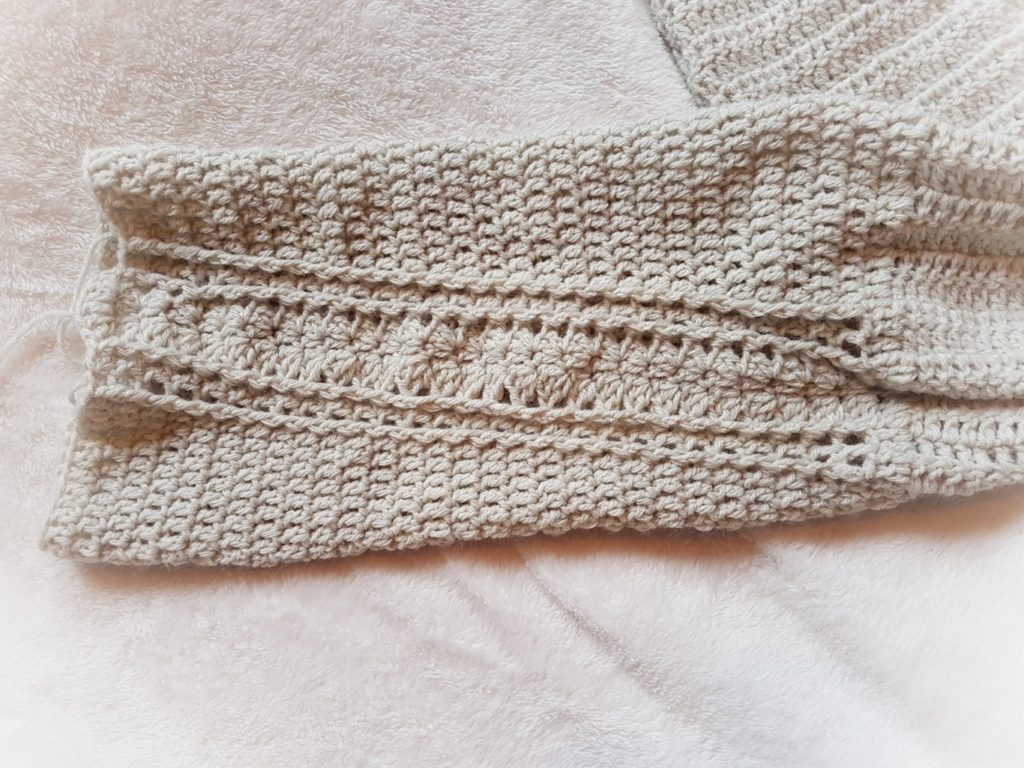
Sleeves ***with the right side facing You***
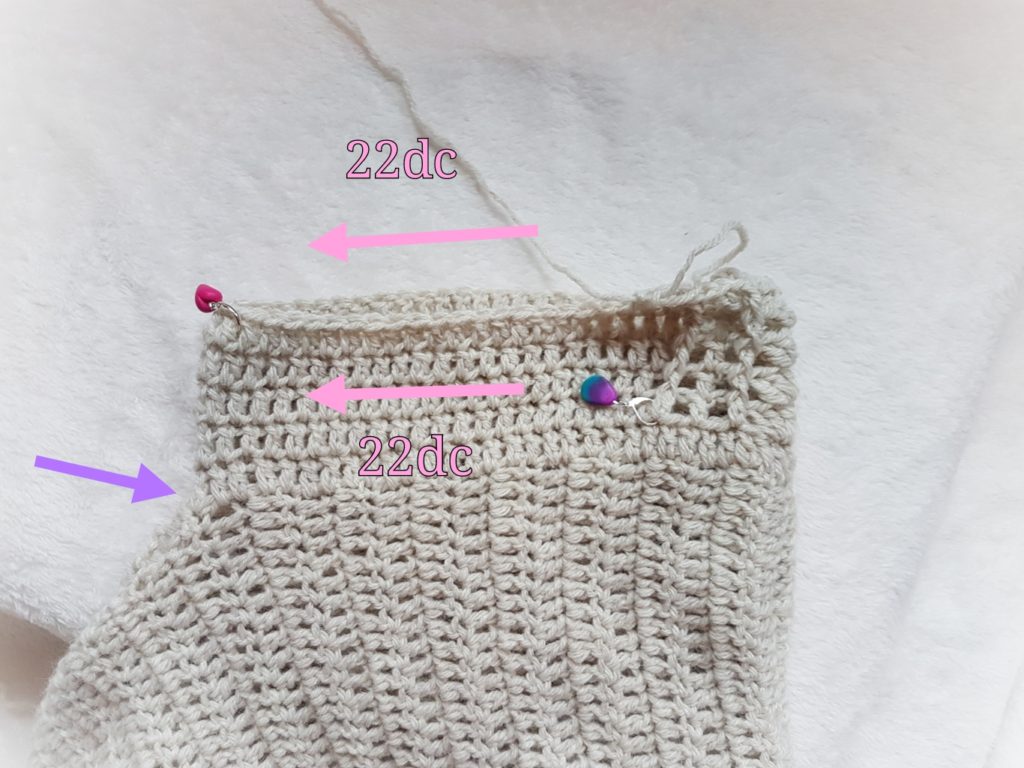
R.1 – sl st under the armhole, ch3 to build up the yarn, *1dc at the end of the row, 1dc between rows**, rep from*-** in a total of 60dc,
sl st at the beginning ch, R.2 – in the same ch, add 1dc (no build up the yarn, we want to make the sleeve with spiral movement. Meaning seamless!), 1dc in each of the next 21dc,
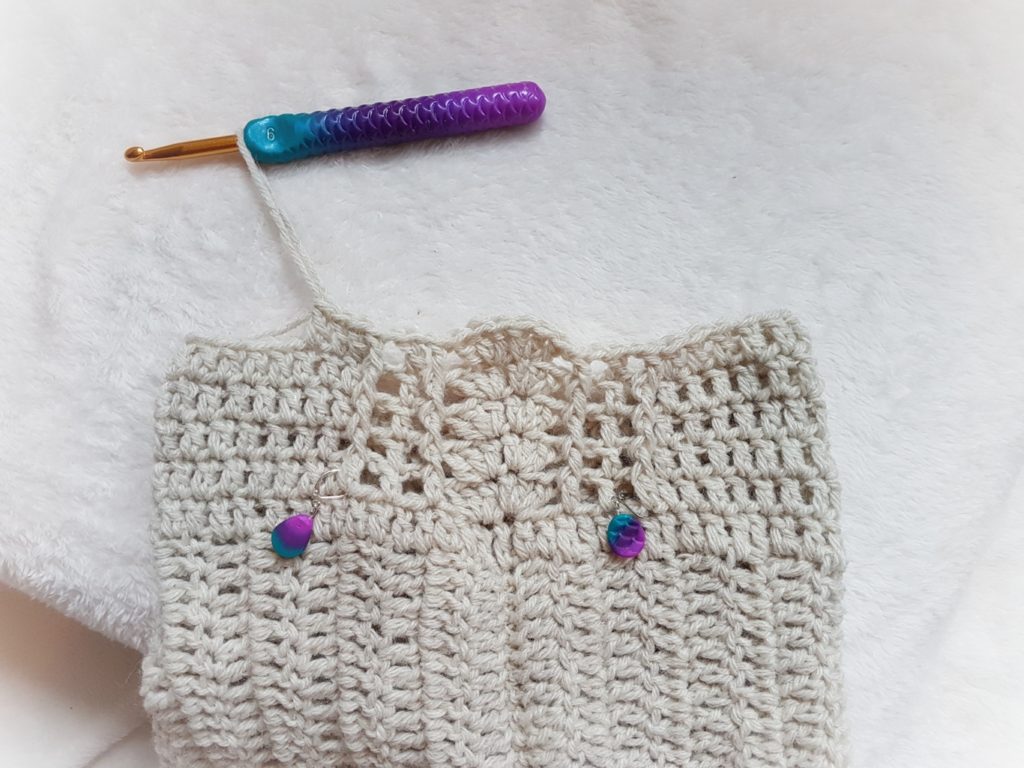
You then will arrive 8sts before the middle part of the shoulder line, 1dc in the next dc, ch1, sk 1ch, 1dc in the next dc, ch1, sk 1ch, 1dc in the next dc, sk 2ch, 3dc in the next dc, 3dc in the next dc, sk 2dc, 1dc in the next dc, ch1, sk 1ch, 1dc in the next dc, ch1, sk 1ch, 1dc in the next dc, 1dc in each of next 22dc, no sl st,
R.3 – here You will see the beginning ch from the previous row, without build up the yarn, 1dc in that st, 1dc in each of the next 21dc, You will arrive at the pattern on the middle part of the shoulder, *FPdc around the post of next dc, ch1, sk next ch-1space, dc in next dc, ch1, sk next ch-1space, FPdc around the post of next dc**, sk next 2dc, 3dc in the next dc, 3dc in the next dc, sk 2dc, rep *-**, 1dc in each of next 22dc, no sl st (middle part of the shoulder), the pattern at the middle contain a total of 16sts
Remember the total sts are 60sts. The beginning is 22sts, plus the middle part (pattern) 16sts, then another 22sts after, in a total of 60sts. If You make more or less, the sleeves will lose its shape. Make sure to count the sts every row!
Rep Row3 for the pattern
I have made 29 rows in total.
At the last row (R.29), after I have made 22dc, 1hdc in the next dc, 1sc in the next dc, sl st in the next dc, ch1, cut the yarn
Rep the same steps on the other side to create another sleeve.
When You are done, weave in all excess yarn and you are done.
Pin this project on your board for later!
What do you think about this design friends? Let me know in the comment below 🙂
Show off your work on our Crochet Tribe FB group!
Are you using Instagram? If so find me!
See you again soon!
Maya xoxo





Leave a Reply
You must be logged in to post a comment.