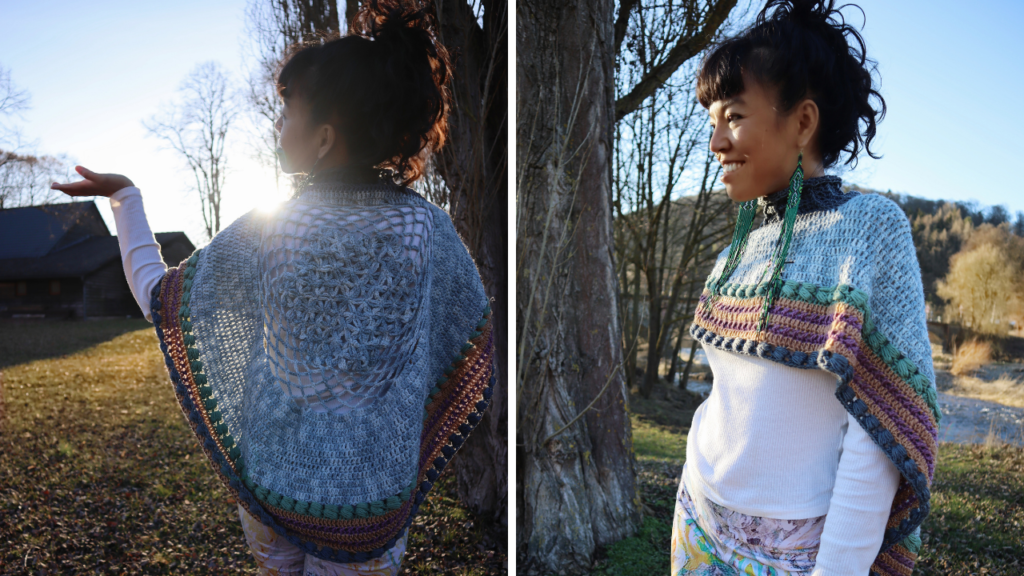
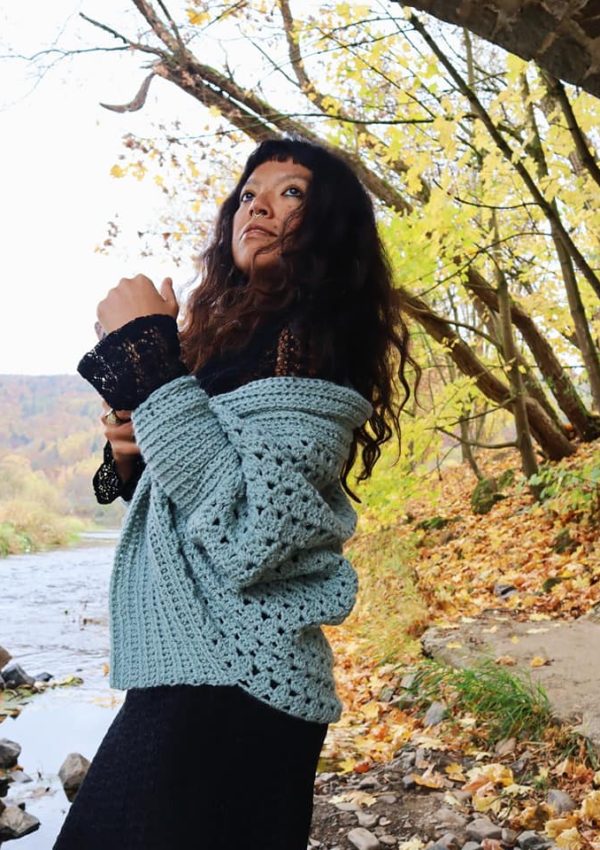
Learn how to make this crochet poncho free pattern and tutorial with me. This crochet poncho has a flower of life motif at the back with a beautiful texture around the trim and a turtle neck, making this piece absolutely stunning.
Yarn
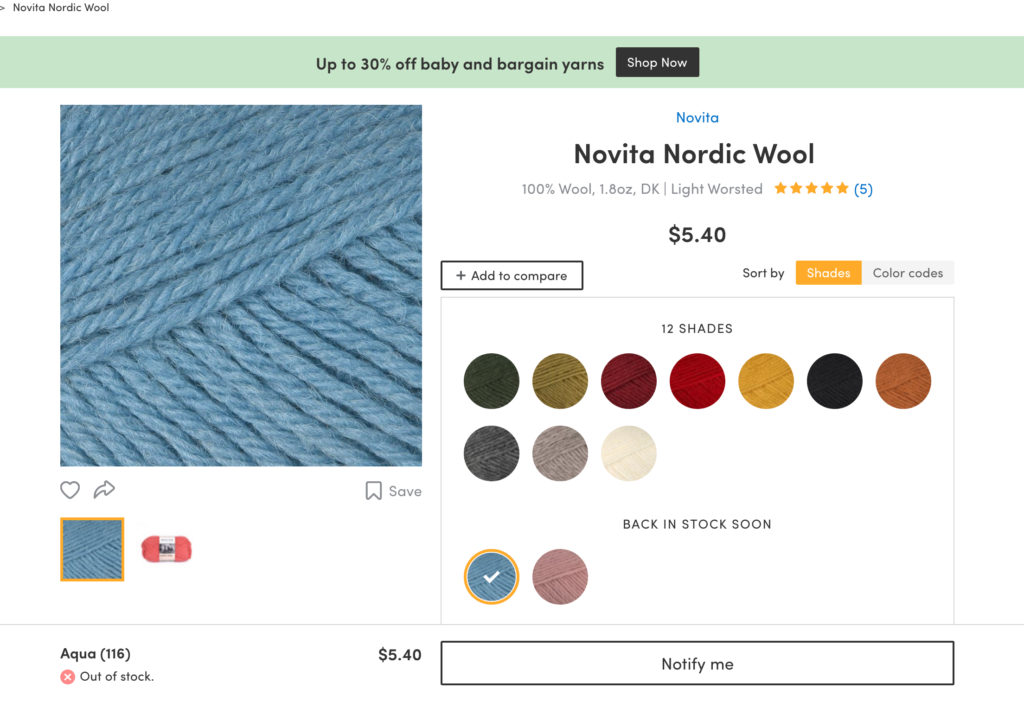
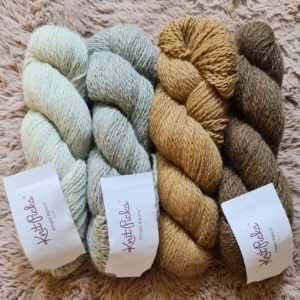
Let’s talk about the yarns I used in this project. I actually mixed so many yarn types, as I want to see the varieties of colors and texture. The body part is Dk weight yarn (the light blue color yarn). It’s from Knitccrate; however, it’s no longer available, so I found this one for you instead. It’s wool, and it said ran out of stock, but I’m sure it will come back again.
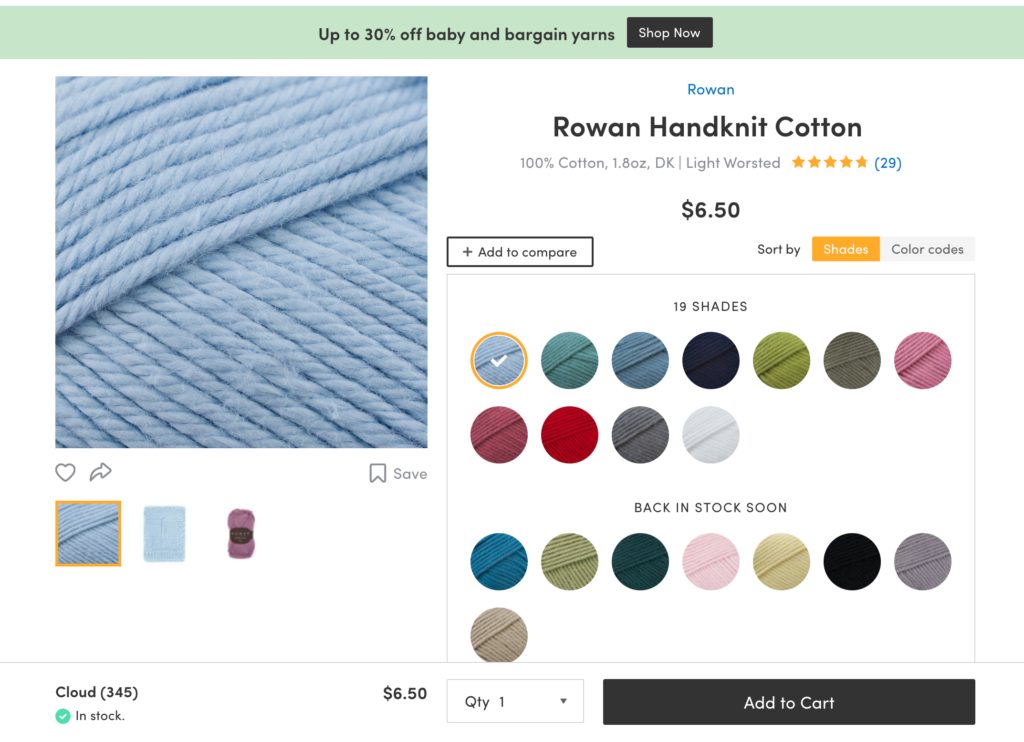
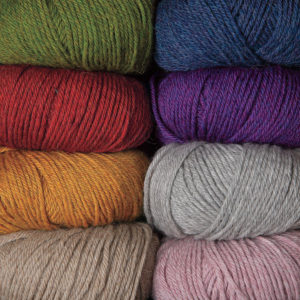
Or if you want to use cotton instead. I found this yarn for you. Just choose what suits you best.
The first round of sideway puff stitch in green, I used Lana Grossa Organico (Aran weight), and the rest of the trim rounds, I used yarn from Thailand which is also DK weight.
Inspiration
I started this piece right after coming back from the deep forest of the Amazon. We were staying in the city in Alto Paraíso. If you have been there, you will know that the city is surrounded by nature. When I walk on the street, I would hear the big bird such as Macaw and Toucans, and the color of these birds is so inspiring. But what moved me the most is the chaos of people, tourists, and travelers that blend nicely with nature. So I started this piece from the center of the backside, which is the Flower Of Life motif. For me, it represents the beginning of everything in life. I have no plan to make it a poncho, but it’s developed through stitch.
I hope you will enjoy this free pattern and if you want to get a printable pattern ads-free and have a chance to support my work for a small exchange. You can do it at Ravelry (preferable) or Etsy.
Skill level: Advanced Beginners
Material:
- DK weight yarn, I made size S/M poncho, You will need more yarn when making bigger sizes. (2 skeins of the main color I used about 400 yards + colors trim I used half skein in each color, there are 4 colors. 1 skein/ 230 yards. Total yarn used S/M is of 860 yards, L/XL is about 1,000 yards
Note:
- The main color of this project is DK weight from Knitcrate. Although, they won’t have the same color as mine one anymore. Here is my suggestion for the substitute yarn. Wool or cotton.
- The first round of sideway puff stitch in green, I used Lana Grossa Organico (Aran weight), and the rest of the trim rounds, I used yarn from Thailand which is also DK weight.
Abbreviation US term
- ch = chain
- st = stitch
- sl kn = slip knot
- Sc = single crochet
- hdc = half double crochet
- Dc = double crochet
- dc2tog = double crochet 2 sts together
- Sideway puff stitch = watch the video
- Double crochet round = watch the video
- X round = watch the video
- Fpdc = Front post double crochet (watch video)
- rep = repeat
Resources videos for you.
Note: The beginning ch if not stated as stitch it’s simply meant to build up the yarn.
Size: S/M, L/XL
In this pattern, I demonstrate size S/M
Gauge Swatch
16dc x 10 rows = 4” x 4” inches
All sizes start with the Flower of Life motif. You can learn how to make a flower of life step by step from this video or follow the instruction below.
However, if You have never made the Flower of Life motif before, it’s better to watch the video at least once.
Begin with the magic ring, *ch10, sl st in the ring (it’s now called 1 petal), rep from* for a total of 6 petals, to close/pull tight the magic circle when the petals are completed.
Round 1 – Sl st along the half petal, *ch5, connecting the petals with sl st, rep*, until round 1 complete.
Round 2 – *ch10, sl st on top of the petal below, rep* in a total of 3 petals, 5sc in ch-space, sl st on top of the petal below, rep* in a total of 3 petals, You will repeat this pattern of 3 petals on top of the petal below, and 5sc in each ch-space around to complete round 2
Sl st to complete round 2, sl st along the half petal (the middle petal) to prepare for connecting petals tog.
Connecting round – ch5, sl st 2 petals tog (it’s now called “side petals”)
ch5, sl st on the top of the middle (mid) petal, *ch5, sl st side petals tog, ch5, sl st the middle petal, rep from* around to complete the connecting round
Round 3 – *ch10, sl st on top of the petal below × 3 times = 3 petals in total, 5sc in ch-space, 2 petals on top of the 2 petals below, rep from* across to complete round 3
Sl st halfway of the petal (the middle petal) to prepare for the connecting round
Rep Connecting round above.
Round 4 rep Round 3 + Connecting round, do not cut the yarn!
S/M – add 1 more round from the video total of 5 rounds
L/XL – add 2 more rounds from the video total of 6 rounds
***Finish with the connecting round***
The above numbers are my measurement of the motif
Nets Love rounds
But before we start the nets love rounds, I want You to study this part carefully. Below is the image which shows You the single petal clearly. DO NOT CARE ABOUT THE TOTAL ROUNS OF THE MOTIF, I only want You to see the stitch markers
The stitch markers point out the single petal around the motif.
After, You have made the rounds that You need for Your size, add stitch markers on the point of a single petal, like the image above.
Round 1 – ch7, sk the first ch-5space, sc in the next ch-5space, *ch7, sc in the next ch-5space, rep* until arrive at the last ch-5space before the single petal, ch7, sk the next ch-5space, sc in the one after, *ch7, sc in the next ch-5space, rep* all around,
Yellow arrows point to the single petal
Green arrows point to the sk ch-space
Red arrows point to where to add sc
Last sc is in ch-space and not the top of the petal.
Round 2 – *ch7, sc in the next ch-7space, rep* all around,
Suggest adding a stitch marker on the single petal that nets love rounds started.
Round 3 – Round 6 rep Round 2
***Do not confuse the border round as nets love rounds***
Double crochet rounds
Round A – ch3, 5dc in ch-space, *8dc in the next ch-space, rep* across the whole piece, sl st at the 3rd ch of the beginning ch

Round B – ch3, 1dc in each of dc from previous round, sl st at the 3rd ch of the beginning ch,
Round C – ch40 (creating the neck area), sk 40 sts from the existing round (round B), sl st, ch3, 1dc in each st after that around the whole piece until arrive at the beginning where ch started,
Note: size S/M follow the instruction above.
Size L/XL, lay the work flat on the ground. Count 20sts on the left and 20sts on the right.

Here is the beginning where 40 ch started
Add 1dc in each of 40ch across, dc in 3rd ch of ch3 in the other side
See the arrow
Continue with 1dc in each st across until the other side
Pay attention here. Stop 3sts before the row of neck area starts. Then adding 1hdc, sc, sl st,
This is how You close this round
J
Declaration Round (R.2 from the front side): ch3, 1dc in each of the dc st from a previous round
Note: From now on we are going to count the front round (not the motif side) to avoid the confusion of counting. (see arrows)
In this point, we have made 2 rounds
Round 3 – Round 5 rep Declaration Round (round 2)
Increasing rounds:
Round 6 – ch3, *1dc in each of the next 4sts, 2dc in the next, rep* across, sl st in 3rd ch of beginning ch
Round 7 rep Round 6
Round 8 – ch3, 1dc in each st across
Round 9 rep Round 8
The Fancy Trim rounds:
From now we will be using this term for the pattern.
- Sideway puff stitch A, B (please watch the video to see the difference between A & B)
- Double crochet round
- X round
I highly suggest you to watch the video for better understanding.
Lana Grossa Organico in the first Sideway puff stitch
The rest of the colors using local yarn from Thailand, DK weight
Note: You can see the colorway above, I will not mention in each row about changing the colors. In the video, You will see it in action.
Round 1/Sideway puff stitch A – ch3 (to build up the yarn), sk the 1st stitch, *1hdc in each of the next 3sts, Sideway puff stitch over hdc sts, sk1, rep* across, ending with sl st in 3rd ch of the beginning ch (if You have extra st on the round, make sure You watch the video on how to end the row)
Round 2/Sideway puff stitch B – ch3 (to build up the yarn), *1hdc in each of 3 hdc sts that hidden inside Sideway puff stitch A (please watch the video), add Sideway puff stitch B over hdc sts, sk ch-space, rep* across, ending with sl st in 3rd ch of the beginning ch
Round 3/Double crochet round – ch3 (to build up the yarn), *1dc in ch-space from a previous round, 1dc in each of hdc from a previous round, rep* across, ending with sl st in 3rd ch of the beginning ch
Round 4/X round – ch3 (to build up the yarn), *sk1, 1dc in the next, 1dc inside of sk st before by crossing the st to create X design.
WATCH THE VIDEO TO BE ABLE TO UNDERSTAND! rep* across, ending with sl st in 3rd ch of the beginning ch
Round 5 rep Round 3/Double crochet round
Round 6 rep Round 4/X round
Round 7 rep Round 3/Double crochet round
Round 8 rep Round 1/Sideway puff stitch A
Round 9 rep Round 2/Sideway puff stitch B
The approximate measurement of 9 rounds is 3.9” inches
I stopped here. However, feel free to rep Round 3 – Round 9 more time if you want to.
Turtle Neck (we all have 80 sts at this point from sk 40 sts earlier)
Head size info:
My head is 22” – 23” inches and the instruction below is for this size. If the size of Your head is bigger, You may want to stop the decreasing round at Round 3 and not Round 4.
Round 1 – sl kn at one of the corner, ch3 (to build up the yarn), 1dc in each of st from a previous round across, ending with sl st in 3rd ch of the beginning ch (total of 80dc)
As you can see, at the front of the poncho, I like to add dc st. I like the look of if.
Most importantly, only 1dc in each st to have a total of 80dc
Round 2 – ch3 (to build up the yarn), *dc2tog, 1dc in each of the next 4dc sts from a previous round, rep* across, ending with sl st in 3rd ch of the beginning ch
Round 3 – ch3 (to build up the yarn), *Fpdc in the next st, sk1, 1dc in each of the next 3dc sts from a previous round, rep* across, ending with sl st in 3rd ch of the beginning ch
Round 4 – ch3 (to build up the yarn),*Fpdc in the next st, sk1, 1dc in each of the next 2dc sts from a previous round, rep* across, ending with sl st in 3rd ch of the beginning ch
Round 5 – ch3 (to build up the yarn),*Fpdc in the next st, 1dc in each of the next 2dc sts from a previous round, rep* across, ending with sl st in 3rd ch of the beginning ch
Rep Round 5 as many rounds as You wish.
I have made a total of 10 rounds
PIN IT ON YOUR BOARD
Do you enjoy this crochet poncho free pattern? I would love to see your work. Show off your project on our Crochet Tribe FB group!
Join my daily update on Instagram!
Maya xoxo
SIGN UP and get a monthly free downloadable gift pattern via newsletter.
Disclaimer: This post contains affiliate links. Meaning, at no additional cost to you, I will earn a commission if you click through and make a purchase. This way, you help sustain my work and help to provide free content. All opinions are my own.



Leave a Reply
You must be logged in to post a comment.