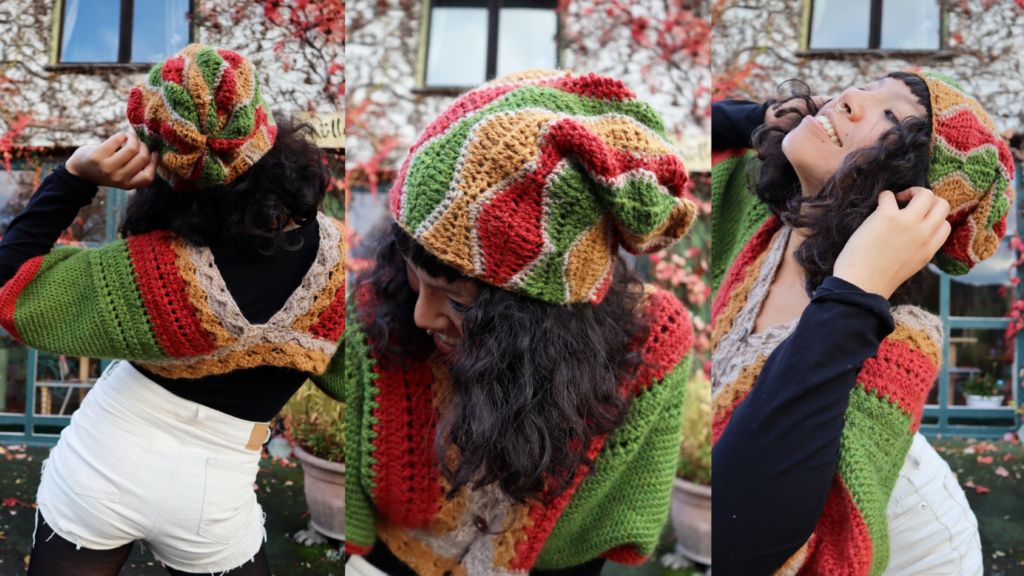
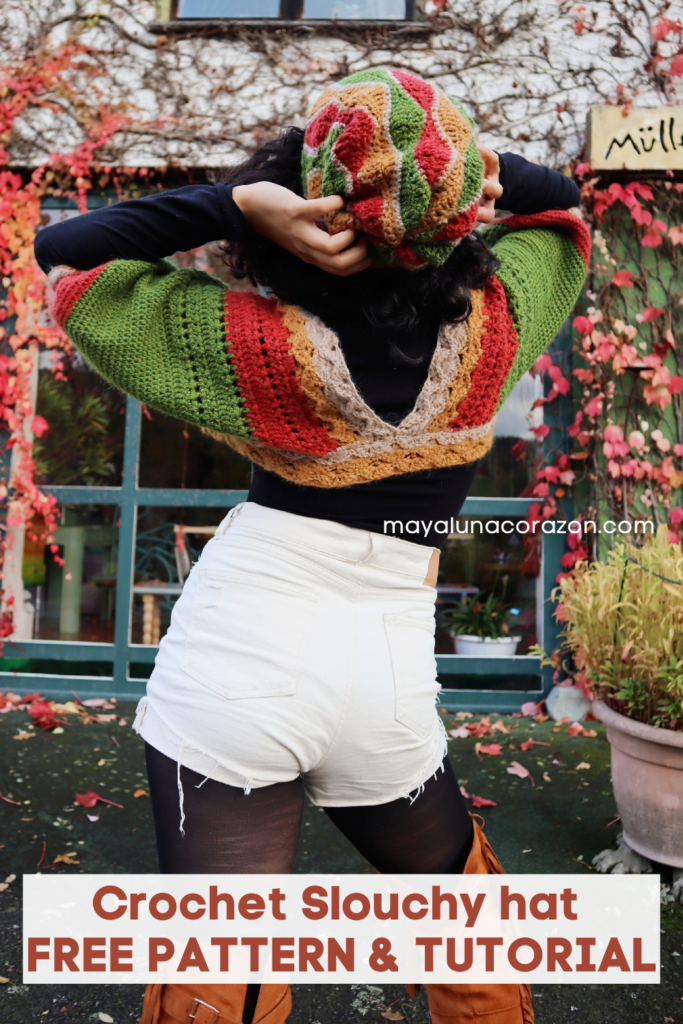
Do you like a crochet slouchy hat? I love it! This hat is super fun to make and fun to wear. Especially if you love Autumn’s colors, you will have a lot of fun making this hat.
Sign up and download FREE editable Bai Maii project keeper!

Yarn
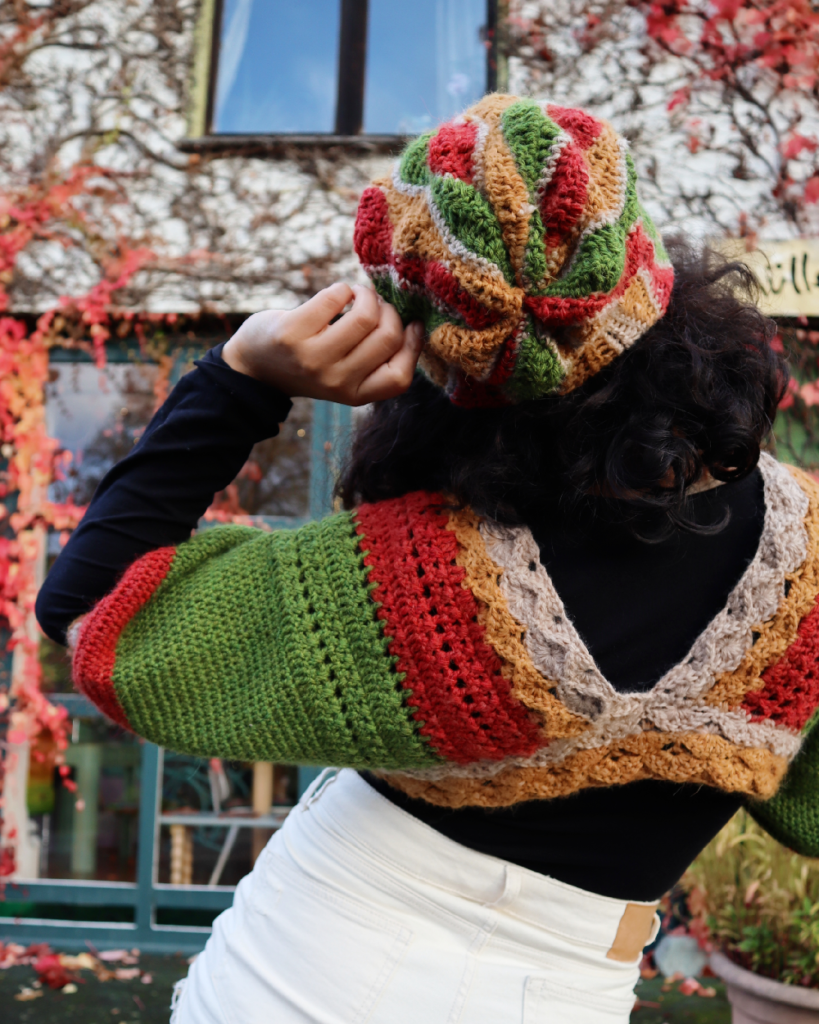
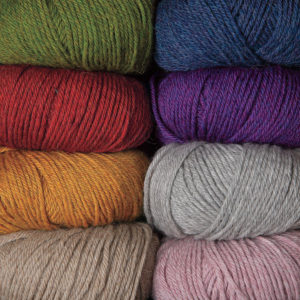
I am so in love with this yarn. As you can see, I already made FALL Vest with this exact yarn. This is Andean Treasure Baby Alpaca that you will love. It’s a sport weight, and it’s just great for this project. I think this crochet slouchy hat is a perfect match with this Vest!
Inspiration
Fall is my forever inspiration! The colors of Autumn makes me want to move and dance and create. This Crochet Slouchy hat is the fruit of the creative seed I planted.
Get a PRINTABLE version of this pattern on my Ravelry or Etsy!
Crochet | Skill level = Beginner
Material
- Sport weight yarn/#2. I used 209 yards of Andean Treasure 100% Baby Alpaca from We Crochet Colors: brown (24938), beige (26565), green (27946), red (27948)
- Hook 4 mm (Use code: mayaluna15 to redeem 15% off!)
- Measuring tape
- Stitch marker
- Yarn needle & Scissors
The pattern contains | Well-written instructions + Chart (printable version) + Photos + Video
Pattern measured in inches (“)
Gauge swatch
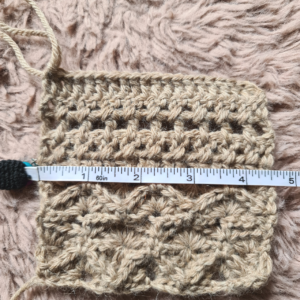
18dc x 8rows = 4” x 4”
The pattern demonstrates head size 22”
Finished project measures = 11 ½ (H) x 22” when stretched out (W)
Abbreviation US term
ch = chain
sc = single crochet
Hdc = half double crochet
dc = double crochet
Tr = Treble crochet
Sl kn = Slip knot
rep = repeat
sp = space
Note: The beginning ch if not stated as a stitch it’s simply meant to build up the yarn.
The pattern is a multiple of 16
Watch this video to see how to do straight edge st. However, the video shows dc straight edge, you only need to add one more sc using the same method.
DO NOT UNDERESTIMATE THE STITCHES! The whole pattern of this part is not using the same stitches as it is a waving design and so the stitches are designed to be different along the row. THIS PART IS NOT FOR WATCHING NETFLIX!
Start with 48 ch
R.1 – ch2, sc in 2nd ch from hook, 1sc in each ch across, a total of 49sc, turn
Before starting R.2
- Add the stitch marker in the 15th st from the end. When you arrive there end the row as mentioned below.
R.2 – ch1, 1sc in each of the next 2sc, 1hdc in each of the next 2sc, 1dc in each of the next 2sc, 1Tr in each of next 4sc, 1dc in each of next 2sc, 1hdc in each of next 3sc, 1sc in next sc, ch1, sk1, 1sc in next sc, *1hdc in each of next 3sc, 1dc in each of the next 2sc, 1Tr in each of next 4sc, 1dc in each of next 2sc, 1hdc in each of next 2sc, 1sc in next sc, ch1, sk1, 1sc in next sc**, rep from*-** across, ending your last 15sts of this row with 1hdc in each of next 3sc, 1dc in each of the next 2sc, 1Tr in each of the next 4sc, 1dc in each of the next 2sc, 1hdc in each of the next 2sc, 1sc in each of next 2sc, turn
R.3 – ch1, 1sc in each st and ch-1sp across, a total of 49sc, turn
Before starting R.4
- Add the stitch marker in the 10th st from the end. When you arrive there end the row as mentioned below.
R.4 – Tr straight edge (count as 1Tr), 1Tr in next sc, 1dc in each of next 2sc, 1hdc in each of next 3sc, *1sc in next sc, ch1, sk1, 1sc in next sc, 1hdc in each of next 3sc, 1dc in each of next 2sc, 1Tr in each of next 4sc, 1dc in each of next 2sc, 1hdc in each of next 2sc**, ending your last 10sts of this row with 1sc in next sc, ch1, sk1, 1sc in next sc, 1hdc in each of next 3sc, 1dc in each of next 2sc, 1Tr in each of next 2sc, turn
Before starting R.5
- Add the stitch marker in the 10th st from the end. When you arrive there end the row as mentioned below.
R.5 – Tr straight edge (count as 1Tr), 1Tr in next Tr, 1dc in each of next 2dc, 1hdc in each of next 3hdc, *1sc in next sc, ch1, sk ch-1sp, 1sc in next sc, 1hdc in each of next 2hdc, 1dc in each of next 2dc, 1Tr in each of next 4Tr, 1dc in each of next 2dc, 1hdc in each of next 3hdc**, rep from*-** across, ending your last 10sts of this row with 1sc in next sc, ch1, sk ch-1sp, 1sc in next sc, 1hdc in each of next 3sc, 1dc in each of next 2dc, 1Tr in each of next 2sc, turn
R.6 rep R.3
Before starting R.7
- Add the stitch marker in the 15th st from the end. When you arrive there end the row as mentioned below.
R.7 – ch1, 1sc in each of next 2sc, *1hdc in each of the next 2sc, *1dc in each of the next 2sc, 1Tr in each of the next 4sc, 1dc in each of the next 2sc, 1hdc in each of the next 3sc, 1sc in next sc, ch1, sk1, 1sc in next sc**, rep from*-** across, ending your last 15sts of this row with 1hdc in each of the next 3sc, 1dc in each of the next 2sc, 1Tr in each of the next 4sc, 1dc in each of the next 2sc, 1hdc in each of the next 2sc, 1sc in each of next 2sc, turn
R.8 – ch1, 1sc in each of next 2sc, 1hdc in each of the next 2hdc, 1dc in each of the next 2dc, 1Tr in each of the next 4Tr, 1dc in each of the next 2dc, 1hdc in each of the next 3hdc, *1sc in next sc, ch1, sk ch-1sp, 1sc in next sc, 1hdc in each of the next 3hdc, 1dc in each of the next 2dc, 1Tr in each of the next 4Tr, 1dc in each of the next 2dc, 1hdc in each of the next 2hdc**, rep from*-** across, ending this row with 1sc in each of next 2sc, turn
Rep R.3 – R.8 for the pattern
I have made a total of 47 rows which measures 22” stretched. If you have a bigger head size add more rows.
Connect both ends:
Right side facing and sew both ends with a yarn needle.
You can wear it as a Cowl too 🙂
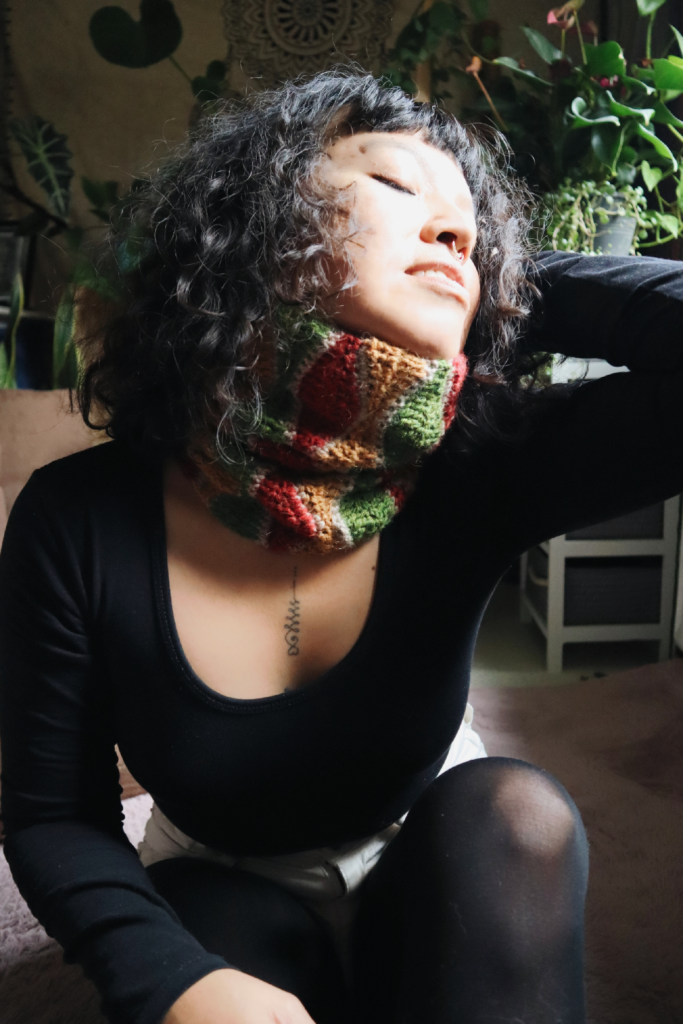
Turn inside out and sew on the side you want to have at the top of your hat, sew together like a drawstring.
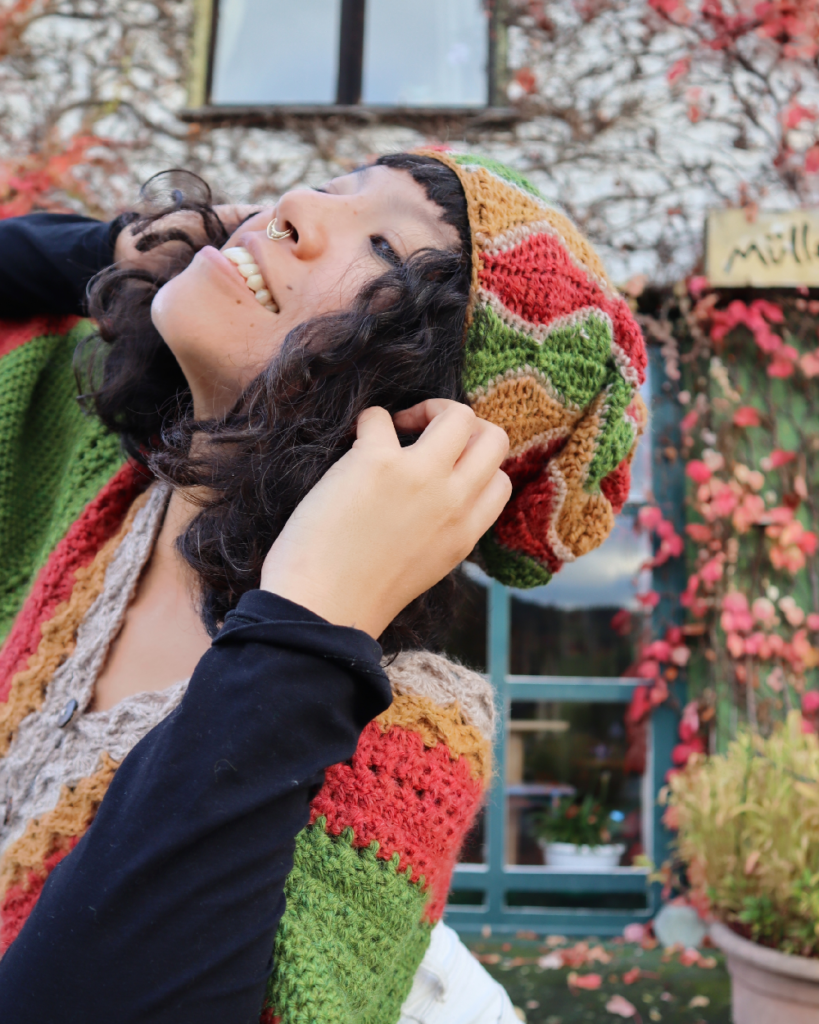
Trim: On the open end: Sl kn, ch1, add sc across. MAKE SURE NOT TO ADD TOO MANY sts. I made 68sc, ch1, cut the yarn.
Pin this project on your board for later!

Do you love this crochet slouchy hat?
Show off your project on our Crochet Tribe FB group!
Are you using Instagram? If so find me!
Maya xoxo





Leave a Reply
You must be logged in to post a comment.