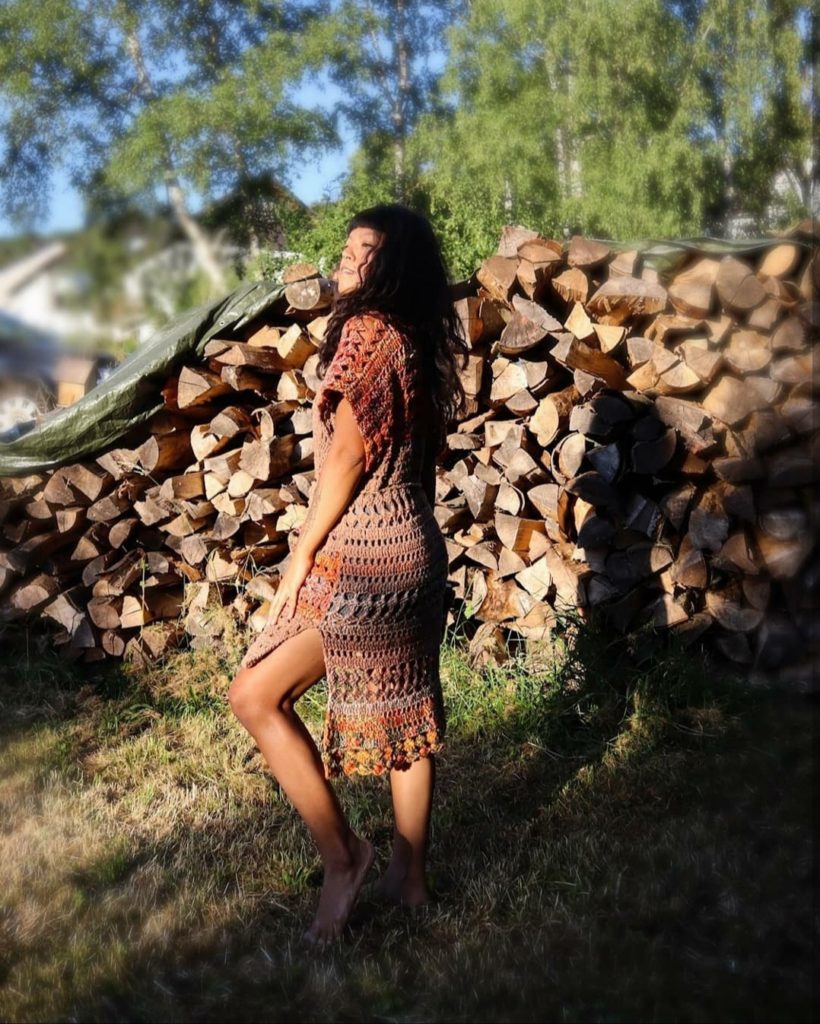
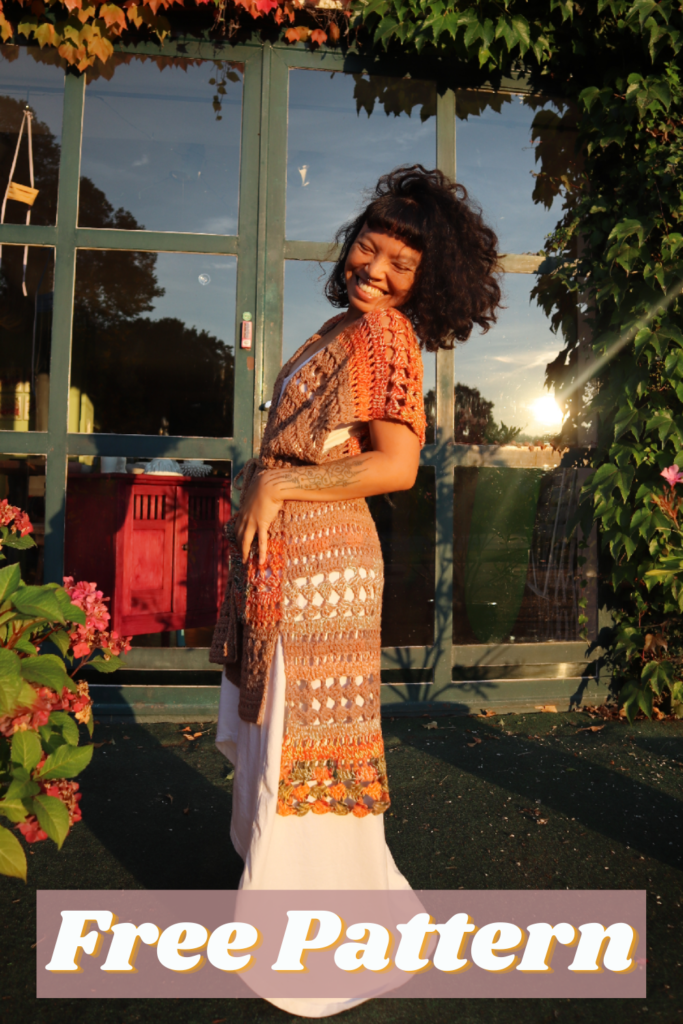
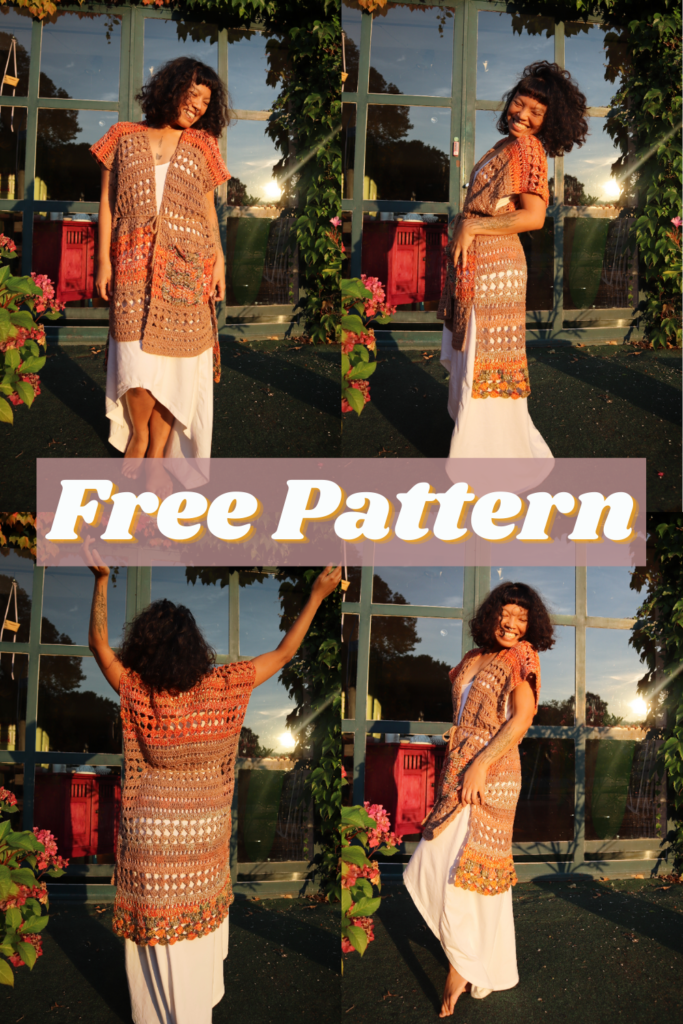
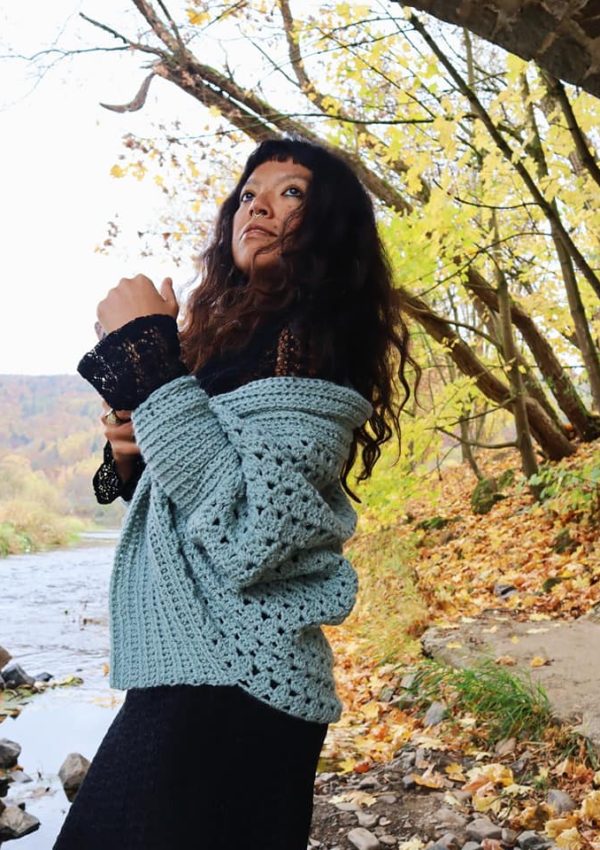
Woodland Cardigan is my all-time favorite thing to wear. I designed this one back in 2017 and I still wear it until today.
This is a free pattern, but if you want to support me, you can purchase an ad-free printable version of this pattern on Ravelry or Etsy.
Skill level: Advanced Beginner
Materials:
● Paintbox cotton Aran #4 no. 610 (6 skeins = 558 yards), Alize Aura #1 no. 07 (1 skein = 371 yards), Alize Bella #1 no. 5559 (almost 2 skeins = 366 yards), Rico creative cotton #4 no.77 (2 skeins = 186 yards), Alize Diva Batik #1 no. 5550 (1⁄2 skein = 190 yards), Record 210 #4 no. 0234(1 1⁄2 skeins = 147 yards) A total yarn used for size XS/1,818 yards, Approximate yarn need for other sizes = S 2,050 – M 2,200 – L/XL 2,400 – XXL,XXXL 2,550 yards
● Hook 6 mm and 8mm (for the pocket, optional)
● Stitch marker
● Scissors & yarn needle
● Measuring tape (optional)
Abbreviation US term
● Ch = chain
● St = stitch
● Sk = skip
● Dc = Double crochet
● Tr = Triple crochet
● Rep = repeat

Note: The beginning ch if not stated as stitch it’s simply meant to build up the yarn.
This design is made out of 3 pieces. 2 panels at the front and 1 at the back, and sewing the pieces together.
Watch the video tutorial for a better understanding.
The front panel
Make ch of the multiple of 4 + 3
Sizes :
XS – 40 + 3, S – 44 + 3, M – 48 + 3, L/Xl – 56 + 3, XXL/XXXL 60 + 3
In this pattern, I demonstrate size XS
This is an approximate measurement. Please feel free to modify it to fit Your body’s size.
Gauge swatch: Used hook 6mm with Paintbox cotton Aran
14dc x 8rows = 4” x 4 ½
Row 1 – dc in 4th ch from hook, dc in each ch across, turn
40dc (44dc 48dc 56dc 56dc 60dc 60dc )
Row 2 – ch4 (count as dc, ch1), sk first 2dc, dc in next dc, ch1, sk next dc; rep from across to turning ch, dc in 3rd ch of turning ch, turn
21dc+20ch (23dc+22ch 25dc+24ch 29dc+28ch 29dc+28ch 31dc+30ch 31dc+30ch )
Row 3 – ch3 (count as dc), dc in next ch-1 space, dc in next dc; rep from across ending with last dc in 3rd ch of turning ch, turn
41dc (45dc 49dc 57dc 57dc 61dc 61dc )
Row 4 – Row 5 rep R.2-3
Row 6 – ch2, sk first 2dc, dc in next dc, ch3, 3dc around the post of last dc made, *sk next 3dc, dc in next dc, ch3, 3dc around the post of last dc made; rep from* across till you reach the last 2sts, sk next dc, dc in 3rd ch of turning ch (red arrow), turn
10clusters (11clusters 12clusters 14clusters 14clusters 15clusters 15clusters )
Row 7 – ch4 (count as tr), *sk next 3dc, dc in top of next ch-3 loop, ch3, 3dc around the post of last dc made; rep from* across to turning ch, tr in 2nd
ch of turning ch, turn
10clusters (11clusters 12clusters 14clusters 14clusters 15clusters 15clusters )
Row 8 – ch4, (count as dc, ch1), sk next 4dc, sc in top of next ch-3 loop, ch3; rep from across, ending last rep at **, ch1, dc in 4th ch of turning ch, turn
Row 9 – ch3 (count as dc), dc in next ch-1 space, dc in next sc, 3dc in next ch-3 loop; rep from across to last ch-3 loop, dc in next sc, dc in ch-1 space of turning ch, dc in 3rd ch of turning ch, turn
40dc (44dc 48dc 56dc 56dc 60dc 60dc )
Rep R.2 – R.9 for pattern
I’ve changed the color here.
I’ve repeated the pattern for 5 times. You can make it shorter or longer as You wish.
The second panel
Rep the same steps to create another identical piece. DO NOT CUT THE YARN FROM THE 2ND PIECE
We will connect both panels together and create the last panel, which is the back part.
The Back Part
To connect, continue from the 2nd piece with 1dc in each st across, connect the other piece with 1dc and continue to add 1dc in each st across the other side. (purple arrow)
Rep R.2 – R.9 for the pattern at the back as long as You need it.
Your stitch count will be doubled as we are working on both panels together.
I ran out of the yarn, and here I grab Alize Diva Batik 🙂 and mixed with Paintbox
I’ve finished my last row at the R.7
Create the armholes
Find the shoulder part, fold Your work. From the shoulder, measure down
approximately 10” inches, sk that 10” inches and sew the rest of the piece, back and front downward to close the side body. I sk the last 8 rows for the slit.
Rep the same steps on the other side.
Neckline (optional)
I did sc in the middle of the neckline.
A pocket (optional)
I crocheted 7 rows of 17dc (each row) to create the square. Then I sew it at the front to create the pocket.
And voila! You are done!
Sew in all the excess yarns and put it on 😉
Pin this project on your board for later!
Today was a perfect day to go out and dance in this Woodland Cardigan.
Show off your project on our Crochet Tribe FB group!
Are you using Instagram? If so find me!
Maya xoxo



Leave a Reply
You must be logged in to post a comment.