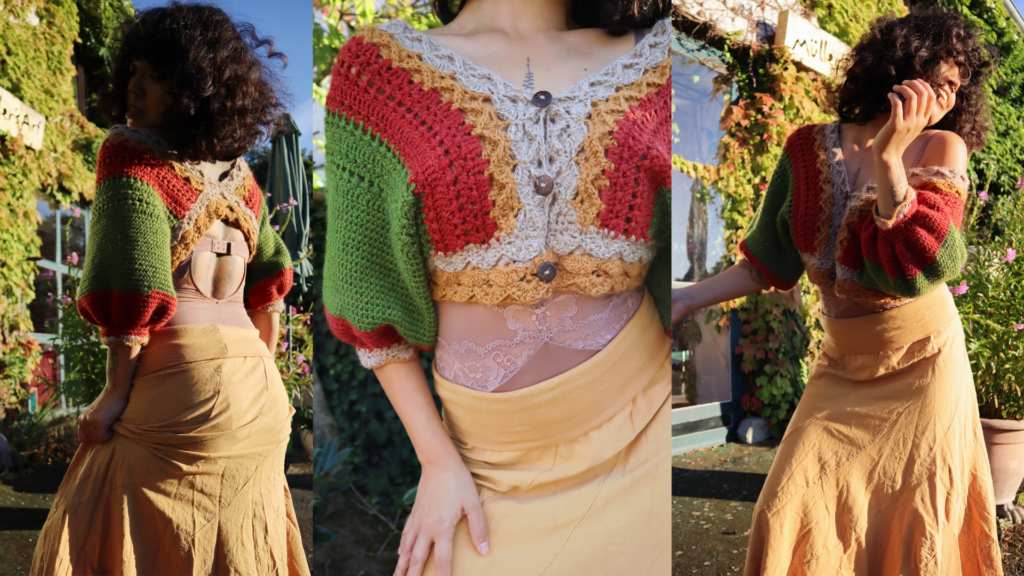
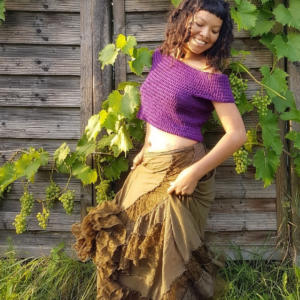
The FALL 🍂 Vest design is my newest creation. As many of you know, I haven’t planed on share the latest design on my blog, but since you all are so amazing, and so I want to give you this gift too.

However, this free version is not included diagrams and information from testers. If you want to see what testers made, please join our Crochet Tribe Group on Facebook or simply purchase an ad-free downloadable version on Ravelry or Etsy.


Material
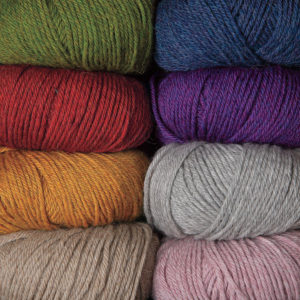
- Sport weight yarn/#2. I used size small 776 yards, (850, 920, 1,000, 1,050, 1,100, 1,200/1,200) of Andean Treasure 100% Baba Alpaca from We Crochet Colors: brown (24938), beige (26565), green (27946), red (27948)
- Hook 4 mm
- Measuring tape
- Stitch marker
- Buttons
- Yarn needle & scissors
The pattern contains | Diagram + well-written instructions + photos + video part1 (part 2 is coming soon).
Pattern measured in inches (“)
Crochet | Skill level = Intermediate
Gauge swatch follow the video tutorial below or if you want to follow the diagram for the pattern, please purchase the pattern here.
The video tutorial of this beauty. It’s part 1 video, and you can also enter the giveaway.
Gauge swatch: A total of 11 rows = 4 ½ x 4 ¼
Your gauge swatch should be as close as possible to mine. Adjust hook size to meet gauge if needed.
Abbreviation US term
ch = chain
sc = single crochet
hdc = half double crochet
dc = double crochet
FPdc cluster = front post dc cluster
BPdc cluster = back post dc cluster
sk = skip
bet = between
rep = repeat
sp = space
RS = right side
beg = beginning
DEC = decrease
sl kn = slip knot
sl st = slip stitch
Rnd(s) = round(s)
INC = increase
Note:
- The beginning ch if not stated as stitch it’s simply meant to build up the yarn.
- Watch this video to learn how to dc straight edge.
Bust Sizes: (measure your breast on the fullest part.)
XS 28” – 30”, S 32” – 34”, M 36″ – 38″ , L 40″ – 42″, XL 44″ – 46″,, 2X 48″ – 50″, 3X 52″ – 54″, 4X 56″ – 58″,, 5X 60″ – 62″
The starting ch of the pattern is according to the measurement below.
Across shoulder measurement (see image):
XS 24”, S 25” – 26”, M 27” – 28″ , L 29″ – 30″, XL 31″ – 32″,, 2X/3X 33″ – 34″, 4X/5X 35″ – 36″
My bust size is 34”, but in this pattern, I demonstrate size XS/24” according to “Across shoulder measurement”.
The body panels:
Measure from under the breast on your front body over the shoulder down to the same point at the back of your body.
Across shoulder measurement is 24” = 104ch
***The body panel pattern is a multiple of 8***
Note:
- The design is short at the back. If you want to have your Vest longer, add more ch, it has to be multiple of 8. Do not make it too long, otherwise, the Vest will lose its shape.
- With the suggestion numbers below your work, will shrink about 4” on “DC row”. If you DO NOT WANT THAT, make sure to add more ch (multiple of 8)
- Stretch your ch by pulling both ends away from each other a couple of times. Lay on a flat surface and measure.
- The suggestion ch below measured according to the gauge swatch.
- 8ch = 1 set of shell = 1”
Suggestion ch:
104, 112 – 120, 128 – 136, 144 – 152, 160 – 168, 176 – 184, 176 – 184, 192 – 200, 192 – 200
Beige color
R.1 – ch2, sc in 2nd ch from hook, *sk next 3ch, 7dc in next ch, sk next 3ch, sc in next ch; rep from* across, turn 13 sets of shell, (14/15, 16/17, 18/19, 20/21, 22/23, 22/23, 24/25, 24/25)
R.2 – ch3 (count as dc), sk first sc, work 1cluster of 3FPdc worked around the posts of next 3dc, *ch4, sc in next dc, ch2**, work 1 cluster of 6FPdc worked around the posts of next 6dc, sk sc bet; rep from* across, ending last rep at**, work 1cluster of 3FPdc worked around the posts of next 3dc, dc in last sc, turn
R.3 – ch3 (count as dc), 3dc in first cluster, *sk next ch-2sp, sc in next sc, sk next ch-4loop**, 7dc in next cluster; rep from* across, ending last rep at**, 4dc in 3rd ch of turning ch, turn
Please
Brown color
R.4 – ch1, sc in first dc, *ch3, sk next 3dc, dc in next sc, ch3, sk next 3dc, sc in next dc; rep from* across, ending with last sc in 3rd ch of turning ch, turn
R.5 – ch1, sc in first sc, *sk next ch3-loop, 7dc in next dc, sk next ch3-loop, sc in next sc; rep from* acros, turn
R.6 rep R.2
Red color
Dc row – dc straight edge, sk next cluster, *2dc in ch-2sp, sk next sc, 4dc in next ch4-sp**, rep from* across, ending last rep at**, sk next cluster, 1dc on 3rd ch of turning ch, turn 80dc, (86/92, 98/104, 110/116, 122/128, 134/140, 134/140, 146/152, 146/152)
DO NOT CUT THE YARN
The second part of the body panel:
R.1 – ch3 (count as dc), sk first dc, *sk next dc, dc in next dc, working behind last dc made, dc in last skipped dc (crossed dc made); rep from* across to turning ch, dc in 3rd ch of turning ch, turn
R.2 – ch4 (counts as dc, ch1), sk first dc, *(dc, ch1) bet 2dc of next crossed dc, sk next 2dc; rep from* across to turning ch, dc in 3rd ch of turning ch, turn
R.3 – ch3 (count as dc), sk first dc, *sk next ch-1sp, dc in next ch-1sp, working behind last dc made, dc in last skipped ch-1sp (crossed dc made); rep from* across to turning ch, dc in 3rd ch of turning ch, turn
R.4 – ch3 (count as dc), sk first dc, dc in each dc across, ending with last dc in 3rd ch of turning ch, turn
Rep R.1 – R.4 for the pattern
I made a total of 12 rows of the second part of the body panel.
Dc row – R.6 are in red color, R.7 – R.12 are in green color.
From the beginning 6 rows of the first part + Dc row + 12 rows of the second body panel = 7” width x 20” length
Suggestion rows of the second part of the body panel:
12 rows, (12, 12, 14, 14, 14, 16, 16, 16)
Green color
Bridge:
Ch 12, (12, 12, 12, 14, 14, 14, 14, 14) to connect at the other end.
Rep all steps to create another identical panel.
Lay your work in this way with the RS up.
Connect with hdc: (multiple of 8 in total)
Grey color
RS – Hdc Row – Start with the corner of the left panel (front), sl kn, ch2, hdc in the same st, adding hdc across 38hdc, (38, 38, 46, 49, 57, 57, 57, 57), hdc in each of the bridge ch 12hdc, (12, 12, 12, 14, 14, 14, 14, 14), hdc in the back as the same amount of the front 38hdc, (38, 38, 46, 49, 57, 57, 57, 57), last st of left panel (back) hdc together with the right panel (back). A total of 88hdc, (88, 88, 104, 112, 128, 128, 128, 128)
last st of left panel (back) hdc together with the right panel (back).
The next st will count as the first st of the right panel.
Right panel (back) – continue with hdc the same way you did on the other panel. STOP AT THE LAST ST, do not connect the front panels, turn
Your stitch count of this panel:
38hdc, (38, 38, 46, 49, 57, 57, 57, 57), + bridge 12hdc, (12, 12, 12, 14, 14, 14, 14, 14) + 38hdc, (38, 38, 46, 49, 57, 57, 57, 57), = 88hdc, (88, 88, 104, 112, 128, 128, 128, 128)
A total count of this row is 176hdc, (176, 176, 208, 224, 256, 256, 256, 256), turn ***must be a multiple of 8***
DO NOT CUT THE YARN
Edges:
WS – R.1 – ch1, sc in 2nd st from hook, *sk next 3sts, 7dc in next st, sk next 3sts, sc in next st; rep from* across, ending with sk next 2sts, sc in next st, turn 22 sets of shell, (22, 22, 26, 28, 32, 32, 32, 32)
RS – R.2 – ch3 (count as dc), sk first sc, work 1cluster of 3BPdc worked around the posts of next 3dc, *ch4, sc in next dc, ch2**, work 1 cluster of 6BPdc worked around the posts of next 6dc, sk sc bet; rep from* across, ending last rep at**, work 1cluster of 3BPdc worked around the posts of next 3dc, dc in last sc, turn
Brown color
WS – R.3 – ch3 (count as dc), 3dc in first cluster, *sk next ch-2sp, sc in next sc, sk next ch-4loop**, 7dc in next cluster; rep from* across, ending last rep at**, 4dc in 3rd ch of turning ch, turn
RS – R.4 – ch1, sc in first dc, *ch3, sk next 3dc, dc in next sc, ch3, sk next 3dc, sc in next dc; rep from* across, ending with last sc in 3rd ch of turning ch, turn
WS – R.5 – ch1, sc in first sc, *sk next ch3-loop, 7dc in next dc, sk next ch3-loop, sc in next sc; rep from* acros, turn
RS – R.6 rep R.2, ch1, cut the yarn.
Add the buttons
Watch this video for better understanding on the sleeve part.
Sleeve: RS
At the back (preferably)
Green color
Rnd1 – sl kn at the corner of the armhole, ch2, 1hdc in the same st, 1hdc across ***make sure to spread out nicely*** I made a total of 91hdc (approximately 91, 100, 100, 108, 108, 116, 116, 125)
- WORKING IN SPIRAL WITHOUT BEG CH! ALTHOUGH, I have sl st at the end of the row for a couple of rows to prevent the big hole. After that, I started the row without sl st.
- Add the stitch marker at the beg of the row.
Rnd2 – hdc in each st across, a total of 91hdc (91, 100, 100, 108, 108, 116, 116, 125)
Rep R. 2 until you get to the elbow length/half an inch below the elbow.
DO NOT CUT THE YARN
I have made a total of 24 rnds (17 rnds of green color + 7 rnds of red color)
Puffy:
Red color
Rnd1 (DEC) – *1hdc, sk 1st, rep from* across a total of 46hdc
Rnd2 rep Rnd1 a total of 23hdc
IMPORTANT:
- This part is very individual. You can sk less if you need more space.
- Keep trying and make sure it’s not too tight as it needs to feel comfortable enough to bend your elbow.
- Scroll down the pages to see what testers made. (only available on printable version.)
Rnd3 – 1hdc in each st across a total of 23hdc
Grey color
- The image below shows red but it should be grey to match my first sleeve, I did it with the wrong color 🙂
- INC is optional in the coming rows. Make sure to spread hdc sts evenly.
- Your last row before “edge rows” should be a multiple of 8
Rnd4 (INC) – 1hdc in each st across, I’ve INC 9hdc sts in total on this round, a total of 32hdc
Rnd5 (INC) – 1hdc in each st across, I’ve INC 8hdc sts in total on this round, a total of 40hdc
Edge rnds
Rnd1 – sc in next st, *sk next 3sts, 7dc in next st, sk next 3sts, sc in next st; rep from* across, 5 sets of shell
Brown color
Rnd2 – sc in each st across, sl st, ch1, cut the yarn
Rep all steps on the other side.
Pin this project on your board for later!
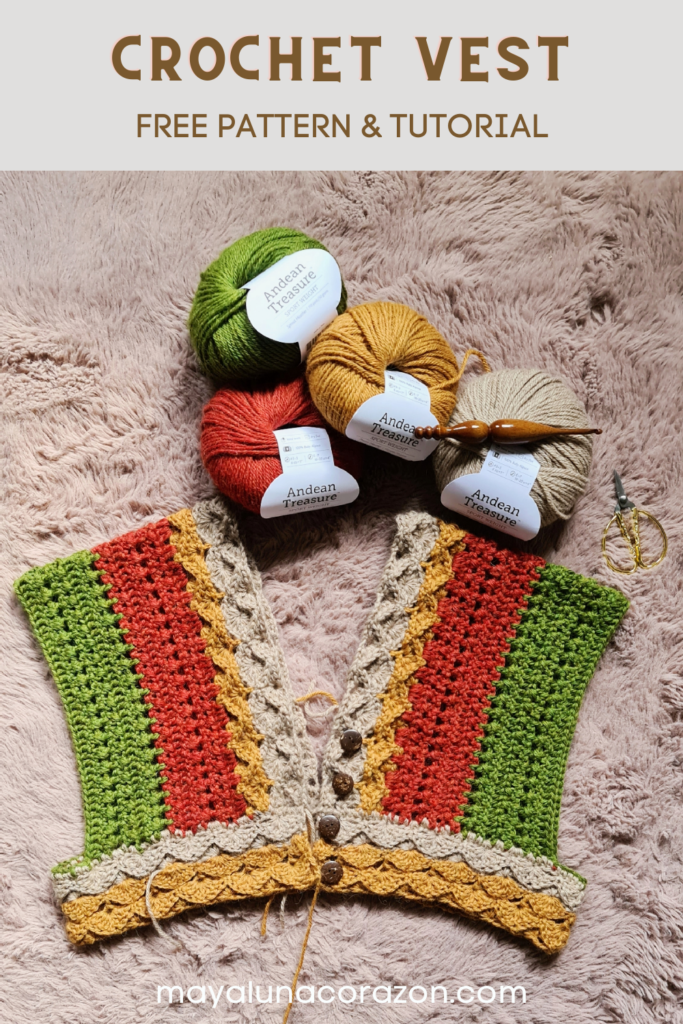
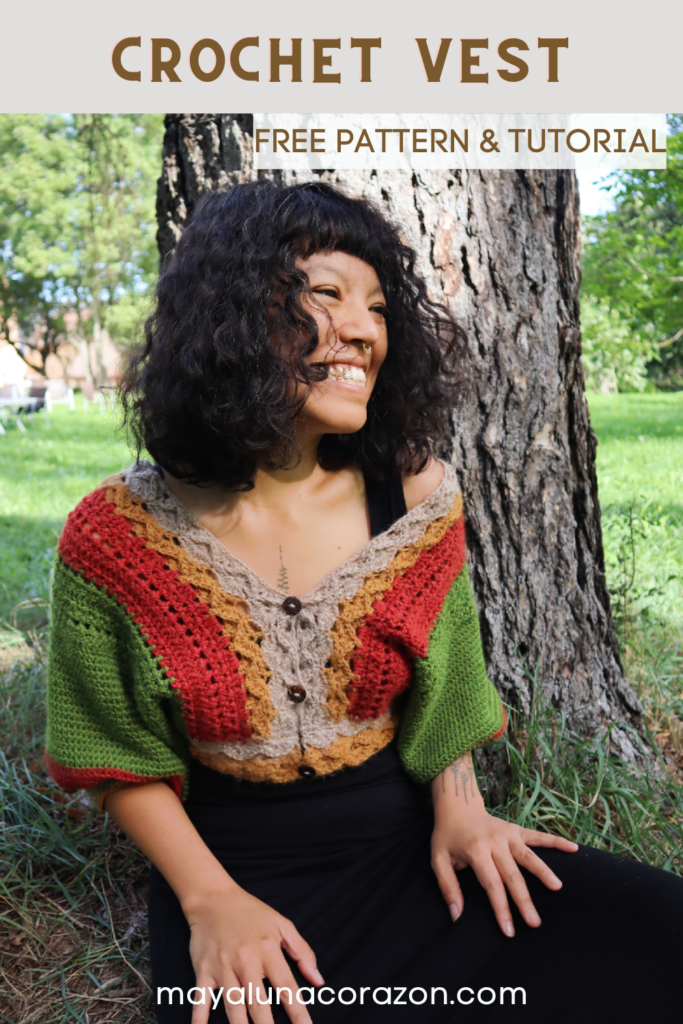
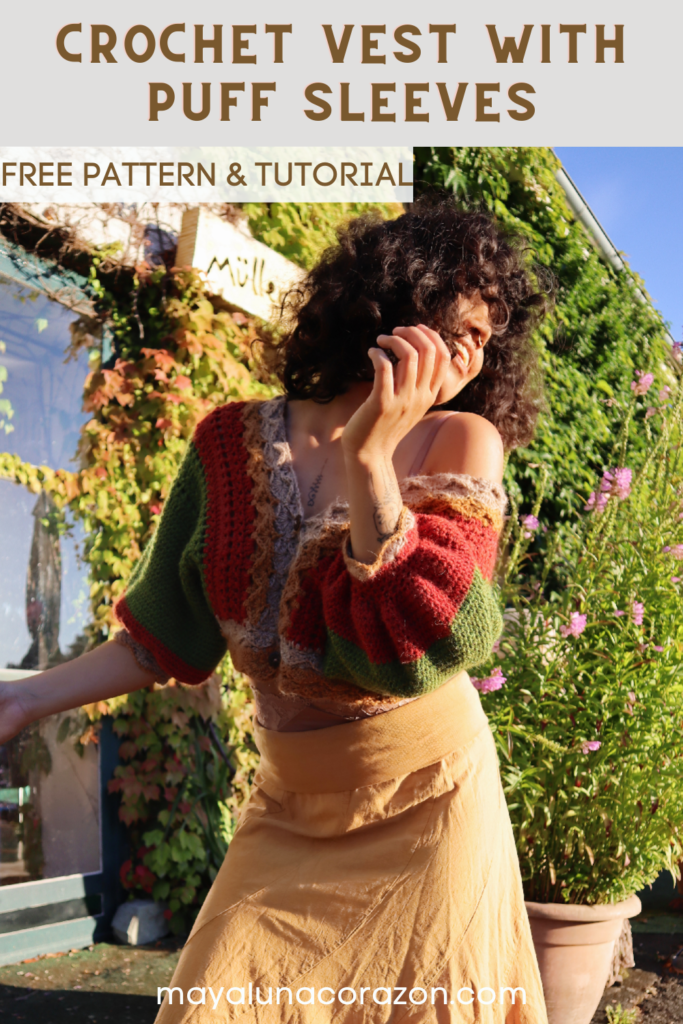
Show off your project on our Crochet Tribe FB group!
Are you using Instagram? If so find me!
Maya xoxo




Leave a Reply
You must be logged in to post a comment.