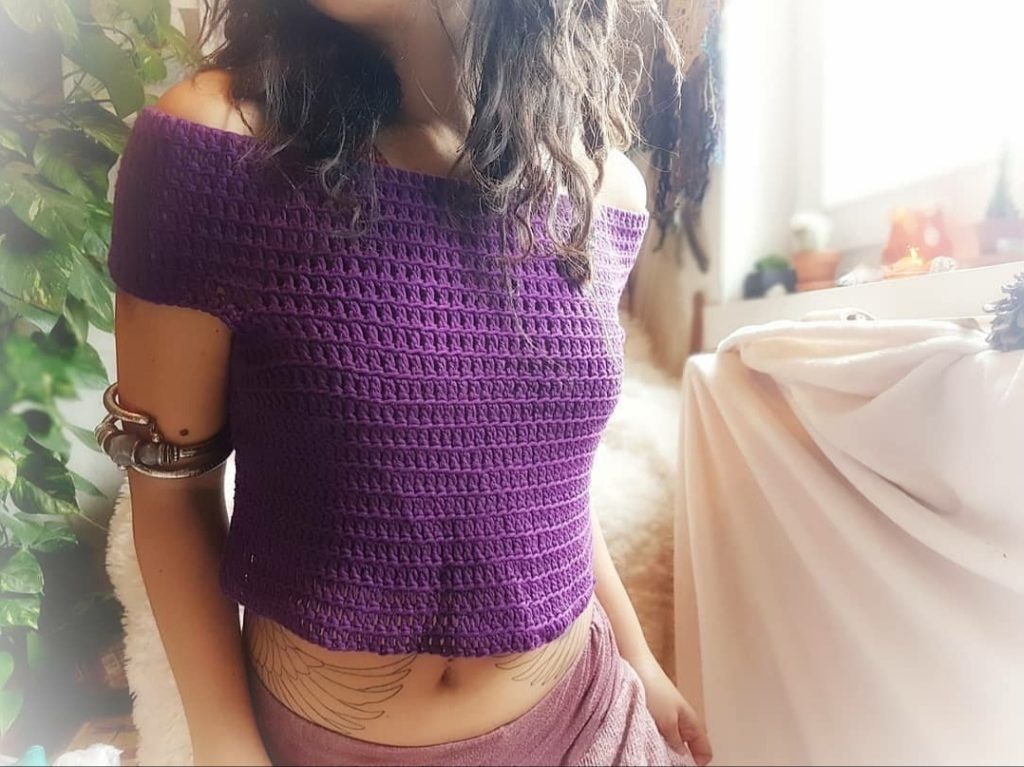
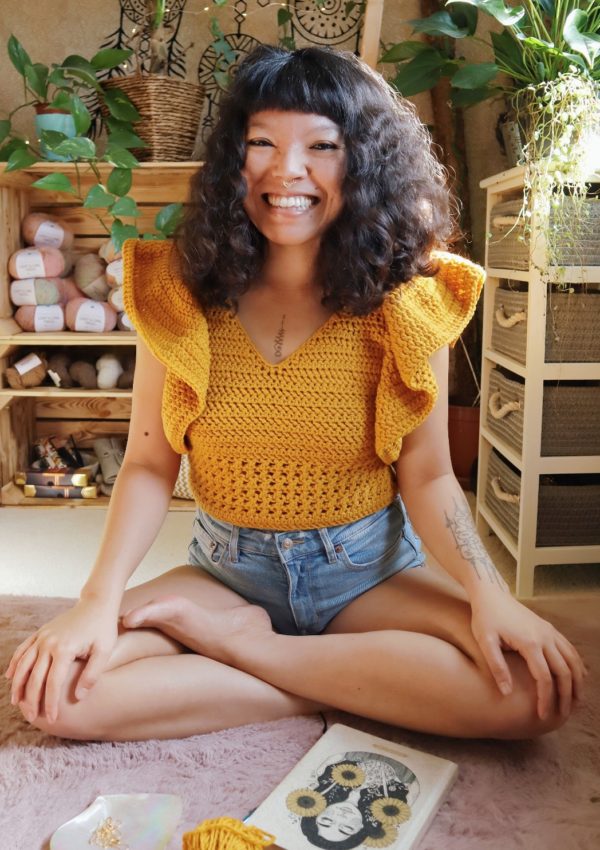
I can’t tell you enough how much I love this crop top. I have been wearing every week, and if I have more, I would be wearing every day! I designed this one in 2017, and with this exact one I have been wearing for 3 years now. I’m going to tell you the yarn I used for this project, and you are going surprised by the price + quality.

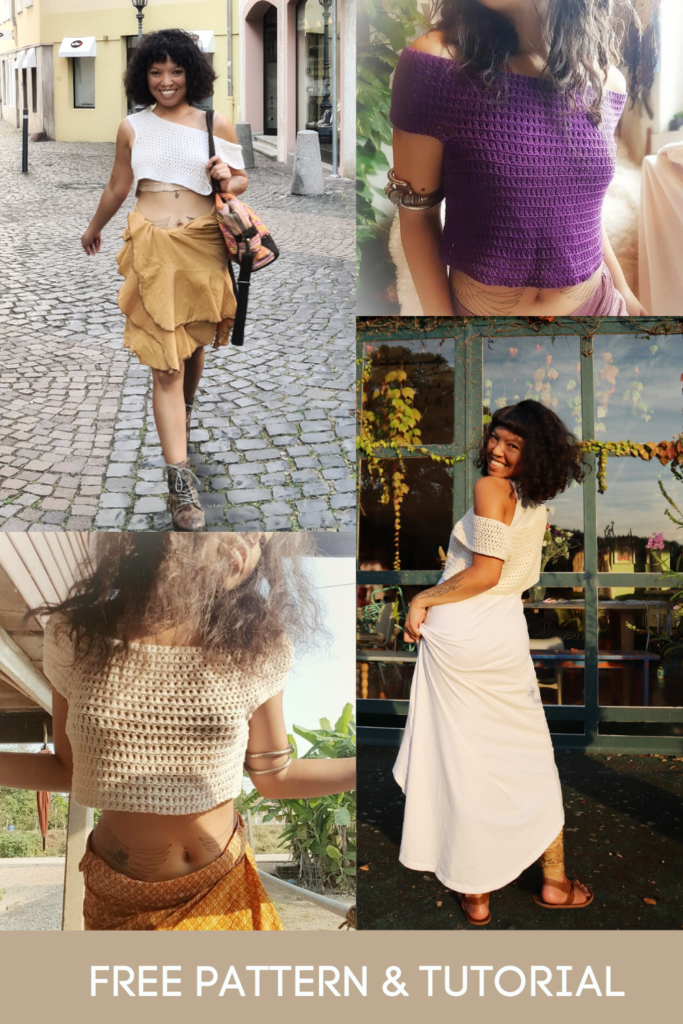
Anastasia off the shoulder crop top is my all-time favorite! I have a video tutorial of this one and scroll down to learn from the free pattern here. You can purchase an ad-free written pattern version from my Ravelry or Etsy.
Skill level: Beginner
Material
Skill level: Beginner
Material
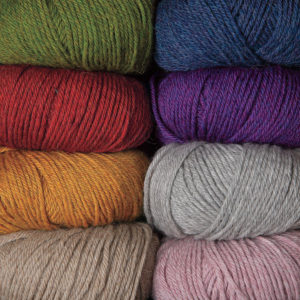
- Creative Rico Aran ~ 10ply 93yards per skein
In this written pattern, I demonstrated with 2 pieces. The purple one is a little longer and used up about 300 yards, (320, 370, 420, 450)
The white one is 280 yards, (300, 350, 400, 450)
Abbreviation US term
- ch = chain
- st = stitch
- sl kn = slip knot
- sl st = slip stitch
- sc = Single crochet
- hdc = half double crochet
- dc = double crochet
- dcblo = double crochet back loop only
- Rnd = round
Note: The beginning ch if not stated as stitch it’s simply meant to build up the yarn.
Size info
- XS – 34A,32B,34B,30C
- S – 36A,38A,36B,32C,34C,30D,32D,30DD
- M – 40A,38B,40B,36C,34D,32DD,34DD,30DDD,32DDD
- L – 38C,40C,36D,38D,40D,36DD,34DDD
- XL – 38DD,40DD,36DDD,38DDD,40DDD
***IF YOU DON’T SEE YOUR SIZE IN THE CHART ABOVE. PLEASE USE THE INSTRUCTION ON HOW TO MEASURE YOUR BODY BELOW.***
Gauge swatch:
18dc x 8rows = 4” x 4”
Although, in the video I started with 112 ch. In this written pattern, I decided to start with 110 instead as it fits better.
Make long chains to wrap around your body right under your armpits. ***Let it wraps loosely.***
Suggestion ch:
XS – ch110 (ch114, ch116, ch118, ch120)
I demonstrate size XS
Ch110, (ch114, ch116, ch118, ch120), sl st to form the ring
Rnd1 – ch3 (count as dc), 1dc in each st across, finish the round with sl st in 3rd ch of beginning ch a total of 110dc, (114dc, 116dc, 118dc, 120dc)
Rnd2 – ch3 (count as dc), 1dcblo in each st across, finish the round with sl st in 3rd ch of beginning ch a total of 110dc, (114dc, 116dc, 118dc, 120dc)
Rnd3 – Rnd8 rep Rnd2
Find the middle part. Look at the arrows, add one stitch marker in the middle of the other side that aligns with the top part (see the red stitch marker in photo).
Armhole
Count 25st, (28, 28, 31, 31) from both sides, and use stitch markers to mark the points.
Make 23ch, (25, 25, 28, 28) both sides for connecting the front part to the back part
At the right side (green stitch marker), make 23ch, (25, 25, 28, 28) then sl st to the other side (blue stitch marker),ch1, cut the yarn
At the left side, (blue stitch marker), make 23ch, (25, 25, 28, 28) then sl st to the other side (purple stitch marker) DO NOT CUT THE YARN
Create the body part
1dcblo in the next st and across
When You arrive the other armhole, 1dc in each of 23st, (25, 25, 28, 28)
Here You can see the light pink arrow, where the sl st of the 23ch, (25, 25, 28, 28), sk that and 1dc in the next (green arrow)
Make sure You have made 23dc, (25, 25, 28, 28) in total here
Again, where is the sl st from the 23ch, (25, 25, 28, 28), sk that and 1dcblo where the green arrow is pointing
Now You arrive on the other side (the other armhole), do the same thing as explained above.
And here we are, arriving at the beginning of the row! Add one stitch marker here, where the arrow is pointing. So we will remember the starting point.
Here we have made our 1st row of the body part, a total of 106sts, (108, 110, 112, 114)
There is no ch to build up the yarn, we are doing the spiral style. Meaning, You will keep adding 1dcblo in each st around as many rows as You wish.
I stop here! 😀
To even the row up, finish with 1hdc in each of the next 3sts (green arrows), 2sc in each of the next 2sts (red arrows), sl st in the next st (blue arrow)
It makes a little curve like so 😅
Let’s finish the armhole 🌻
Sl kn at the corner of the backside, ch2, 1hdc in each st across
sl st at the 2nd ch of the beginning ch, ch1, cut the yarn.
Optional: You can do the armhole 2 rows if You wish so.
Repeat the same step at the other side 👌
Weave all ends nicely and You are done!!!😻
The body part is a total of 10 rows 🌻
The body part is a total of 14 rows 🌻
Pin this project on your board for later!
Show off your project on our Crochet Tribe FB group!
Are you using Instagram? If so find me!
Maya xoxo



Leave a Reply
You must be logged in to post a comment.