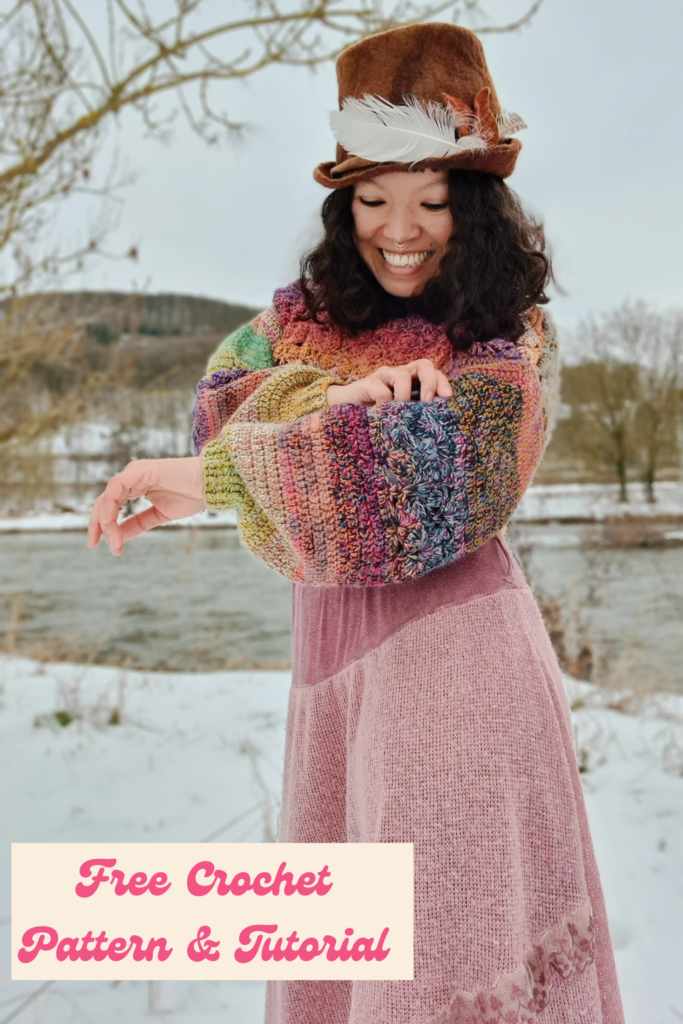
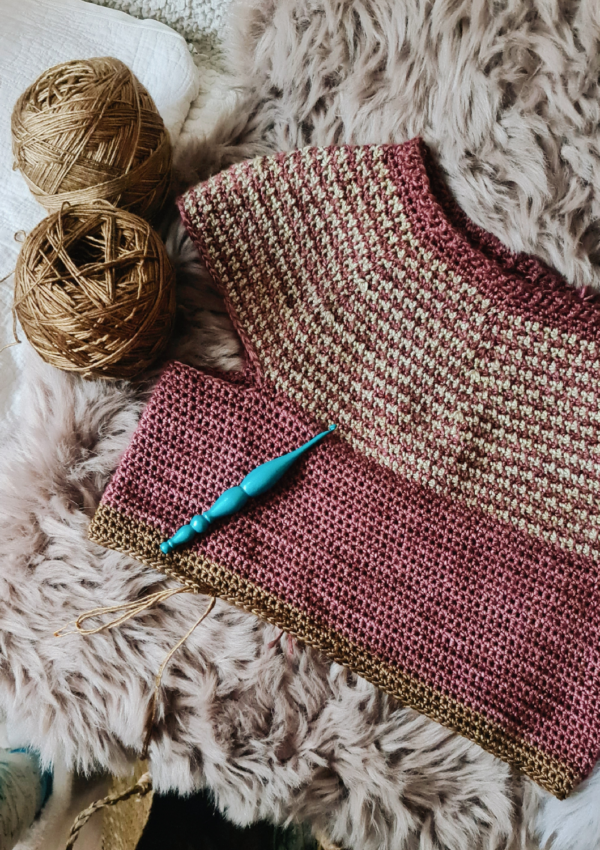
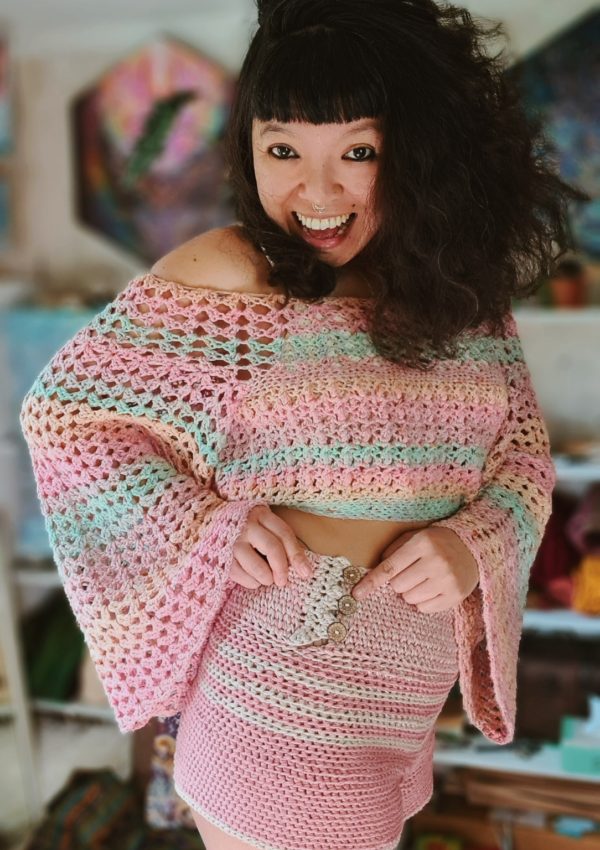
Do You like crochet crop sweater baggy style? I love it! I made this sweater out of the yarn I have in my stash. I love how the different colors of the front and back as well as the sleeves.
In this free version of my pattern, I am sharing with you the size I am wearing. It’s size small, if you want to get all sizes that start from XS to 5XL, please purchase an inexpensive pdf. file from my Ravelry or Etsy shop.
You can become my Patron and get a UNITY crochet crop sweater pattern for free + access to the paid membership Crochet Designing Universe group that create to help you unlock your designer potential.
YARN
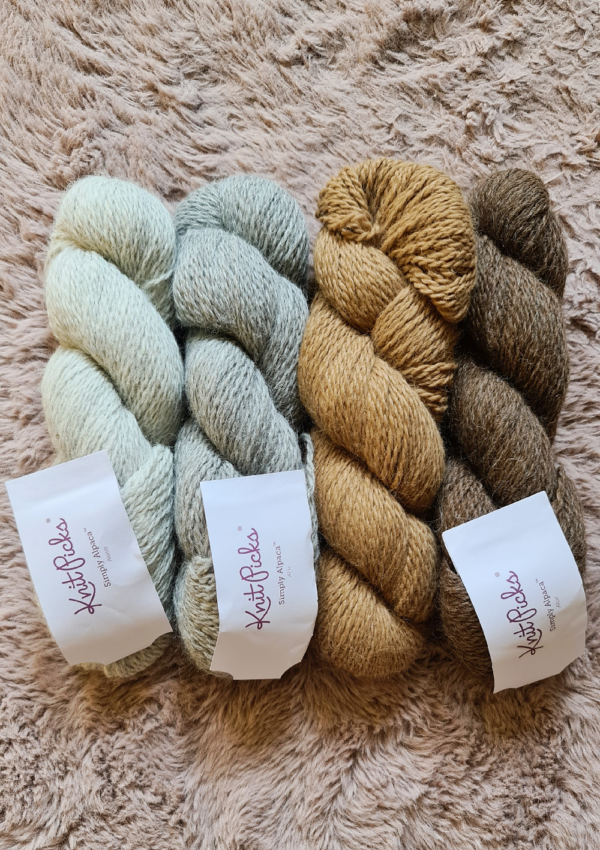
Since this UNITY crochet crop sweater is made out of a yarn stash, I will give you all the company names/labels of this yarn. But the thickness of the yarn after double or sometimes tribble strands then becomes DK/Light Aran weight. So when looking for the yarn to work with this project, you will need to choose DK and make sure you got the right gauge swatch with my pattern.
- Mysa Hue from EFA – Fingering
- 1-2-3 IDEEN (07) from Pro Lana – DK
- Cashair (005) from Lana Grossa – Sport
- Dipinto (0048) from Lang Yarns – Fingering
- The Yarn collective Portland Lace (208, 209, 206) from The yarn Collective – Lace
- CottonMerino (Dark Ocher) from Knitting for Olive – Fingering
CROCHET CROP SWEATER INSPIRATION
My patrons are my inspiration for this project because I want to teach them to design something that beautiful and easy enough for them to modify and use different stitches to make their own UNITY Sweater. In our Crochet Designing Universe, we catch up in a live session every week to learn more about crochet designing, tips, and lessons that will help them start their own journey as a crochet designer. Some of them just want to be able to crochet perfect fit garments and so we always have a lot to talk about and share.
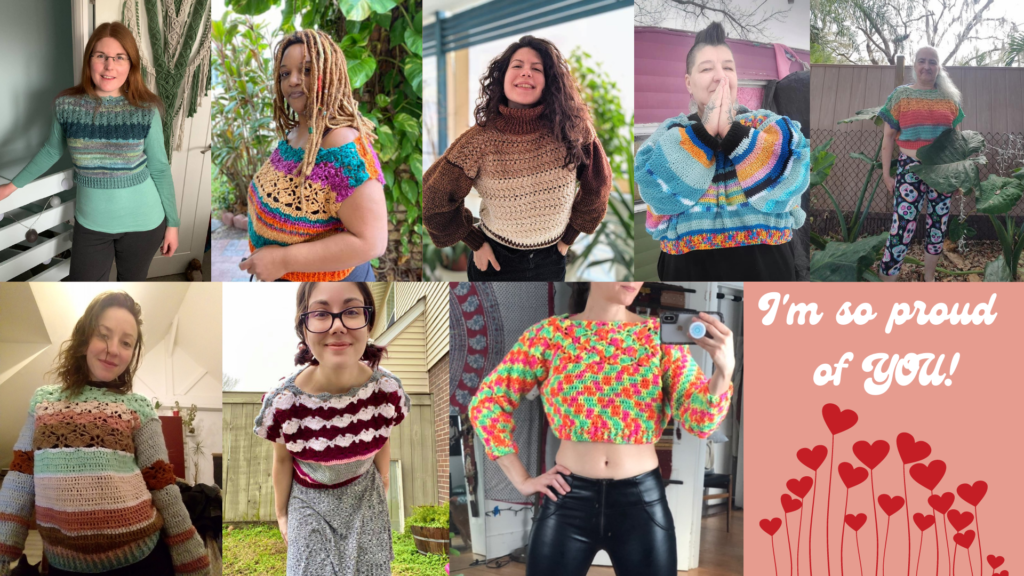
PATTERN
- Get the ad-free, large print, printable PDF pattern HERE.
- Become a member and get the pattern of the month + Access to Crochet Designing Universe private group
- PIN this pattern to your Pinterest boards for later HERE.
DIY UNITY Crochet crop sweater
I love this crochet crop sweater with a big balloon sleeve so much and I hope you do too!
Crochet | Skill level = Advanced beginner
Material
- I used yarn in my stash to create this sweater. The weight is DK, a total yarn used approximately 1,760 (XS/S 1,600/1760, M 1,800, L/XL 1,850/1950, 2XL/3XL 2,050/2,100, 4XL/5XL 2,200/2,250) yards
- Hook 5mm
- Measuring tape
- Stitch marker
- Yarn needle & Scissors
The pattern contains | Written instructions + photo + video
Gauge swatch:
16.4 → 17dc x 9 rows = 4” x 4”
Abbreviation US terms
ch = chain
dc = double crochet
dc 2tog = double crochet 2 together
Fpdc = Front post double crochet
Bpdc = Back post double crochet
Dc straight edge
4dc-cluster
Step1: yo, insert hook in designed st, yo, draw yarn through st, yo, draw yarn through 2loops on hook (half-closed dc made- 2loops remain on hook).
Step2: yo, insert hook in next designed st, yo, draw yarn through st, yo, draw yarn through 2loops on hook (4times in total for 4dc-cluster- 4 half-closed dc made- 5loops on hook).
Step3: yo, draw yarn through all loops on hook (cluster made).
yo = yarn over
INC=increase
DEC = decrease
st/sts = stitch/stitches
sl st=slip stitch
sk = skip
sp = space
rep=repeat
Note:
- The beginning ch, if not stated as a stitch, is simply meant to build up the yarn.
- All the stitch count is calculated by the pattern gauge swatch. Pls keep in mind that IF your tension is OFF the stitch count will be different.
- I highly recommend you to measure along with the method given in this pattern for a perfect fit.
- This is a baggy crop sweater style. The measurement is from the navel/belly button to the sternum. However, you can modify it into different lengths as you prefer.
Measurement 1 = The ribbing/the bottom/the edge
I want my sweater to sit right around my navel/belly button. So my measurement 1 is on my belly button area.
Measurement 2 = From measurement 1 to the sternum.
The pattern demonstrates size S = 33” to unlock all the stitch count from size XS- 5XL, and calculated measurement please purchase the pattern.
Measurement 1 = 33”
Measurement 2 = 14”
Example calculation:
Measurement 1 ÷ 2 = 16½” → 17”
Make a long ch to your size/measurement and this is the starting ch of the ribbing/the bottom/the edge.
R.1 – ch3, dc in 4th from hook, dc in each ch across, a total of 70 dc, turn
R.2 – ch3, *Fpdc in next dc, Bpdc in next dc**, rep from*-** across, a total of 70 sts, turn
R.3 – R.6 rep R.2 a total of 70 sts, turn
The body:
R.1 (INC) – dc straight edge in the first dc from previous row, dc in the same st, *1dc in each of next 2dc, 2dc in next dc**, rep from*-** across, a total of 94 dc, turn
R.2 – dc straight edge in the first dc from previous row, dc in each dc across, a total of 94 dc, turn
Rep R.2 as many rows as you need until it reaches the fullest part of your breast.
R.3 – R.14 rep R.2 a total of 94 dc, turn
Preparing row for the chest design: A multiple of 12 + 1
- I need to INC 3sts to have multiple of 12 + 1
- When INC/DEC makes sure to spread it out evenly.
R.15 (INC) – dc straight edge in the first dc from previous row, dc in each dc across, INC by adding 2dc in 1 stitch 3 times, a total of 97 dc, turn
The chest design:
R.1 – dc straight edge in dc from previous row, dc in the same st, *ch1, sk5 dc, (4dc, ch2, 4dc) in next dc, ch1, sk next 5dc**, (dc, ch1, dc) in next dc, rep from* across, ending last rep at**, 2dc in last dc, turn
R.2 – dc straight edge in dc from previous row, dc in the same st, *ch1, sk next dc and next ch1-sp, 4dc-cluster worked across next 4dc, ch4, sc in ch2-sp, ch4, 4dc-cluster worked across next 4dc, ch1, sk next ch1-sp**, (dc, ch1, dc) in next ch1-sp, rep from* across, ending last rep at**, sk next dc, 2dc in dc straight edge from previous row, turn
R.3 – dc straight edge in dc from previous row, 4dc in the same st, *ch1, sk next dc and next ch1-sp and next 4-loop, (dc, ch1, dc) in next sc, ch1, sk next ch4-loop and next ch1-sp**, (4dc, ch2, 4dc) in next ch1-sp, rep from* across, ending last rep at**, sk next dc, 5dc in dc straight edge from previous row, turn
R.4 – ch1, sc in first dc, *ch4, 4dc-cluster worked across next 4dc, ch1, sk next ch1-sp, (dc, ch1, dc) in next ch1-sp, ch1, sk next ch1-sp, 4dc-cluster worked across next 4dc, ch4, sc in next ch2-sp, rep from* across, ending with last sc in dc straight edge from previous row, turn
R.5 – dc straight edge in sc from previous row, dc in the same st, *ch1, sk next ch4-loop and ch1-sp, (4dc, ch2, 4dc) in next ch1-sp, ch1, sk next ch1-sp and ch4-loop**, (dc, ch1, dc) in next sc, rep from* across, ending last rep at**, 2dc in last sc, turn
Rep R.2 – R.5 for the pattern
Note:
- Total rep rows measure by the bust circumference
I have made a total of 13 rows
Ch1, and cut the yarn.
My work measures from the ribbing to the last row = 14” approximately.
Rep all the steps to create another identical panel.
Connecting – Do what suits you best
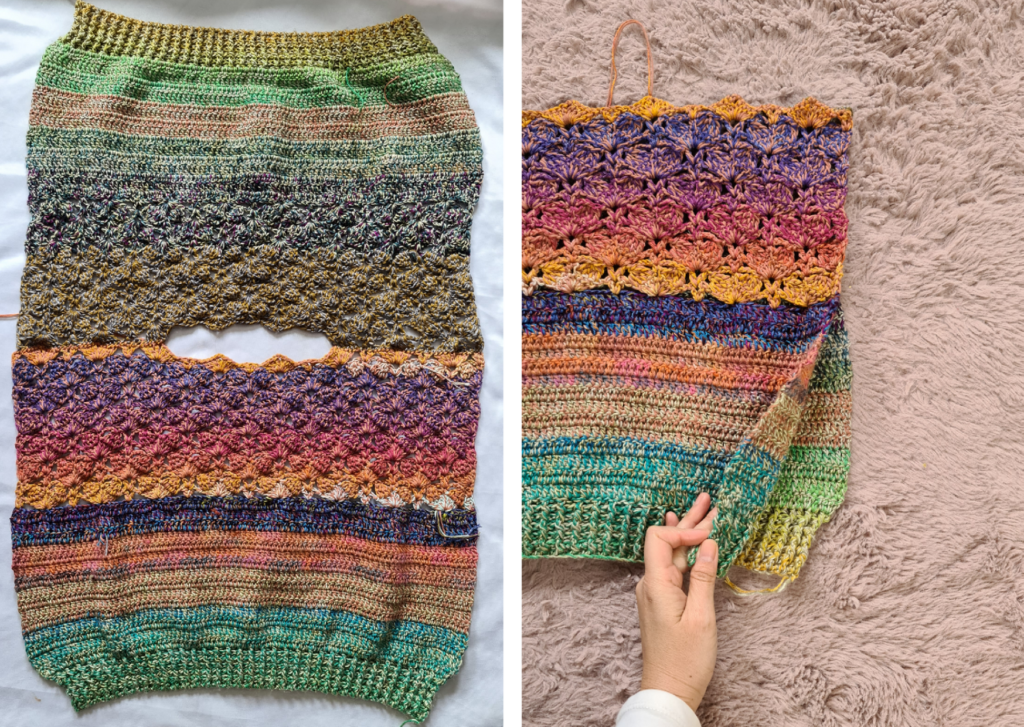
Shoulder – 7” on each side
With right sides facing each other, sew body pieces together with a yarn needle.
Neckhole – 8½” (9” after blocked)
Armhole – 8” (8½“ after blocked)
Sew both panels from the ribbing upward.
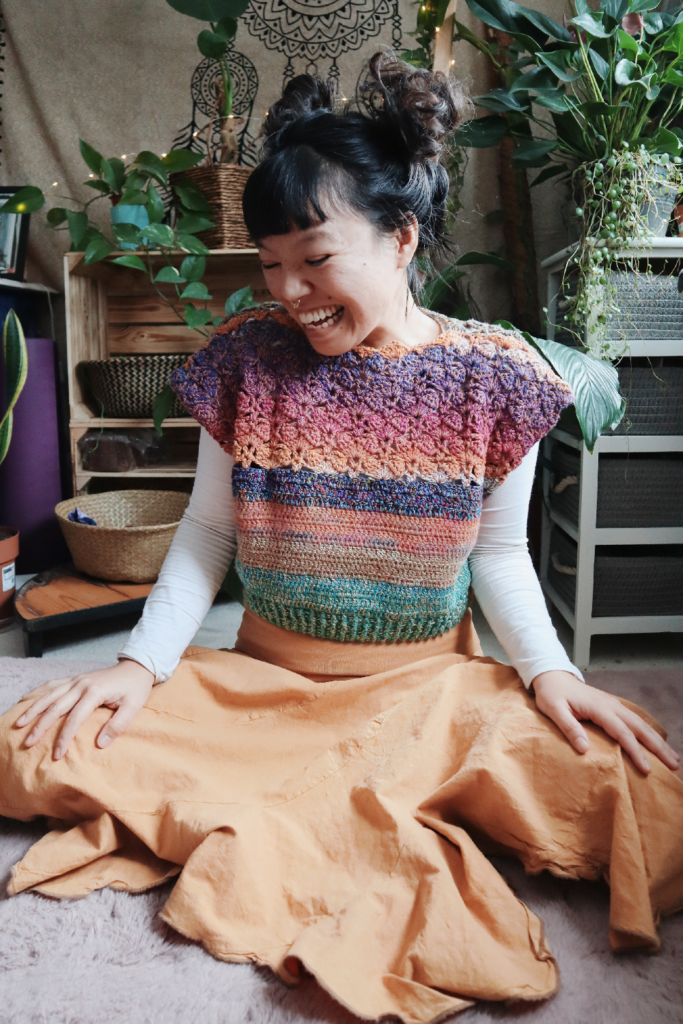
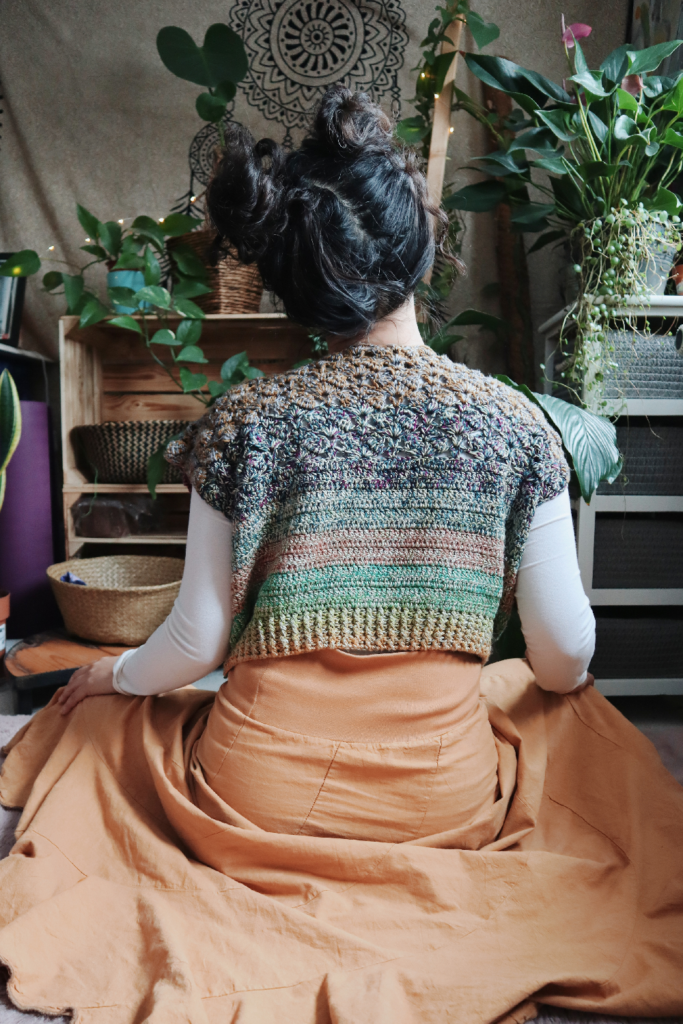
The sleeve
01- The ribbing
- Measure your wrist loosely.
- Make a long ch that goes around. It needs to be an even number.
My measurement: 6” = 26ch + 3
R.1 – dc in 4th ch from hook, dc in each ch across, a total of 26 dc, turn
R.2 – ch3, *Fpdc in next dc, Bpdc in next dc**, rep from*-** across, a total of 26 sts, turn
R.3 – R.5 rep R.2 a total of 26 sts, turn
Connect:
- Face both ends together.
- Sl st from where you are toward the first row to connect (watch the video).
02 – The arm
Note:
- INC every second row to match with the measurement of the armhole.
- When INC make sure to spread it out evenly.
- Prepare for the lace design when reaching the elbow (stop ½” right before the elbow).
Rnd1 (INC) – ch3, *2dc in next dc, dc in next dc**, rep from*-** across, a total of 39 dc, sl st in 3rd ch of turning ch.
Work in a spiral – no beg ch, no sl st at the end of the rnd.
Rnd2 – dc in each dc across, a total of 39 dc.
Rnd3 (INC) – *2dc in next dc, 1dc in each of next 2dc**, rep from*-** across, a total of 52 dc.
Rnd4 rep Rnd2 a total of 52 dc
Rnd5 (INC) rep Rnd3 a total of 70 dc
Rnd6 rep Rnd2 a total of 70 dc.
Preparing rnd for the lace pattern: A multiple of 12 + 1
- I need to INC 3sts to have multiple of 12 + 1
- When INC/DEC make sure to spread it out evenly.
- The lace pattern is the same as the chest design but it works in the round instead of a row.
- Always add the stitch marker on the first st of each round.
- After 5 rnds of the lace pattern, next rnd Adding dc sts back to the same total st count before the “preparing rnd” My size is 70dc
Rnd17 (INC) – dc straight edge in the first dc from previous rnd, dc in each dc across, INC by adding 2dc in 1 stitch 3 times, a total of 73 dc, turn
The lace pattern:
Rnd18 – 2dc in next dc, *ch1, sk5 dc, (4dc, ch2, 4dc) in next dc, ch1, sk next 5dc**, (dc, ch1, dc) in next dc, rep from* across, ending last rep at**, 2dc in last dc.
Rnd19 – 2dc in next dc, *ch1, sk next dc and next ch1-sp, 4dc-cluster worked across next 4dc, ch4, sc in ch2-sp, ch4, 4dc-cluster worked across next 4dc, ch1, sk next ch1-sp**, (dc, ch1, dc) in next ch1-sp, rep from* across, ending last rep at**, sk next dc, 2dc in last dc of this rnd.
Rnd20 – 5dc in next dc, *ch1, sk next dc and next ch1-sp and next 4-loop, (dc, ch1, dc) in next sc, ch1, sk next ch4-loop and next ch1-sp**, (4dc, ch2, 4dc) in next ch1-sp, rep from* across, ending last rep at**, sk next dc, 5dc in in last dc of this rnd.
Rnd21 – sc in first dc, *ch4, 4dc-cluster worked across next 4dc, ch1, sk next ch1-sp, (dc, ch1, dc) in next ch1-sp, ch1, sk next ch1-sp, 4dc-cluster worked across next 4dc, ch4, sc in next ch2-sp, rep from* across, ending with last sc in in last dc of this rnd.
Rnd22 – dc straight edge in sc from previous rnd, dc in the same st, *ch1, sk next ch4-loop and ch1-sp, (4dc, ch2, 4dc) in next ch1-sp, ch1, sk next ch1-sp and ch4-loop**, (dc, ch1, dc) in next sc, rep from* across, ending last rep at**, 2dc in last sc of this rnd.
Adding dc sts back to the same total st count before the “preparing rnd”
Rnd23 – adding dc in each dc across and where it’ s possible to make it back to the same st count you had before (rnd16), a total of 70 dc.
Rnd24 – dc in each dc across, a total of 70 dc.
Rnd25 – Rnd36 rep Rnd24 a total of 70 dc.
Measurement before block: 8” (W) x 17½” (L)
After block: 8½” (W) x 18” (L)
Watch the video on how to attach the sleeve.
PIN IT FOR LATER!
Thanks to all of my readers for supporting me and my work
Sign up and get notified when free patterns go live on my blog.
✧ Become my Patron and get the pattern of the month
✧ +Access Crochet Designing Universe. Business level get FREE Crochet Business Planner
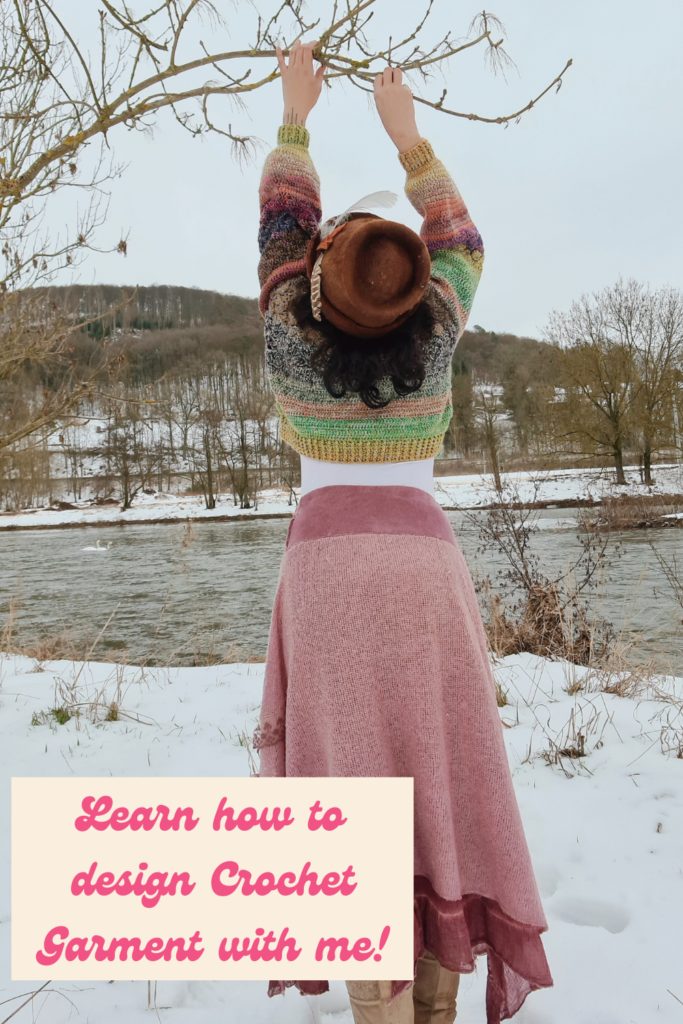
I hope you enjoy this UNITY crochet crop sweater 🙂
Show off your project on our Crochet Tribe FB group!
Are you using Instagram? If so find me!
Maya xoxo



Leave a Reply
You must be logged in to post a comment.